Aller au contenu principal
Pour réparer ensemble - Je crée un compte

Merch Source Projector Entertainment II Cooling Fan Replacement

Ce dont vous avez besoin

    1. Merch Source Projector Entertainment II Cooling Fan Replacement, Outer Casing: étape 1, image 1 de 2 Merch Source Projector Entertainment II Cooling Fan Replacement, Outer Casing: étape 1, image 2 de 2
      • Flip the projector onto its back and unscrew the nine 15mm screws using the Phillips #0 screw driver.

      Demander à FixBot

      Ajouter un commentaire

    2. Merch Source Projector Entertainment II Cooling Fan Replacement: étape 2, image 1 de 1
      • Flip the projector right side up and unscrew the two 12mm screws on the light bulb panel located at the rear of the projector with a Phillips #0 screw head.

      • The bottom right panel screw does not come completely out the panel door.

      Demander à FixBot

      Ajouter un commentaire

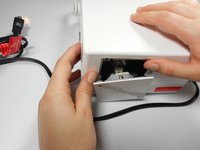
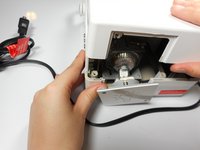
    3. Merch Source Projector Entertainment II Cooling Fan Replacement: étape 3, image 1 de 2 Merch Source Projector Entertainment II Cooling Fan Replacement: étape 3, image 2 de 2
      • Using your hands, gently pry the top and bottom of the projector casing apart.

      Demander à FixBot

      Ajouter un commentaire

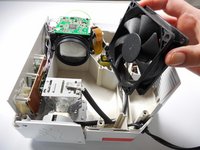
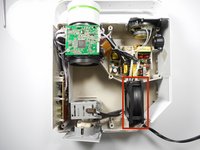
    1. Merch Source Projector Entertainment II Cooling Fan Replacement, Cooling Fan: étape 4, image 1 de 2 Merch Source Projector Entertainment II Cooling Fan Replacement, Cooling Fan: étape 4, image 2 de 2
      • Locate the 80 mm fan and slide upward straight out of the housing.

      Demander à FixBot

      Ajouter un commentaire

    2. Merch Source Projector Entertainment II Cooling Fan Replacement: étape 5, image 1 de 2 Merch Source Projector Entertainment II Cooling Fan Replacement: étape 5, image 2 de 2
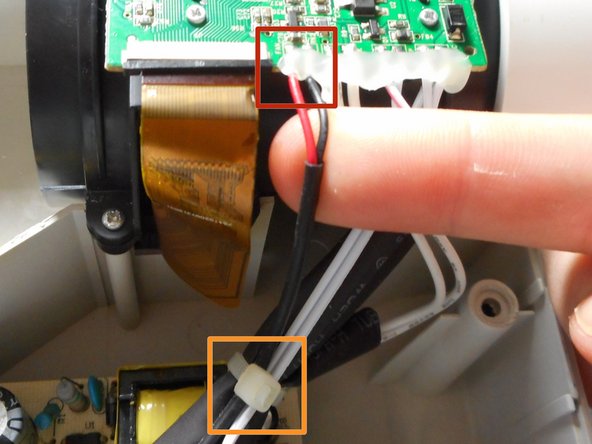
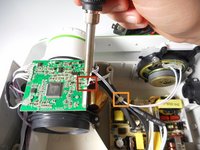
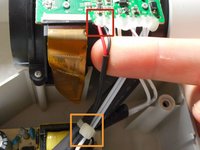
      • Unsolder the red and black connections off of the motherboard.

      • If there are zip ties around the cables, they will need to be cut to remove the fan.

      • Need some help? Follow this guide to learn soldering basics.

      • While soldering the metal connections will get very hot. Never touch the iron with your hand.

      • Make sure that the projector is fully turned off and not plugged in. Allow up to 30 minutes for projector to cool down.

      • If there is hot glue within the connection in on the motherboard, you will need to peel it off simply using your fingers.

      Demander à FixBot

      Ajouter un commentaire

Conclusion

To reassemble your device, follow these instructions in reverse order.

Annulation : je n'ai pas terminé ce tutoriel.

Une autre personne a terminé cette réparation.

Stephanie

Membre depuis le 01/08/15

282 Réputation

3 tutoriels rédigés

Équipe

Cal Poly, Team 18-3, Maness Winter 2015 Membre de l'équipe Cal Poly, Team 18-3, Maness Winter 2015

CPSU-MANESS-W15S18G3

3 membres

8 tutoriels rédigés

0 commentaires de tutoriel

Ajouter un commentaire

Nombre de vues :

Dernières 24 heures : 2

7 derniers jours : 10

30 derniers jours : 28

Total : 2,817