Introduction
This guide will walk through the steps to replace the forward/reverse shuttle on the Milwaukee M12 2407-20.
Ce dont vous avez besoin
-
-
-
Remove each of the seven 14mm Pan Hd. T-10 ST screws on one side of the housing assembly using the T10 screwdriver.
 Demander à FixBot
-
-
-
Remove metal clip located at the base of the drill, where the battery is to be inserted.
-
-
-
-
-
-
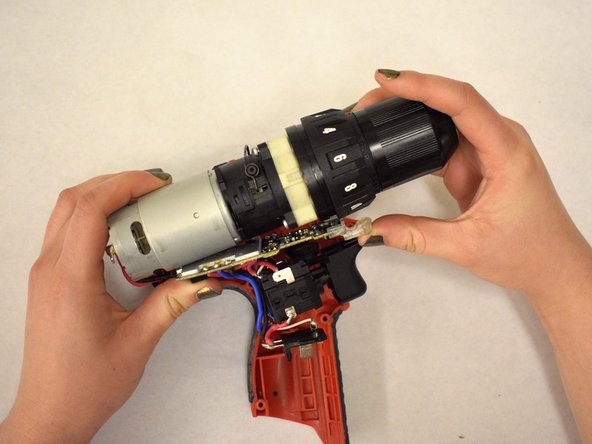
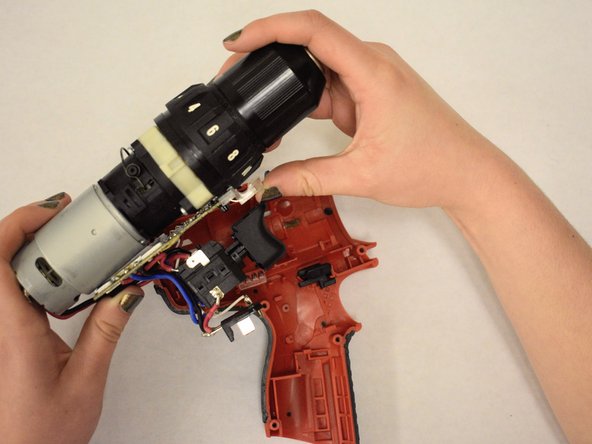
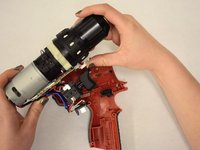
Use both hands to lift and remove the gear case assembly from the shell casing.
-
Set the gear case assembly aside.
-
-
-
While holding the shell in one hand, pull the end of the broken forward/reverse shuttle out of the casing.
-
Set the broken forward/reverse shuttle aside.
-
-



To reassemble your device, follow these instructions in reverse order.
Annulation : je n'ai pas terminé ce tutoriel.
4 autres ont terminé cette réparation.

Équipe

Appalachian State University, Team S2-G1, Menagarishvili Spring 2019 Membre de l'équipe Appalachian State University, Team S2-G1, Menagarishvili Spring 2019
APSU-MENAGARISHVILI-S19S2G1
2 membres
5 tutoriels rédigés
