Aller au contenu principal
Pour réparer ensemble - Je crée un compte

Motorola SLVR L9 Keypad Replacement

Ce dont vous avez besoin

  1. Motorola SLVR L9 Keypad Replacement, Battery: étape 1, image 1 de 2 Motorola SLVR L9 Keypad Replacement, Battery: étape 1, image 2 de 2
    • Turn the phone over so that the back of the phone is facing up.

    Demander à FixBot

    Ajouter un commentaire

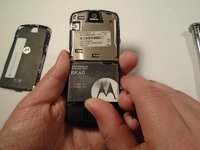
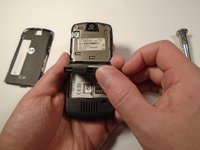
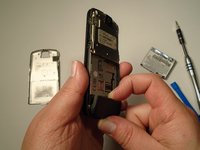
  2. Motorola SLVR L9 Keypad Replacement: étape 2, image 1 de 3 Motorola SLVR L9 Keypad Replacement: étape 2, image 2 de 3 Motorola SLVR L9 Keypad Replacement: étape 2, image 3 de 3
    • Press down on the silver battery cover latch located at the top of the phone.

    • Pull the battery cover down and away from the latch; then lift it up to remove the battery cover.

    Demander à FixBot

    Ajouter un commentaire

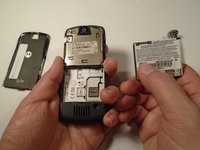
  3. Motorola SLVR L9 Keypad Replacement: étape 3, image 1 de 3 Motorola SLVR L9 Keypad Replacement: étape 3, image 2 de 3 Motorola SLVR L9 Keypad Replacement: étape 3, image 3 de 3
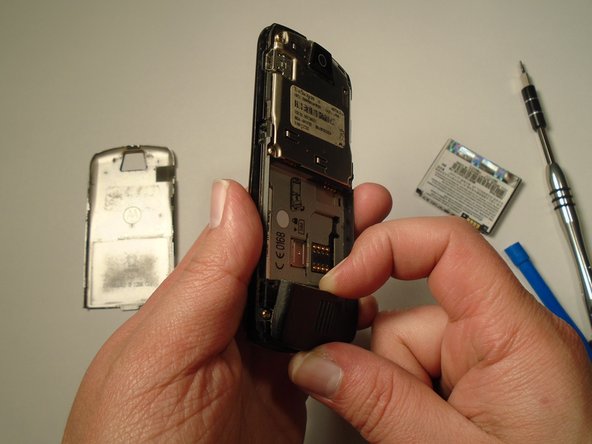
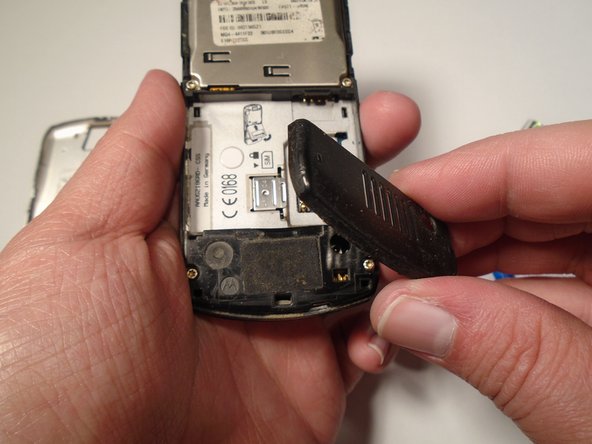
    • To remove the battery, pull the battery up from the bottom center.

    Demander à FixBot

    Ajouter un commentaire

  4. Motorola SLVR L9 Keypad Replacement, Camera Lens Cover: étape 4, image 1 de 2 Motorola SLVR L9 Keypad Replacement, Camera Lens Cover: étape 4, image 2 de 2
    • Turn the phone over so that the back of the phone is facing towards you.

    Demander à FixBot

    Ajouter un commentaire

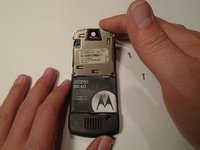
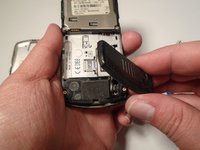
  5. Motorola SLVR L9 Keypad Replacement: étape 5, image 1 de 3 Motorola SLVR L9 Keypad Replacement: étape 5, image 2 de 3 Motorola SLVR L9 Keypad Replacement: étape 5, image 3 de 3
    • Press down on the battery cover latch located at the top of the phone.

    • Pull the battery cover down and away from the latch; then lift it up to remove the battery cover.

    Demander à FixBot

    Ajouter un commentaire

  6. Motorola SLVR L9 Keypad Replacement: étape 6, image 1 de 1
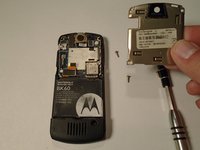
    • Remove the four housing screws (1/8") from each corner of the transceiver PC board shield. Use a screwdriver with a T6 Torx screwdriver head to turn the screws counter-clockwise (left).

    Demander à FixBot

    Ajouter un commentaire

  7. Motorola SLVR L9 Keypad Replacement: étape 7, image 1 de 2 Motorola SLVR L9 Keypad Replacement: étape 7, image 2 de 2
    • Once you have removed all of the screws, lift the transceiver PC board shield up to remove it.

    Demander à FixBot

    Ajouter un commentaire

  8. Motorola SLVR L9 Keypad Replacement, Antenna Cover: étape 8, image 1 de 3 Motorola SLVR L9 Keypad Replacement, Antenna Cover: étape 8, image 2 de 3 Motorola SLVR L9 Keypad Replacement, Antenna Cover: étape 8, image 3 de 3
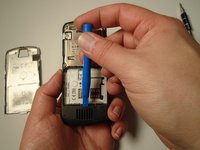
    • Use the plastic opening tool to loosen the cover latch.

    • Once the cover latch has been loosened, gently pull the cover latch off of the device.

    Demander à FixBot

    Ajouter un commentaire

  9. Motorola SLVR L9 Keypad Replacement, Keypad: étape 9, image 1 de 1
    • Use a screwdriver with a T6 Torx screwdriver head to remove both screws (1/8") from the speaker housing. Turn the screw counter-clockwise (left).

    Demander à FixBot

    Ajouter un commentaire

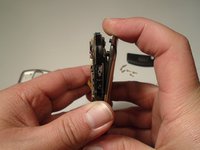
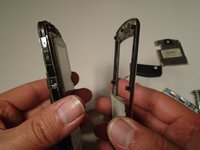
  10. Motorola SLVR L9 Keypad Replacement: étape 10, image 1 de 3 Motorola SLVR L9 Keypad Replacement: étape 10, image 2 de 3 Motorola SLVR L9 Keypad Replacement: étape 10, image 3 de 3
    • Using the grooves around the edge of the phone, gently pull the front plate away from the phone until it is fully removed from the device.

    Demander à FixBot

    Ajouter un commentaire

  11. Motorola SLVR L9 Keypad Replacement: étape 11, image 1 de 2 Motorola SLVR L9 Keypad Replacement: étape 11, image 2 de 2
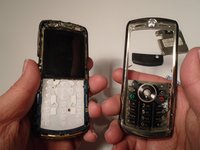
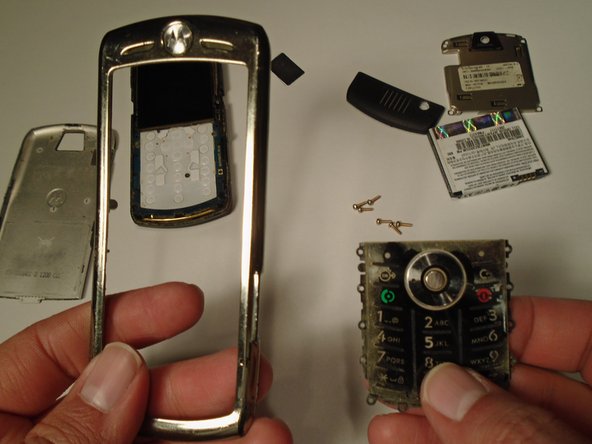
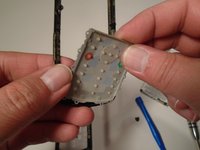
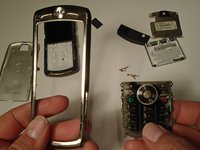
    • Lift the keypad up from the front plate to remove.

    Demander à FixBot

    Ajouter un commentaire

Conclusion

To reassemble your device, follow these instructions in reverse order.

Annulation : je n'ai pas terminé ce tutoriel.

Eric Lopez

Membre depuis le 10/13/15

201 Réputation

2 tutoriels rédigés

Équipe

Sam Houston State, Team 1-5, Blackburne Fall 2015 Membre de l'équipe Sam Houston State, Team 1-5, Blackburne Fall 2015

SHSU-BLACKBURNE-F15S1G5

3 membres

15 tutoriels rédigés

0 commentaires de tutoriel

Ajouter un commentaire

Nombre de vues :

Dernières 24 heures : 1

7 derniers jours : 4

30 derniers jours : 19

Total : 594