Aller au contenu principal
Pour réparer ensemble - Je crée un compte

Nikon D90 Flash Bulb Replacement

Ce dont vous avez besoin

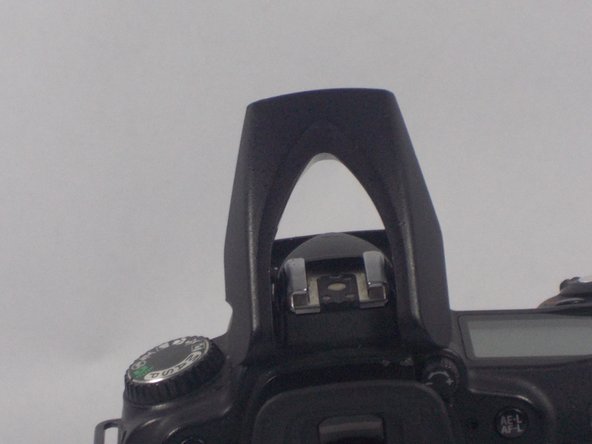
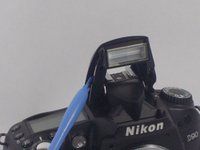
    1. Nikon D90 Flash Bulb Replacement, Open the Flash: étape 1, image 1 de 3 Nikon D90 Flash Bulb Replacement, Open the Flash: étape 1, image 2 de 3 Nikon D90 Flash Bulb Replacement, Open the Flash: étape 1, image 3 de 3
      • Use a plastic opening tool to lift up the flash.

      Demander à FixBot

      Ajouter un commentaire

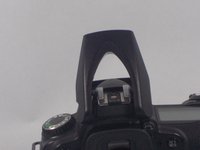
    2. Nikon D90 Flash Bulb Replacement, Flash Casing Screws: étape 2, image 1 de 2 Nikon D90 Flash Bulb Replacement, Flash Casing Screws: étape 2, image 2 de 2
      • Using a PH00 screwdriver, remove the two 5.3 mm Phillips screws from the flash casing.

      • Be careful not to strip the screw heads.

      Demander à FixBot

      Ajouter un commentaire

    3. Nikon D90 Flash Bulb Replacement, Removing the Top Flash Casing: étape 3, image 1 de 3 Nikon D90 Flash Bulb Replacement, Removing the Top Flash Casing: étape 3, image 2 de 3 Nikon D90 Flash Bulb Replacement, Removing the Top Flash Casing: étape 3, image 3 de 3
      • Use a plastic opening tool and carefully pry open the top casing of the flash.

      • Then, lift off the top casing of the flash.

      Demander à FixBot

      Ajouter un commentaire

    1. Nikon D90 Flash Bulb Replacement, Removing the Bulb Tape: étape 4, image 1 de 2 Nikon D90 Flash Bulb Replacement, Removing the Bulb Tape: étape 4, image 2 de 2
      Outil utilisé dans cette étape :
      Tweezers
      $4.99
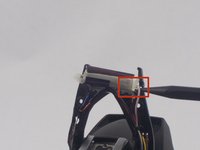
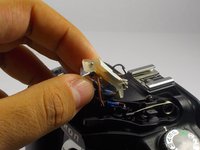
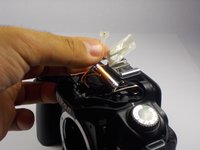
      • Carefully unclip the bulb casing from the plastic casing using tweezers.

      • Remove the black and white tape on the bulb casing.

      • This tape is what holds the wires and bulb in place.

      Demander à FixBot

      Ajouter un commentaire

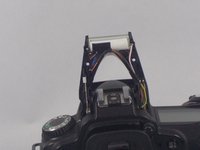
    2. Nikon D90 Flash Bulb Replacement, Removing the Bulb: étape 5, image 1 de 3 Nikon D90 Flash Bulb Replacement, Removing the Bulb: étape 5, image 2 de 3 Nikon D90 Flash Bulb Replacement, Removing the Bulb: étape 5, image 3 de 3
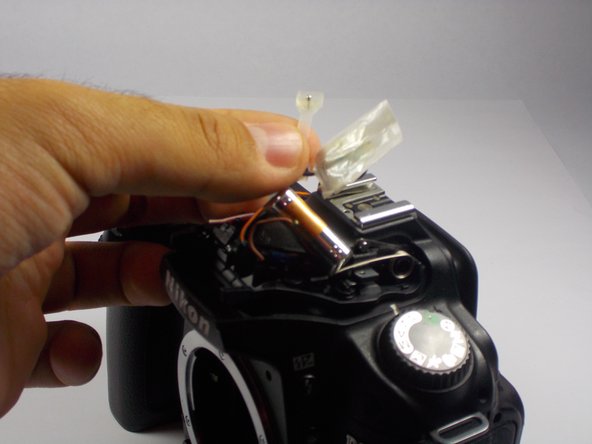
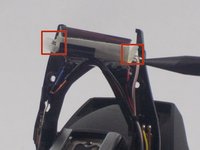
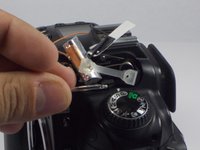
      • Remove the rubber stopper on the left and right side of the bulb.

      • Separate the rubber stopper from the white and black tape.

      • The bulb can now be slid out and replaced.

      • Be careful not to break the bulb or cut yourself on the broken bulb.

      Demander à FixBot

      Ajouter un commentaire

Conclusion

To reassemble your device, follow these instructions in reverse order.

Annulation : je n'ai pas terminé ce tutoriel.

8 autres ont terminé cette réparation.

jonothon cawley

Membre depuis le 10/20/14

354 Réputation

2 tutoriels rédigés

Équipe

UMass Dartmouth, Team 1-7, Duarte Fall 2014 Membre de l'équipe UMass Dartmouth, Team 1-7, Duarte Fall 2014

UMASSD-DUARTE-F14S1G7

3 membres

6 tutoriels rédigés

2 commentaires de tutoriel

thanks for instruction…………really helpfull

hebi - Réponse Partager

Hi guys do you know where to get this bulb?please help

Martin Mitter - Réponse Partager

Ajouter un commentaire

Nombre de vues :

Dernières 24 heures : 2

7 derniers jours : 18

30 derniers jours : 52

Total : 8,326