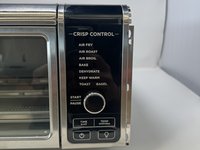
Aller au contenu principal

Ninja Foodi SP101 Control Panel Replacement

Ce dont vous avez besoin

  1. Ninja Foodi SP101 Control Panel Replacement, Feet: étape 1, image 1 de 2 Ninja Foodi SP101 Control Panel Replacement, Feet: étape 1, image 2 de 2
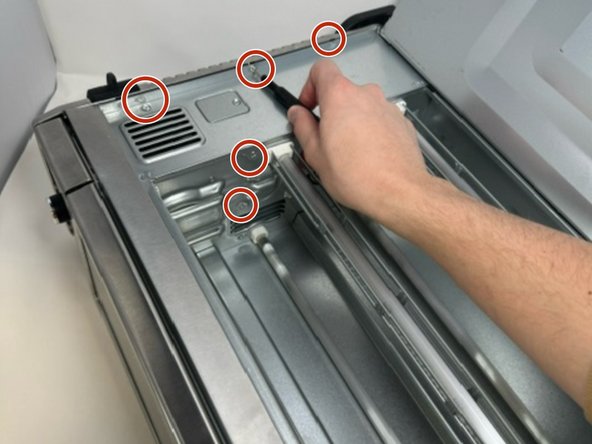
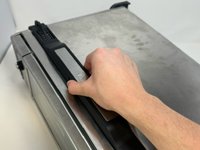
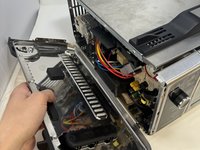
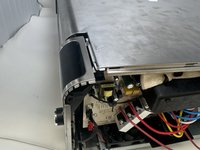
    • Use a TR10 screwdriver to remove the four 11mm screws holding the black lever bar in place.

  2. Ninja Foodi SP101 Control Panel Replacement: étape 2, image 1 de 1
    • Remove the black lever bar.

  3. Ninja Foodi SP101 Control Panel Replacement, Side Panels: étape 3, image 1 de 1
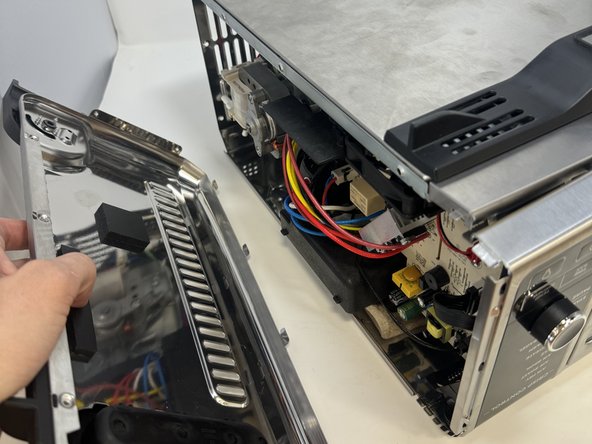
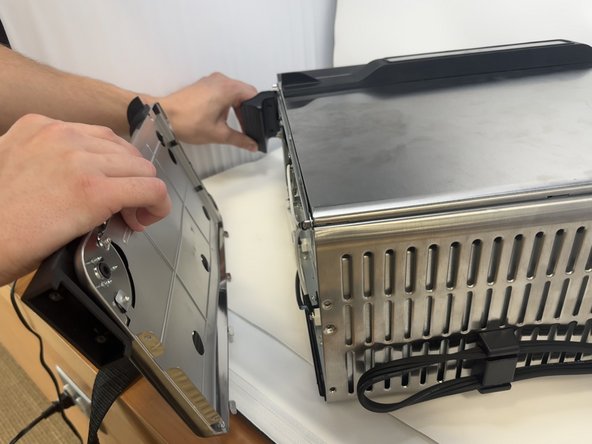
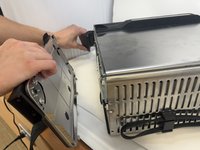
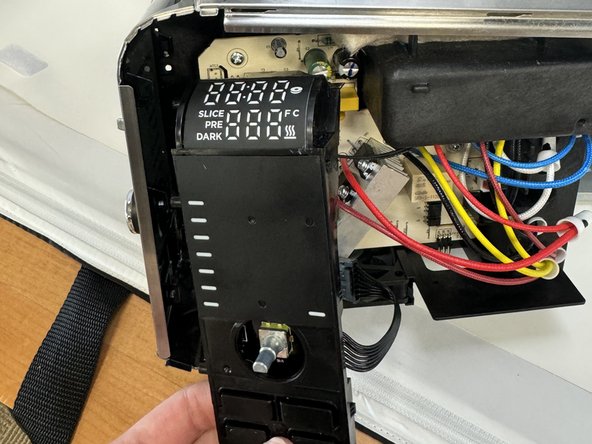
    • Use a Phillips #1 screwdriver to remove the three 8mm screws on each side of the back panel.

  4. Ninja Foodi SP101 Control Panel Replacement: étape 4, image 1 de 2 Ninja Foodi SP101 Control Panel Replacement: étape 4, image 2 de 2
    • Flip the device upside down and open the bottom panel.

    • Remove the five 8 mm screws on each side of the interior using a Phillips #1 screwdriver.

  5. Ninja Foodi SP101 Control Panel Replacement: étape 5, image 1 de 3 Ninja Foodi SP101 Control Panel Replacement: étape 5, image 2 de 3 Ninja Foodi SP101 Control Panel Replacement: étape 5, image 3 de 3
    • Remove the control side panel.

    • Lift the siding outward to remove the metal tab connection on the bottom.

  6. Ninja Foodi SP101 Control Panel Replacement: étape 6, image 1 de 2 Ninja Foodi SP101 Control Panel Replacement: étape 6, image 2 de 2
    • Lift the handle and pull the side panel out.

    • Remove the handle side panel.

  7. Ninja Foodi SP101 Control Panel Replacement, Control Panel: étape 7, image 1 de 1
    • Remove the 10mm screw using the Phillips #1 screwdriver.

    • This screw connects the motherboard to the motor.

  8. Ninja Foodi SP101 Control Panel Replacement: étape 8, image 1 de 3 Ninja Foodi SP101 Control Panel Replacement: étape 8, image 2 de 3 Ninja Foodi SP101 Control Panel Replacement: étape 8, image 3 de 3
    • Locate the control panel.

    • Slide the top panel outwards and to the right.

  9. Ninja Foodi SP101 Control Panel Replacement: étape 9, image 1 de 1
    • Remove the three 8 mm screws with the Phillips #1 screwdriver.

    • These are located on the control panel side that was facing inward.

  10. Ninja Foodi SP101 Control Panel Replacement: étape 10, image 1 de 2 Ninja Foodi SP101 Control Panel Replacement: étape 10, image 2 de 2
    • Unclip the wires from the motherboard.

  11. Ninja Foodi SP101 Control Panel Replacement: étape 11, image 1 de 1
    • Remove the control panel.

Conclusion

To reassemble your device, follow these instructions in reverse order.

Griffin Peterson

Membre depuis le 01/30/24

565 Réputation

6 tutoriels rédigés

Équipe

Utah Tech University, Team 1-4, McMurrin Spring 2024 Membre de l'équipe Utah Tech University, Team 1-4, McMurrin Spring 2024

UTAHTECH-MCMURRIN-S24S1G4

2 membres

9 tutoriels rédigés

0 commentaires

Ajouter un commentaire

Nombre de vues :

Dernières 24 heures : 1

7 derniers jours : 7

30 derniers jours : 21

Total : 58