Aller au contenu principal
Pour réparer ensemble - Je crée un compte

Nokero SunRay Pro Power Panel USB Assembly Replacement

Ce dont vous avez besoin

    1. Nokero SunRay Pro Power Panel USB Assembly Replacement, Front and Back Case: étape 1, image 1 de 1
      • Turn over the device so that the back of the device is facing up.

      Demander à FixBot

      Ajouter un commentaire

    2. Nokero SunRay Pro Power Panel USB Assembly Replacement: étape 2, image 1 de 3 Nokero SunRay Pro Power Panel USB Assembly Replacement: étape 2, image 2 de 3 Nokero SunRay Pro Power Panel USB Assembly Replacement: étape 2, image 3 de 3
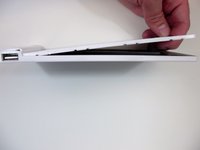
      • Insert the first plastic opening tool along the side to pry open the case.

      • Sliding the plastic opening tool, while inserted, along the seam may help the removal process.

      • Use a second plastic opening tool to help separate the remaining seams.

      Demander à FixBot

      Ajouter un commentaire

    3. Nokero SunRay Pro Power Panel USB Assembly Replacement: étape 3, image 1 de 2 Nokero SunRay Pro Power Panel USB Assembly Replacement: étape 3, image 2 de 2
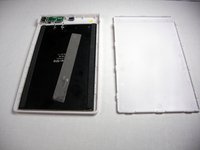
      • There is a long strip of double sided adhesive foam tape that prevents the back case from easily being removed.

      • Pull the back case off by applying steady pressure to remove it from the adhesive foam tape.

      Demander à FixBot

      Ajouter un commentaire

    4. Nokero SunRay Pro Power Panel USB Assembly Replacement: étape 4, image 1 de 2 Nokero SunRay Pro Power Panel USB Assembly Replacement: étape 4, image 2 de 2
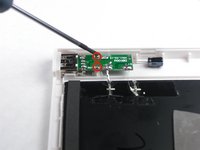
      • Use the Phillips precision screwdriver to unscrew the two 5.0 mm Phillips screws from the circuit board.

      • Remove the solar panel and circuit board from the front case.

      Demander à FixBot

      Ajouter un commentaire

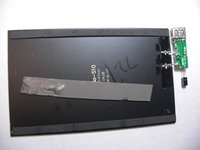
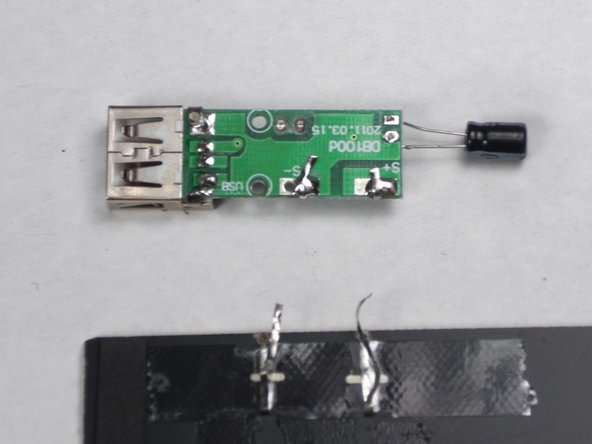
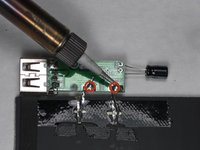
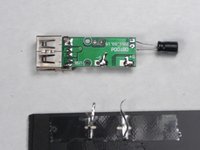
    1. Nokero SunRay Pro Power Panel USB Assembly Replacement, USB Assembly/ Solar Panel: étape 5, image 1 de 2 Nokero SunRay Pro Power Panel USB Assembly Replacement, USB Assembly/ Solar Panel: étape 5, image 2 de 2
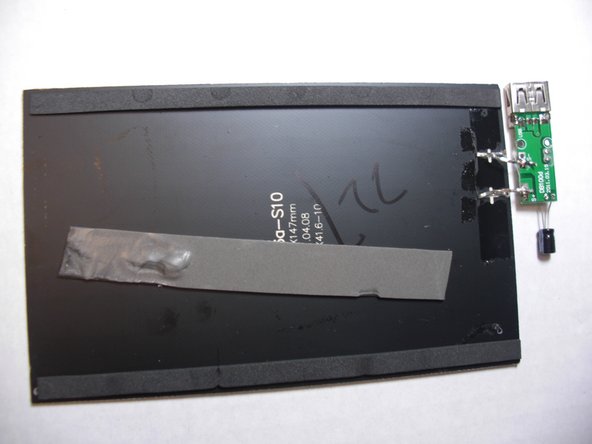
      • Solder the two contact points identified by the "S+" and "S-" to disconnect the USB assembly.

      Demander à FixBot

      Ajouter un commentaire

Conclusion

To reassemble your device, follow these instructions in reverse order.

Annulation : je n'ai pas terminé ce tutoriel.

Une autre personne a terminé cette réparation.

Nicholas Orr

Membre depuis le 01/20/15

229 Réputation

2 tutoriels rédigés

0 commentaires de tutoriel

Ajouter un commentaire

Nombre de vues :

Dernières 24 heures : 2

7 derniers jours : 11

30 derniers jours : 40

Total : 552