Aller au contenu principal
Pour réparer ensemble - Je crée un compte

Nokia E90 Inside Screen Replacement

Ce dont vous avez besoin

  1. Nokia E90 Inside Screen Replacement, Front Cover: étape 1, image 1 de 1
    • Start with the phone in the flipped open position.

    • You must remove the sticker in the center, below the screen to reveal the center screw.

    • Use a T5 screwdriver to remove all three screws, loosening the front screen.

    Demander à FixBot

    Ajouter un commentaire

  2. Nokia E90 Inside Screen Replacement: étape 2, image 1 de 2 Nokia E90 Inside Screen Replacement: étape 2, image 2 de 2
    • Flip the phone to the closed position and turn to the front screen.

    • The front cover will now be loose enough for you to remove by grabbing the edges and lightly pulling the cover off.

    Demander à FixBot

    Ajouter un commentaire

  3. Nokia E90 Inside Screen Replacement, Front Screen and Front Keypad: étape 3, image 1 de 1
    • With the front cover off, the screen and keypad should be loose.

    Demander à FixBot

    Ajouter un commentaire

  4. Nokia E90 Inside Screen Replacement: étape 4, image 1 de 2 Nokia E90 Inside Screen Replacement: étape 4, image 2 de 2
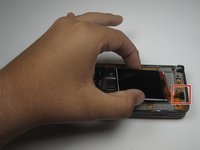
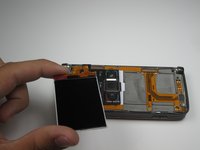
    • Using a plastic opening tool pry up the cable connecting the LCD screen to the rest of the phone.

    • With the cable disconnected, the screen should be free for removal or replacement.

    Demander à FixBot

    Ajouter un commentaire

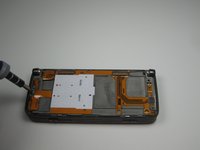
  5. Nokia E90 Inside Screen Replacement, Inside Screen: étape 5, image 1 de 1
    • After removing the front screen and front keypad, your device should look like this.

    Demander à FixBot

    Ajouter un commentaire

  6. Nokia E90 Inside Screen Replacement: étape 6, image 1 de 3 Nokia E90 Inside Screen Replacement: étape 6, image 2 de 3 Nokia E90 Inside Screen Replacement: étape 6, image 3 de 3
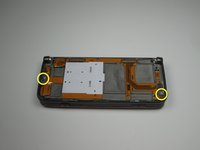
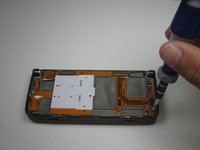
    • Using the T5 Screwdriver, remove the two screws shown.

    Demander à FixBot

    Ajouter un commentaire

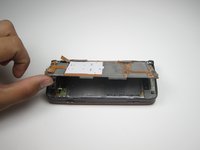
  7. Nokia E90 Inside Screen Replacement: étape 7, image 1 de 1
    • Make sure to remove the connection shown by gently easing the plastic opening tool underneath the connection and lightly prying the connection apart.

    Demander à FixBot

    Ajouter un commentaire

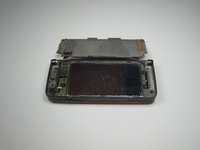
  8. Nokia E90 Inside Screen Replacement: étape 8, image 1 de 2 Nokia E90 Inside Screen Replacement: étape 8, image 2 de 2
    • Gently, lift the board up to reveal the front screen.

    Demander à FixBot

    Ajouter un commentaire

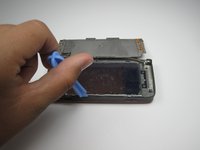
  9. Nokia E90 Inside Screen Replacement: étape 9, image 1 de 3 Nokia E90 Inside Screen Replacement: étape 9, image 2 de 3 Nokia E90 Inside Screen Replacement: étape 9, image 3 de 3
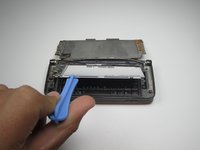
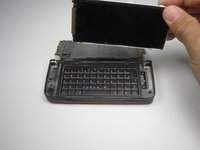
    • Using the plastic opening tool, lift and remove the inside screen.

    Demander à FixBot

    Ajouter un commentaire

Conclusion

In order to install a new screen, simply follow the steps in reverse order with the new screen.

Annulation : je n'ai pas terminé ce tutoriel.

5 autres ont terminé cette réparation.

Cameron Weinberg

Membre depuis le 04/12/11

591 Réputation

6 tutoriels rédigés

Équipe

Cal Poly, Team 18-21, Garner Spring 2011 Membre de l'équipe Cal Poly, Team 18-21, Garner Spring 2011

CPSU-GARNER-S11S18G21

3 membres

16 tutoriels rédigés

0 commentaires de tutoriel

Ajouter un commentaire

Nombre de vues :

Dernières 24 heures : 0

7 derniers jours : 10

30 derniers jours : 46

Total : 5,891