Introduction
This guide shows the reader how to replace the effect button cover. If this plastic part is damaged and doesn't touch the circuit board when pressure is applied, it is likely responsible for an unresponsive effects button.
Ce dont vous avez besoin
-
-
Turn the Numark N4 over so that the bottom panel is facing upwards.
-
Loosen and remove the 17 12mm screws from the bottom panel using a Phillips #2 screwdriver.
 Demander à FixBot
-
-
-
Using your fingers, gently pull apart the two panels of the device until you feel resistance from the cables.
-
-
-
Using your fingers, gently unplug the larger ribbon cable as pictured.
-
-
-
Using your fingers, gently unplug the smaller ribbon cable as pictured.
-
-
-
-
Using your fingers, gently unplug the yellow and red cable as pictured.
-
-
-
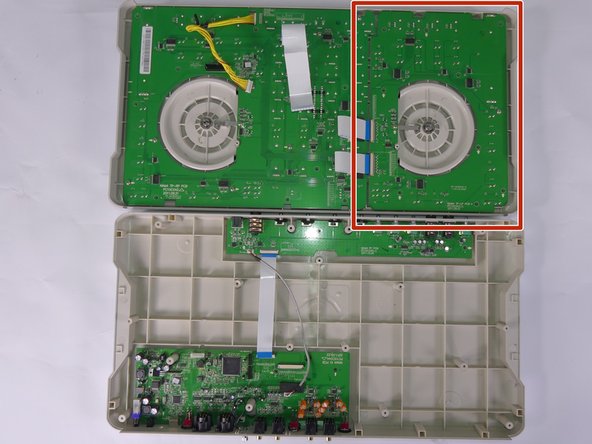
Open the two panels completely, gently placing each side on your working area to avoid damage to the buttons on the outside face.
-
-
-
Loosen and remove the 11 12mm screws from the circuit board using Phillips #2 screwdriver.
-




To reassemble your device, follow these instructions in reverse order.
Annulation : je n'ai pas terminé ce tutoriel.
3 autres ont terminé cette réparation.

Équipe

USF Tampa, Team S13-G11, Cagle Fall 2017 Membre de l'équipe USF Tampa, Team S13-G11, Cagle Fall 2017
USFT-CAGLE-F17S13G11
4 membres
12 tutoriels rédigés
