Aller au contenu principal
Pour réparer ensemble - Je crée un compte

Numark TT1600 Audio Jacks Replacement

Ce dont vous avez besoin

    1. Numark TT1600 Audio Jacks Replacement, Audio Jacks: étape 1, image 1 de 1
      • Flip over the turntable and remove the nine screws on the outer edges.

      Demander à FixBot

      Ajouter un commentaire

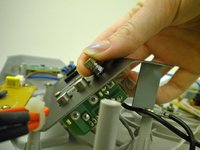
    2. Numark TT1600 Audio Jacks Replacement: étape 2, image 1 de 2 Numark TT1600 Audio Jacks Replacement: étape 2, image 2 de 2
      • Find the audio jacks located on the back side of the turntable.

      • Remove the screw located in between the right and left audio jacks.

      Demander à FixBot

      Ajouter un commentaire

    3. Numark TT1600 Audio Jacks Replacement: étape 3, image 1 de 1
      • Remove the back cover by pulling it apart.

      Demander à FixBot

      Ajouter un commentaire

    4. Numark TT1600 Audio Jacks Replacement: étape 4, image 1 de 1
      • Remove the grounding hardware located next to the audio jacks.

      Demander à FixBot

      Ajouter un commentaire

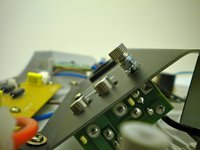
    5. Numark TT1600 Audio Jacks Replacement: étape 5, image 1 de 2 Numark TT1600 Audio Jacks Replacement: étape 5, image 2 de 2
      • Remove the ground screw and washers.

      Demander à FixBot

      Ajouter un commentaire

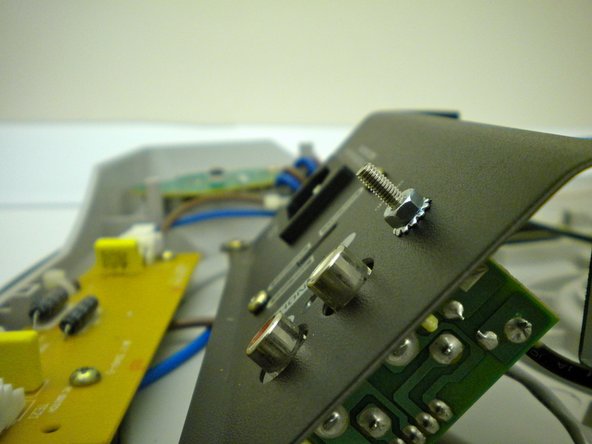
    6. Numark TT1600 Audio Jacks Replacement: étape 6, image 1 de 1
      • Remove the remaining nut and washer.

      Demander à FixBot

      Ajouter un commentaire

    7. Numark TT1600 Audio Jacks Replacement: étape 7, image 1 de 1
      • Remove the screw located on the back panel of the audio jack housing.

      Demander à FixBot

      Ajouter un commentaire

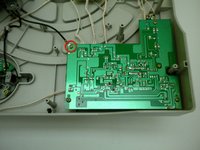
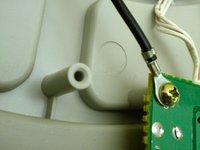
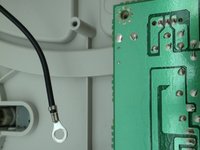
    8. Numark TT1600 Audio Jacks Replacement: étape 8, image 1 de 3 Numark TT1600 Audio Jacks Replacement: étape 8, image 2 de 3 Numark TT1600 Audio Jacks Replacement: étape 8, image 3 de 3
      • Remove the screw that connects the audio jacks to the biggest circuit board via wire.

      Demander à FixBot

      Ajouter un commentaire

    9. Numark TT1600 Audio Jacks Replacement: étape 9, image 1 de 1
      • Gently pull out the audio input jacks from the audio input housing.

      Demander à FixBot

      Ajouter un commentaire

Conclusion

To reassemble your device, follow these instructions in reverse order.

Annulation : je n'ai pas terminé ce tutoriel.

2 autres ont terminé cette réparation.

Nikolai

Membre depuis le 10/12/11

281 Réputation

5 tutoriels rédigés

Équipe

Cal Poly, Team 17-14, Regan Fall 2011 Membre de l'équipe Cal Poly, Team 17-14, Regan Fall 2011

CPSU-REGAN-F11S17G14

4 membres

25 tutoriels rédigés

0 commentaires de tutoriel

Ajouter un commentaire

Nombre de vues :

Dernières 24 heures : 2

7 derniers jours : 9

30 derniers jours : 29

Total : 1,751