Aller au contenu principal
Pour réparer ensemble - Je crée un compte

Oculus Rift Development Kit 2 Display Screen Replacement

Ce dont vous avez besoin

    1. Oculus Rift Development Kit 2 Display Screen Replacement, Eye Relief Adjustment Screw: étape 1, image 1 de 3 Oculus Rift Development Kit 2 Display Screen Replacement, Eye Relief Adjustment Screw: étape 1, image 2 de 3 Oculus Rift Development Kit 2 Display Screen Replacement, Eye Relief Adjustment Screw: étape 1, image 3 de 3
      • Remove front cover plate.

      • Unplug the USB and HDMI cables from the Oculus Rift DK2.

      Demander à FixBot

      Ajouter un commentaire

    2. Oculus Rift Development Kit 2 Display Screen Replacement: étape 2, image 1 de 3 Oculus Rift Development Kit 2 Display Screen Replacement: étape 2, image 2 de 3 Oculus Rift Development Kit 2 Display Screen Replacement: étape 2, image 3 de 3
      • Remove the four 3/8" Phillips #0 screws from the inner portion of the headset.

      Demander à FixBot

      Ajouter un commentaire

    3. Oculus Rift Development Kit 2 Display Screen Replacement: étape 3, image 1 de 2 Oculus Rift Development Kit 2 Display Screen Replacement: étape 3, image 2 de 2
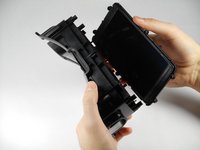
      • With the screws removed, gently pull the headband frame apart from the headset.

      Demander à FixBot

      Ajouter un commentaire

    1. Oculus Rift Development Kit 2 Display Screen Replacement, Remove Lens: étape 4, image 1 de 2 Oculus Rift Development Kit 2 Display Screen Replacement, Remove Lens: étape 4, image 2 de 2
      • With the Oculus facing up, twist the right lens clockwise and lift it out. Repeat for the left lens twisting counterclockwise instead.

      Demander à FixBot

      Ajouter un commentaire

    1. Oculus Rift Development Kit 2 Display Screen Replacement, Headset Motherboard: étape 5, image 1 de 1
      Outil utilisé dans cette étape :
      Tweezers
      $4.99
      • Using tweezers, carefully lift the four rubber plugs as shown. They are a bit snug and you may need to jiggle them free with the tweezers.

      Demander à FixBot

      Ajouter un commentaire

    2. Oculus Rift Development Kit 2 Display Screen Replacement: étape 6, image 1 de 1
      • Remove the four 3/8" screws attaching the eyewear enclosure to the front casing.

      • Read the next step before removing the faceplate!

      Demander à FixBot

      Ajouter un commentaire

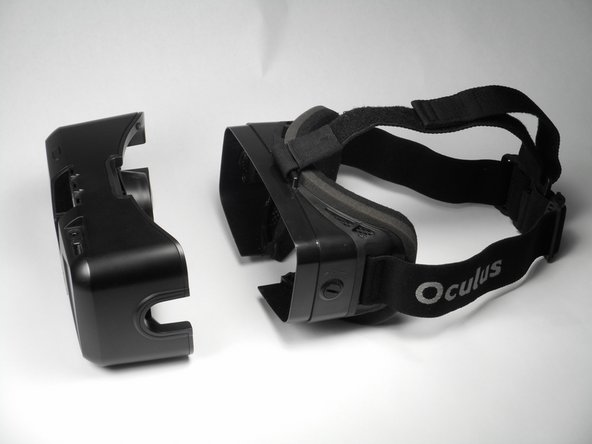
    3. Oculus Rift Development Kit 2 Display Screen Replacement: étape 7, image 1 de 2 Oculus Rift Development Kit 2 Display Screen Replacement: étape 7, image 2 de 2
      • Carefully separate the faceplate and the cover. Gently rest the cover plate on top of the faceplate as shown in the pictures.

      • Do not use excessive force when separating these two pieces. There is a delicate ribbon cable connected to each.

      Demander à FixBot

      Ajouter un commentaire

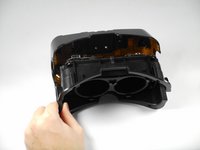
    4. Oculus Rift Development Kit 2 Display Screen Replacement: étape 8, image 1 de 2 Oculus Rift Development Kit 2 Display Screen Replacement: étape 8, image 2 de 2
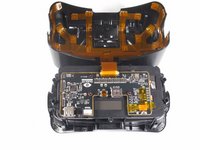
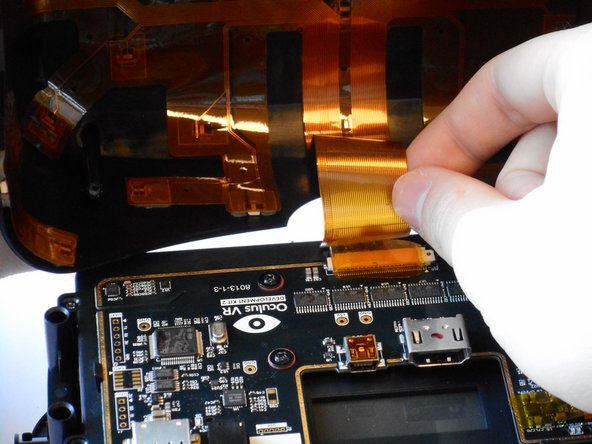
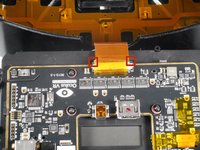
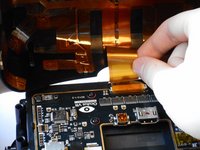
      • Gently pull out the small side tabs on the ribbon cable connector as shown to release the cable.

      • Push the tabs away from you, with the headset oriented as pictured. Carefully slide the ribbon cable out.

      • The headset should now be two separate pieces.

      Demander à FixBot

      Ajouter un commentaire

    5. Oculus Rift Development Kit 2 Display Screen Replacement: étape 9, image 1 de 3 Oculus Rift Development Kit 2 Display Screen Replacement: étape 9, image 2 de 3 Oculus Rift Development Kit 2 Display Screen Replacement: étape 9, image 3 de 3
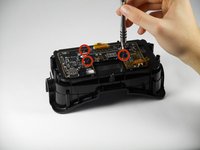
      • Unscrew the three 1/4" Phillips #00 screws as pictured and use the tweezers to lift them out.

      Demander à FixBot

      Ajouter un commentaire

    6. Oculus Rift Development Kit 2 Display Screen Replacement: étape 10, image 1 de 1
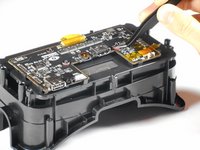
      • Lift the tape and gently pry up the video data ribbon cable using the plastic opening tool as shown.

      Demander à FixBot

      Ajouter un commentaire

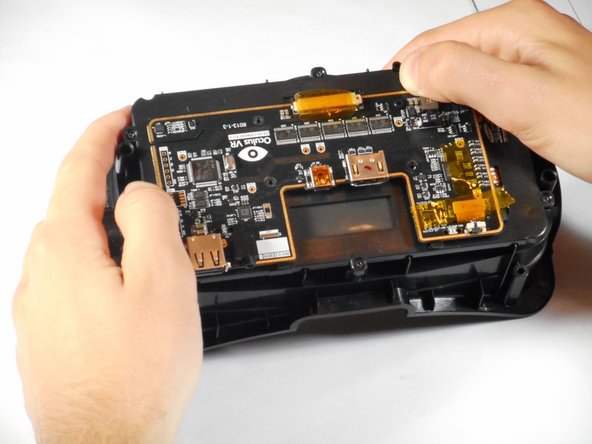
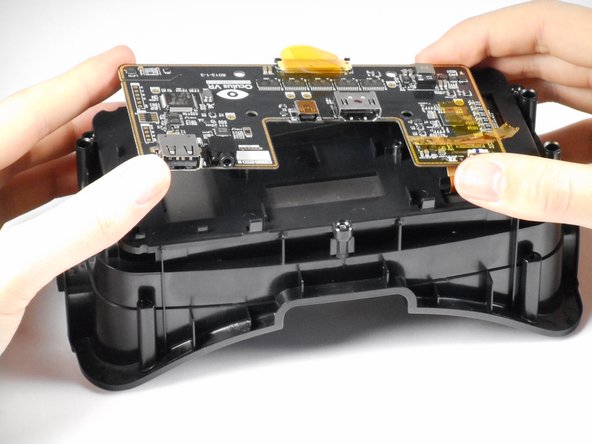
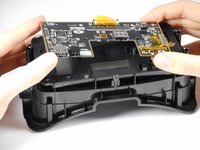
    7. Oculus Rift Development Kit 2 Display Screen Replacement: étape 11, image 1 de 3 Oculus Rift Development Kit 2 Display Screen Replacement: étape 11, image 2 de 3 Oculus Rift Development Kit 2 Display Screen Replacement: étape 11, image 3 de 3
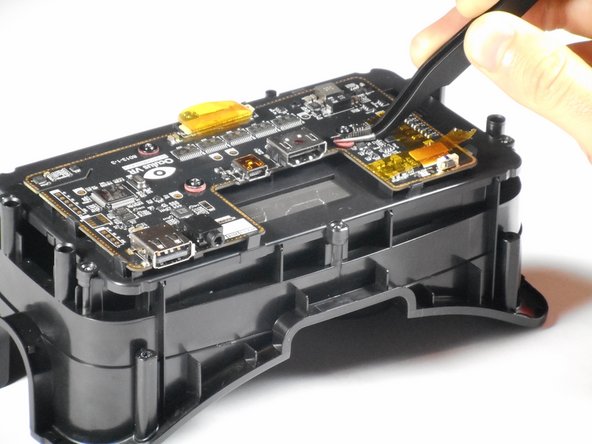
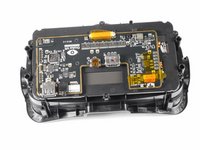
      • Gently pry back the motherboard clips to release the motherboard. The motherboard should now lift free.

      Demander à FixBot

      Ajouter un commentaire

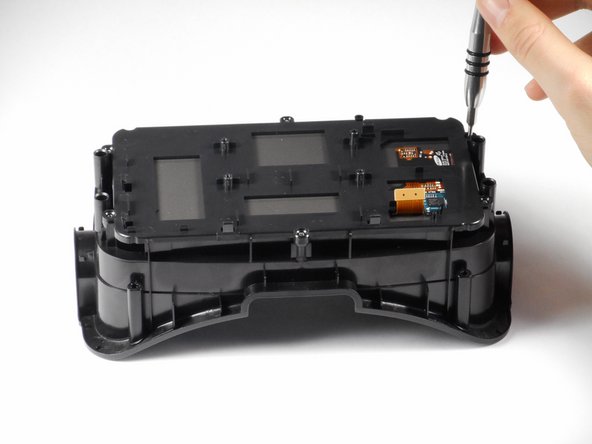
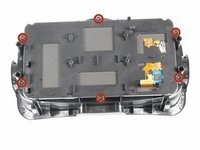
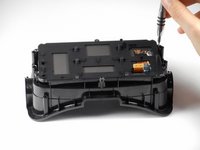
    1. Oculus Rift Development Kit 2 Display Screen Replacement, Display Screen: étape 12, image 1 de 3 Oculus Rift Development Kit 2 Display Screen Replacement, Display Screen: étape 12, image 2 de 3 Oculus Rift Development Kit 2 Display Screen Replacement, Display Screen: étape 12, image 3 de 3
      • Remove the six 1/4" Phillips #1 screws as shown. There should be two on each short side, and one on each long side.

      • Gently lift the plastic screen holder and display screen away from the remaining piece of the faceplate.

      Demander à FixBot

      Ajouter un commentaire

Conclusion

To reassemble your device, follow these instructions in reverse order.

Annulation : je n'ai pas terminé ce tutoriel.

4 autres ont terminé cette réparation.

Adam

Membre depuis le 01/20/15

661 Réputation

4 tutoriels rédigés

Équipe

Cal Poly, Team 18-5, Maness Winter 2015 Membre de l'équipe Cal Poly, Team 18-5, Maness Winter 2015

CPSU-MANESS-W15S18G5

4 membres

41 tutoriels rédigés

2 commentaires de tutoriel

It's possible to use the Samsung Galaxy Note 4 screen?

Lauro Adriano Freitas - Réponse Partager

possible to use the Samsung Galaxy Note 4 screen?

moldovancasyan19 - Réponse Partager

Ajouter un commentaire

Nombre de vues :

Dernières 24 heures : 2

7 derniers jours : 7

30 derniers jours : 29

Total : 3,321