Introduction
If your OnePlus Nord N20 5G (Model Number - CPH2459) is not charging, you might need to replace the daughterboard.
Attempt to troubleshoot the charging issue OnePlus Nord N20 5G Battery Not Charging before replacement.
Be careful while using the iOpener in step 2 and 6. Follow these instructions for heating the iOpener.
Ce dont vous avez besoin
-
-
Insert the SIM ejection tool or a spudger in the small hole next to the SIM tray.
-
Push it gently until the tray pops out.
-
Remove the SIM card tray by sliding it outwards.
-
-
-
Heat the iOpener in a microwave for about 30 seconds. If the iOpener isn’t hot enough, reheat it for another 10-30 seconds.
-
Apply the heated iOpener on the backside of the phone for a minute to loosen the adhesive.
-
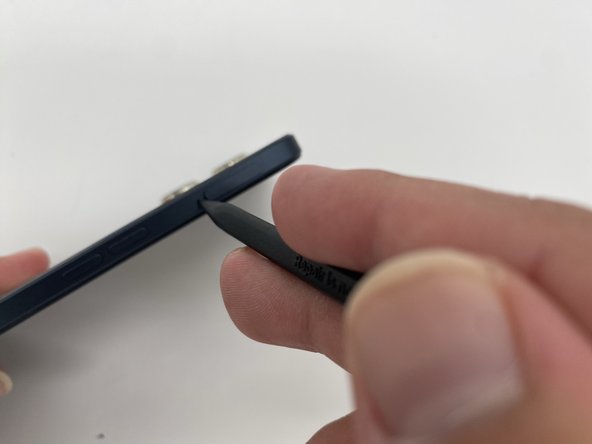
Use the iFixit opening tool and slide it along the edges of the phone to pry the back panel off.
-
-
-
-
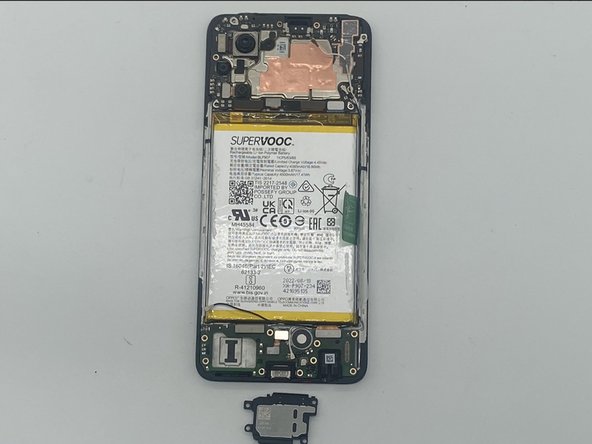
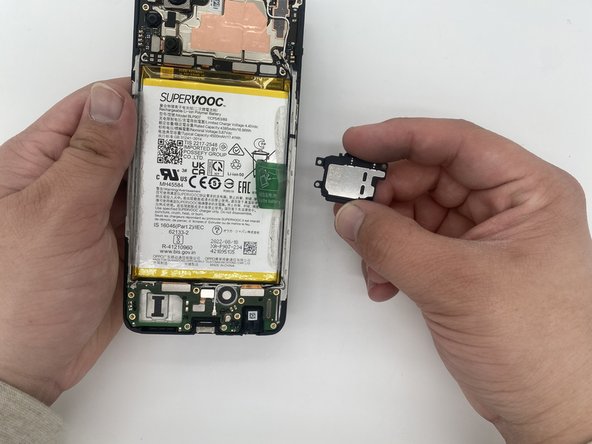
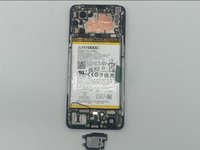
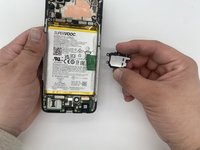
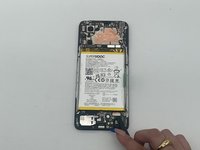
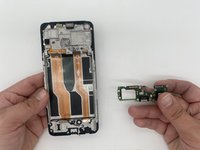
Disconnect the bracket attached to the daughterboard.
-
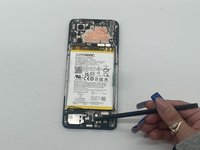
Disconnect the black and white wire.
-


To reassemble your device, follow these instructions in reverse order.
To reassemble your device, follow these instructions in reverse order.

Équipe

University of North Texas, Team 4-5, Harold Fall 2024 Membre de l'équipe University of North Texas, Team 4-5, Harold Fall 2024
UNT-HAROLD-F24S4G5
4 membres
6 tutoriels rédigés