Introduction
Are you noticing any dust, smudges, or debris that’s preventing you from taking clear videos on your Panasonic HDC-TM90? This guide walks you through the careful process of disassembling your camcorder to access your lens and clean it from the inside.
A clean lens is needed to optimize image quality to ensure you produce clear, sharp videos and remove any unwanted visual effects.
Be sure to power off the camcorder before beginning to repair the device.
Ce dont vous avez besoin
-
-
-
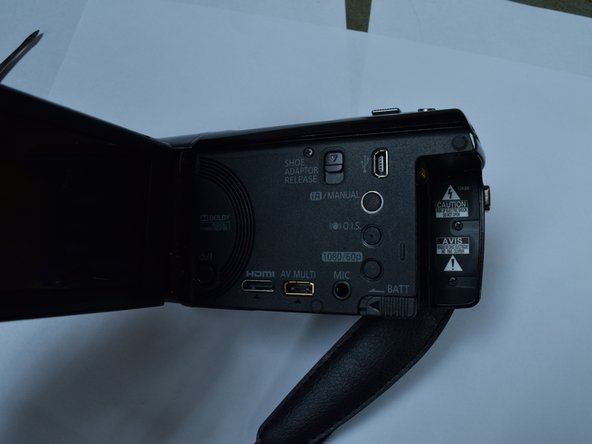
While holding the switch away from the battery, push the battery out of the slot.
-
-
-
-
-
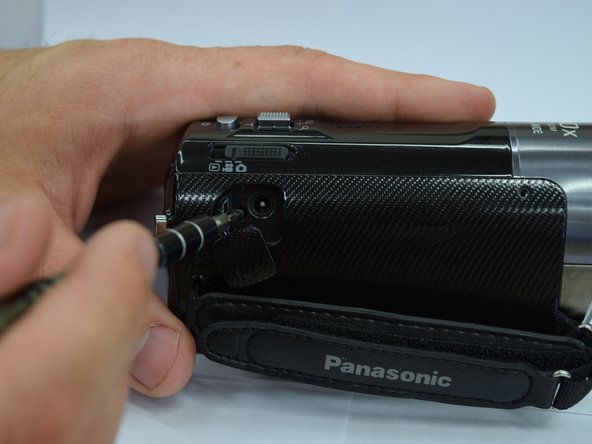
Remove 5 screws from the side panel body of the camcorder.
-
Use the spudger to remove the top of the camcorder.
-
-
-
Unscrew three screws to remove the lens rim on the front of the camcorder.
-
-

 Demander à FixBot


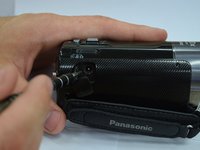

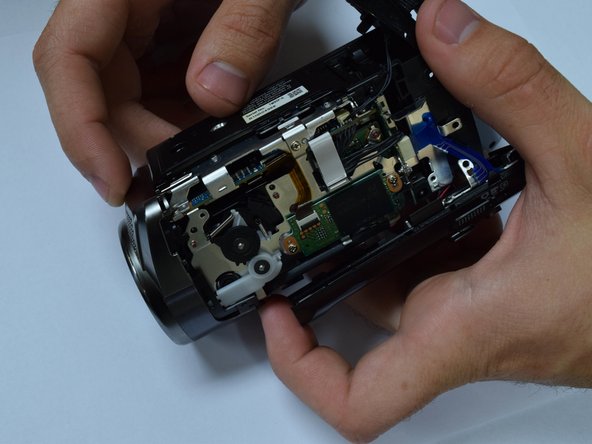
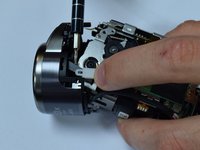
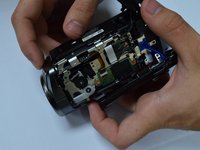


To reassemble your device, follow these instructions in reverse order.

Équipe

Baylor, Team 8-4, Whitney Spring 2017 Membre de l'équipe Baylor, Team 8-4, Whitney Spring 2017
BU-WHITNEY-S17S8G4
3 membres
5 tutoriels rédigés
1 commentaire de tutoriel
Steps 1-4: good pre-req
Step 5-bullet 1: Which screwdriver and how many screws? There seem to be a lot of screws so perhaps numbering how many and where they came from would be helpful. Maybe color coding your steps with more details using markers of how many screws and what location in the pictures would be helpful.
Step 5 bullet 1 and 2 should probably be 2 separate steps.
Step 5- bullet 2: could use a picture
Step 6: Did not seem to be how we did this step at all. Perhaps this could be explained in much more detail with more detailed pictures. Also the cautions and warnings should be labeled as such.
