Introduction
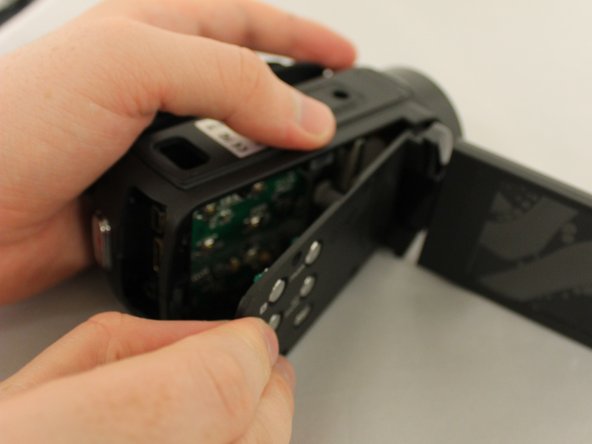
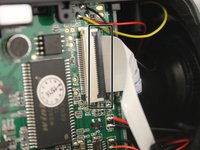
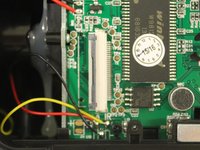
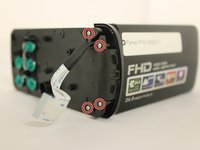
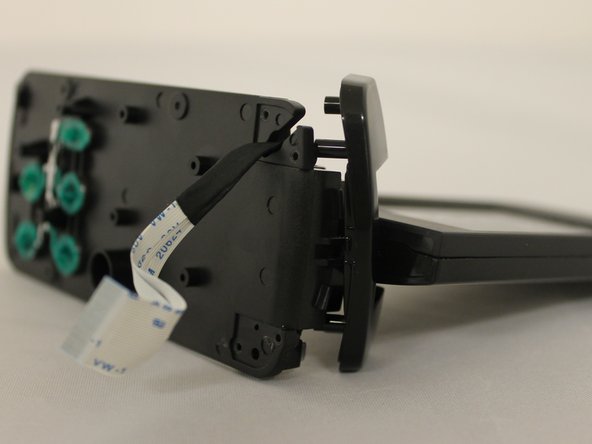
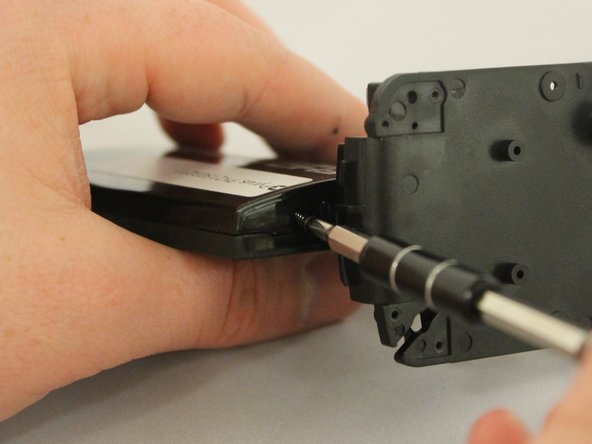
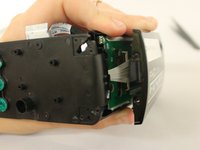
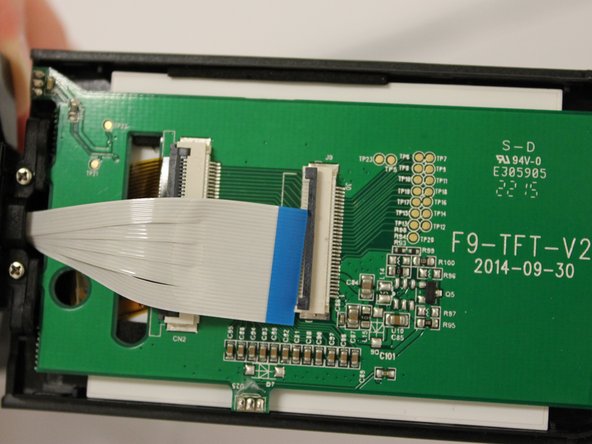
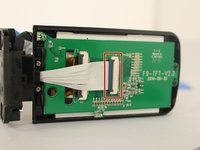
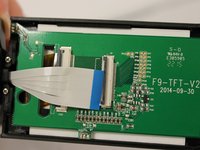
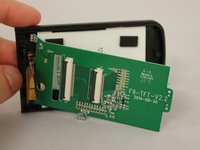
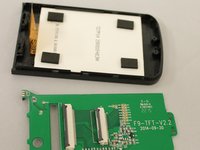
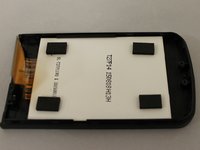
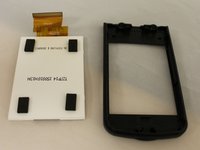
Display screens can break from falls or scratches. Instead of purchasing a new device, replacing the screen is far more inexpensive. It's very important to keep both the large white connector and the gold connector from being pulled or torn, so keep the side panel close to the motherboard when first opening the device.
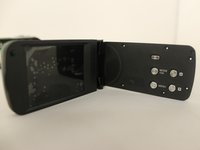
If the display on your Pyrus PY21S03211 video camera is broken, follow this guide to replace it.
Before you begin, make sure that the camera is off and unplugged from the charger. Also, make sure to remove the battery.
Ce dont vous avez besoin
-
-
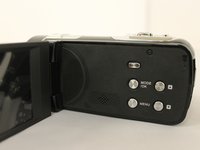
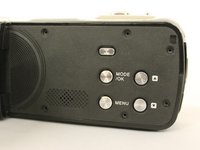
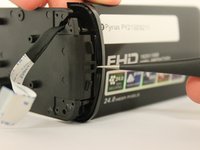
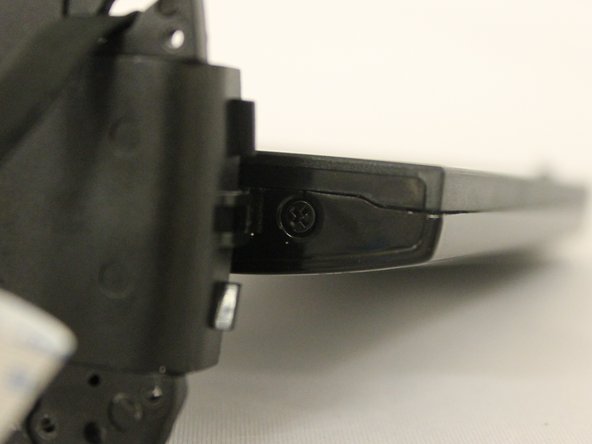
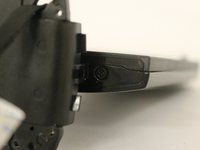
Find the tab at the bottom covering the battery compartment.
-
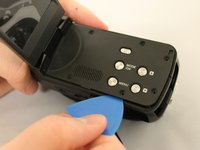
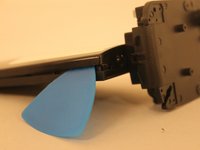
Pull back the tab to reveal the battery compartment.
-
-


To reassemble your device, follow these instructions in reverse order.
Annulation : je n'ai pas terminé ce tutoriel.
Une autre personne a terminé cette réparation.

Équipe

Eastern Washington University, Team 1-5, Giguere Spring 2016 Membre de l'équipe Eastern Washington University, Team 1-5, Giguere Spring 2016
EWU-GIGUERE-S16S1G5
3 membres
3 tutoriels rédigés