Aller au contenu principal
Pour réparer ensemble - Je crée un compte

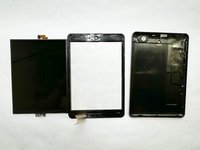
RCA 8 Apollo Screen Replacement

Ce dont vous avez besoin

    1. RCA 8 Apollo Screen Replacement, Back Panel: étape 1, image 1 de 1
      • Before you begin, discharge your tablet battery below 25%. A charged lithium-ion battery can catch fire and/or explode if accidentally punctured.

      • Power off your tablet before beginning to disassemble.

      Demander à FixBot

      Ajouter un commentaire

    2. RCA 8 Apollo Screen Replacement: étape 2, image 1 de 2 RCA 8 Apollo Screen Replacement: étape 2, image 2 de 2
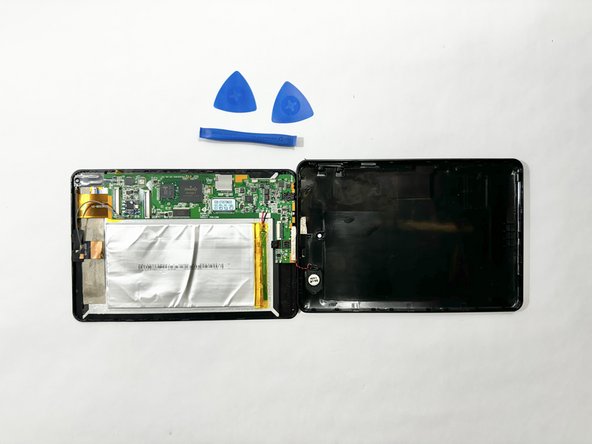
      • Insert an iFixit opening tool into the gap between the tablet and back panel.

      • Using a combination of iFixit opening tools and iFixit opening picks, pry the tablet upward around its perimeter to release it from the plastic rear case.

      • If inserted too far, an opening pick can damage your device. It is helpful to mark the edge with an opening pick, or opening tool at a depth that will not damage the inner contents of the tablet.

      Demander à FixBot

      Ajouter un commentaire

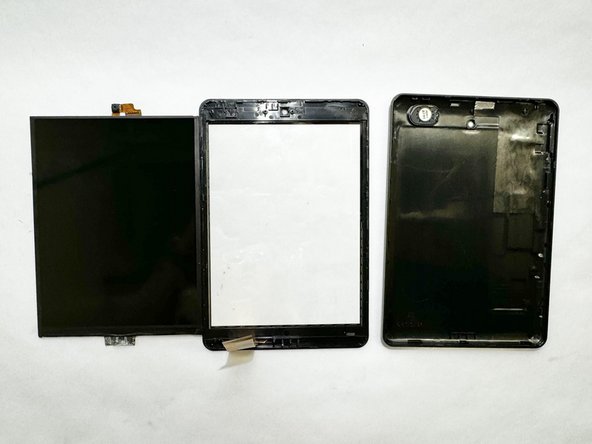
    3. RCA 8 Apollo Screen Replacement: étape 3, image 1 de 2 RCA 8 Apollo Screen Replacement: étape 3, image 2 de 2
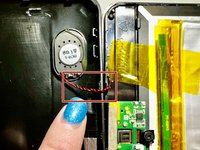
      • Disconnect the red and black speaker wires from the tablet.

      • The front and back of the tablet will be disconnected.

      Demander à FixBot

      Ajouter un commentaire

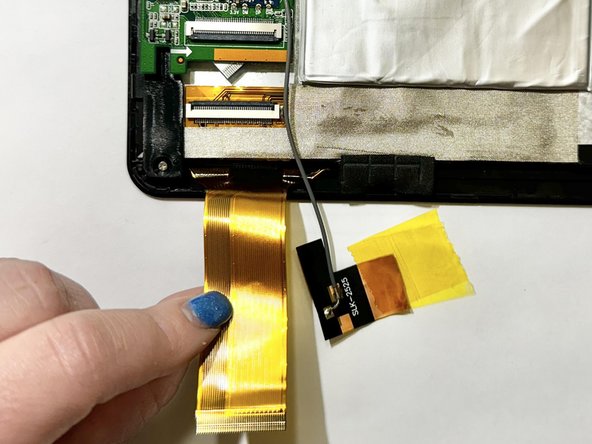
    1. RCA 8 Apollo Screen Replacement, Display Assembly: étape 4, image 1 de 3 RCA 8 Apollo Screen Replacement, Display Assembly: étape 4, image 2 de 3 RCA 8 Apollo Screen Replacement, Display Assembly: étape 4, image 3 de 3
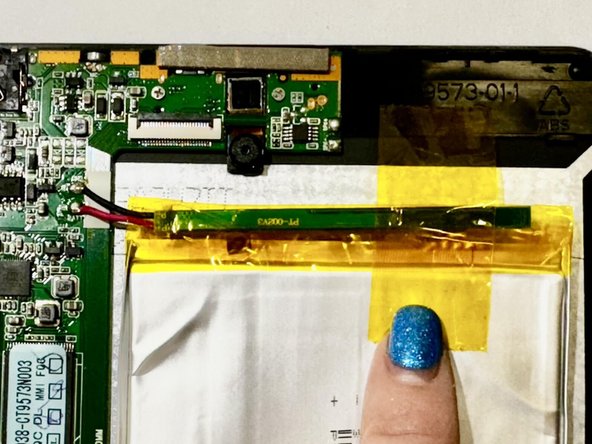
      • Release the gold and black tab from the battery that's attached to a gray wire. The gold tab is held down by an adhesive; pull it until the adhesive releases.

      • Remove the yellow tape that is around the battery.

      • Unlock the ZIF socket and detach the display data interconnect cable from the front panel assembly.

      • If the connector is misaligned, the pins can bend, causing permanent damage.

      Demander à FixBot

      Ajouter un commentaire

    2. RCA 8 Apollo Screen Replacement: étape 5, image 1 de 1
      • Remove the three screws from the motherboard using a Phillips screwdriver.

      Demander à FixBot

      Ajouter un commentaire

    3. RCA 8 Apollo Screen Replacement: étape 6, image 1 de 1
      • Remove the battery and motherboard together from the tablet.

      • If the tablet needs a battery replacement, disconnect the battery and replace it with a new one.

      • The battery might be glued down; you will just need to slowly remove the battery as the adhesive releases.

      Demander à FixBot

      Ajouter un commentaire

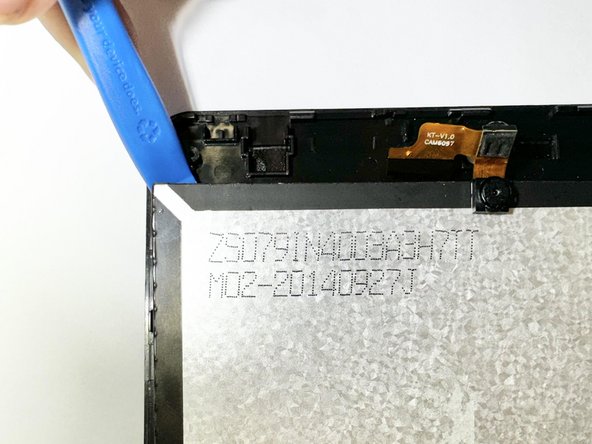
    1. RCA 8 Apollo Screen Replacement, Screen: étape 7, image 1 de 3 RCA 8 Apollo Screen Replacement, Screen: étape 7, image 2 de 3 RCA 8 Apollo Screen Replacement, Screen: étape 7, image 3 de 3
      • Remove the screw from the bottom left of the tablet.

      • Place an opening tool under the screen.

      • Pry up the screen and it will unclip from the clips holding the screen down.

      • Avoid using too much force to prevent the glass from breaking.

      Demander à FixBot

      Ajouter un commentaire

Conclusion

To reassemble your device, follow these instructions in reverse order.

Annulation : je n'ai pas terminé ce tutoriel.

McKenna Shipper

Membre depuis le 04/12/24

123 Réputation

1 tutoriel rédigé

Équipe

Casper College, Team 1-1, Lareau Spring 2024 Membre de l'équipe Casper College, Team 1-1, Lareau Spring 2024

CASC-LAREAU-S24S1G1

3 membres

4 tutoriels rédigés

0 commentaires de tutoriel

Ajouter un commentaire

Nombre de vues :

Dernières 24 heures : 1

7 derniers jours : 9

30 derniers jours : 25

Total : 261