Cette traduction a été générée automatiquement et n’a pas encore fait l’objet d’une relecture humaine. Vous parlez cette langue ? Relisez-la.
Introduction
Si votre batterie ne fonctionne pas, vous pouvez la retirer et la remplacer en suivant le processus étape par étape. La batterie peut facilement sortir en suivant des étapes simples
Ce dont vous avez besoin
-
-
-
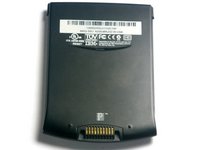
Retournez l'appareil de sorte que l'écran soit face vers le bas.
 Demander à FixBot
-
-
-
À l'aide d'un sèche-cheveux, chauffez lentement les bords du WorkPad.
-
Passez au moins une minute à chauffer chaque côté de l'appareil. Cela fera fondre la colle qui maintient le boîtier et permettra de le retirer.
-
-
-
-
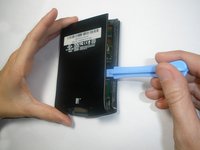
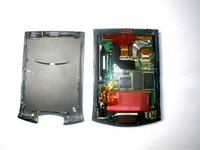
Utilisez un outil pour ouvrir en plastique pour faire levier et détacher la coque arrière du WorkPad.
-
-
-
-
-
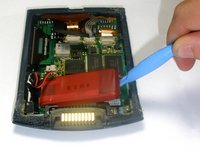
Retirez le ruban adhésif jaune qui recouvre le connecteur de la batterie
-
-
-
A l'aide de la pince à épiler, déconnectez délicatement le câble de la batterie du port
-
-
-
À l'aide des outils d'ouverture en plastique, soulevez la batterie hors du boîtier
-
-






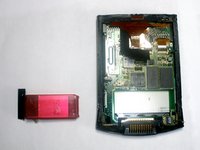
Pour remonter votre appareil, suivez ces instructions en sens inverse.
Annulation : je n'ai pas terminé ce tutoriel.
Une autre personne a terminé cette réparation.
Merci à ces traducteurs :
100%

[deleted] nous aide à réparer le monde ! Vous voulez contribuer ?
Je commence à traduire ›

Équipe

Cal Poly, Team 21-35, Regan Fall 2010 Membre de l'équipe Cal Poly, Team 21-35, Regan Fall 2010
CPSU-REGAN-F10S21G35
3 membres
60 tutoriels rédigés
