Aller au contenu principal
Pour réparer ensemble - Je crée un compte

Removing Delphi Myfi XM2GO LCD Screen

Ce dont vous avez besoin

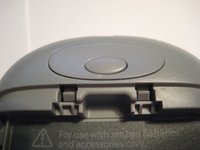
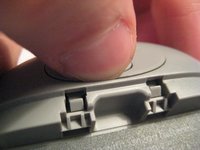
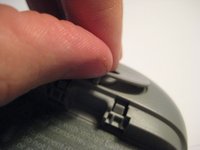
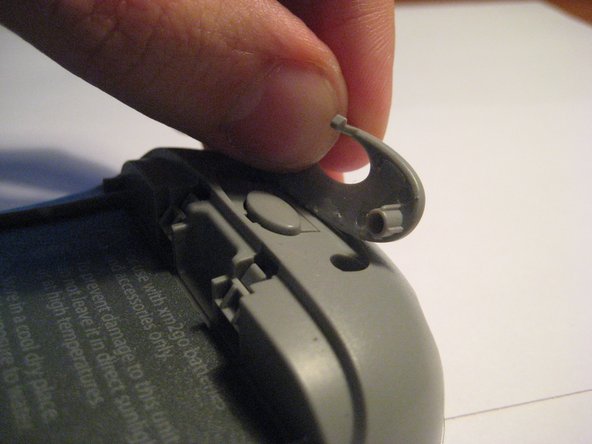
    1. Removing Delphi Myfi XM2GO LCD Screen, Battery Cover: étape 1, image 1 de 3 Removing Delphi Myfi XM2GO LCD Screen, Battery Cover: étape 1, image 2 de 3 Removing Delphi Myfi XM2GO LCD Screen, Battery Cover: étape 1, image 3 de 3
      • Locate the large button on the top of the device.

      • Push down on the button and slide the cover away from the button.

      • The battery removal tab may pop up.

      Demander à FixBot

      Ajouter un commentaire

    1. Removing Delphi Myfi XM2GO LCD Screen, Battery: étape 2, image 1 de 3 Removing Delphi Myfi XM2GO LCD Screen, Battery: étape 2, image 2 de 3 Removing Delphi Myfi XM2GO LCD Screen, Battery: étape 2, image 3 de 3
      • Grab the red pull tab and pull down to unlock the latch.

      • Pull the battery out.

      Demander à FixBot

      Ajouter un commentaire

    1. Removing Delphi Myfi XM2GO LCD Screen, Motherboard: étape 3, image 1 de 2 Removing Delphi Myfi XM2GO LCD Screen, Motherboard: étape 3, image 2 de 2
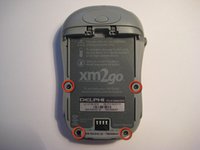
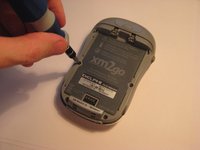
      • Remove the four screws from the bottom of the device using a T6 Torx screwdriver.

      Demander à FixBot

      Ajouter un commentaire

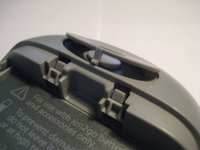
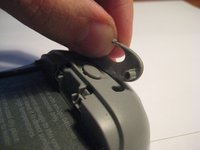
    2. Removing Delphi Myfi XM2GO LCD Screen: étape 4, image 1 de 3 Removing Delphi Myfi XM2GO LCD Screen: étape 4, image 2 de 3 Removing Delphi Myfi XM2GO LCD Screen: étape 4, image 3 de 3
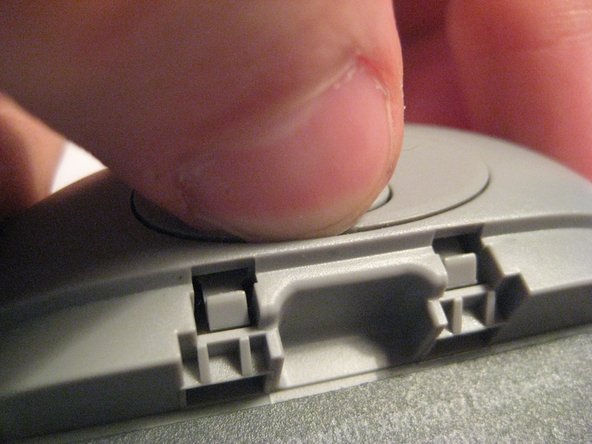
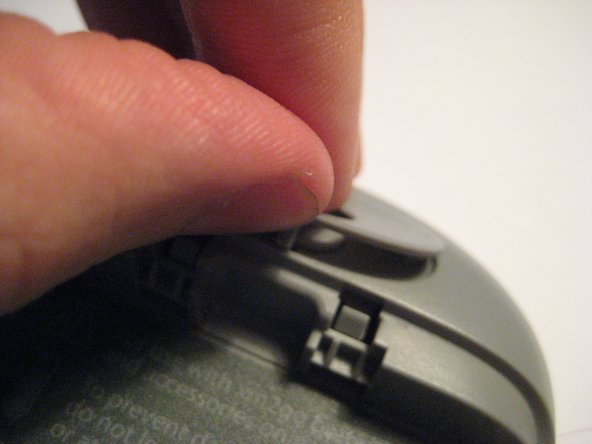
      • Remove the button cover on the back of the device by prying it up with a spudger or your thumb nail.

      Demander à FixBot

      Ajouter un commentaire

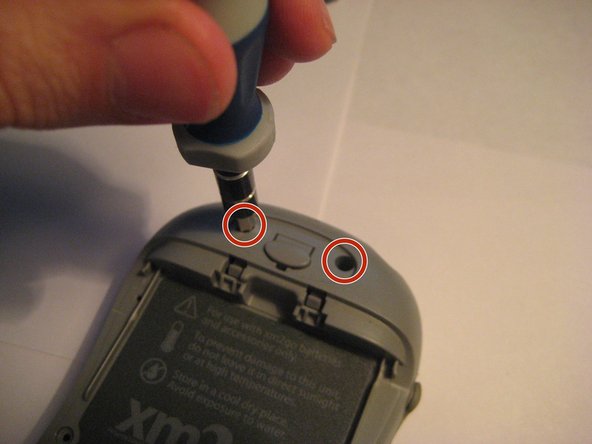
    3. Removing Delphi Myfi XM2GO LCD Screen: étape 5, image 1 de 3 Removing Delphi Myfi XM2GO LCD Screen: étape 5, image 2 de 3 Removing Delphi Myfi XM2GO LCD Screen: étape 5, image 3 de 3
      • Remove the two screws under the button using the T6 Torx screwdriver.

      Demander à FixBot

      Ajouter un commentaire

    4. Removing Delphi Myfi XM2GO LCD Screen: étape 6, image 1 de 2 Removing Delphi Myfi XM2GO LCD Screen: étape 6, image 2 de 2
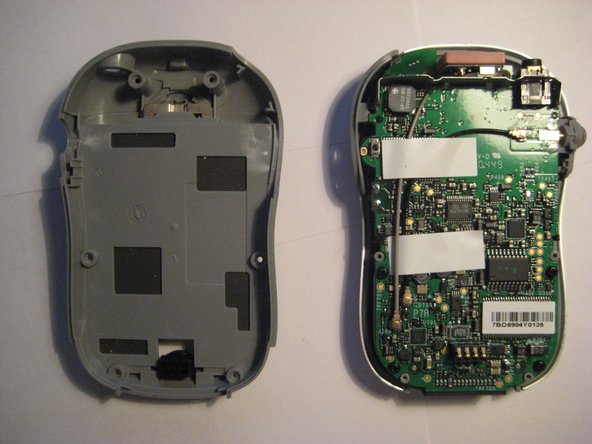
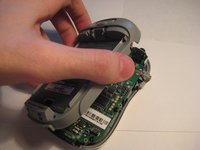
      • Remove the back cover.

      Demander à FixBot

      Ajouter un commentaire

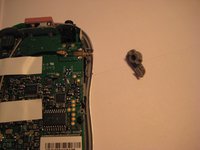
    5. Removing Delphi Myfi XM2GO LCD Screen: étape 7, image 1 de 2 Removing Delphi Myfi XM2GO LCD Screen: étape 7, image 2 de 2
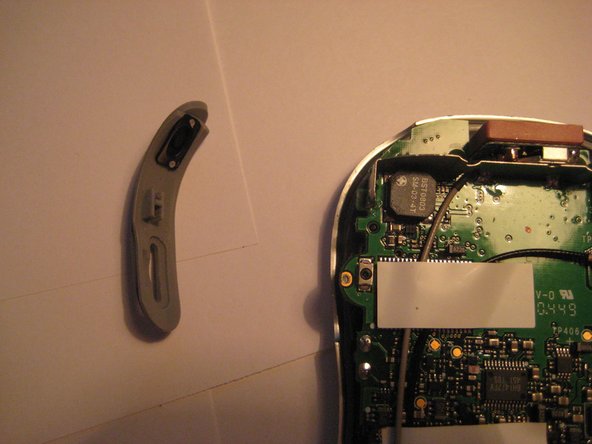
      • Remove the power button by pulling it to the left.

      Demander à FixBot

      Ajouter un commentaire

    6. Removing Delphi Myfi XM2GO LCD Screen: étape 8, image 1 de 2 Removing Delphi Myfi XM2GO LCD Screen: étape 8, image 2 de 2
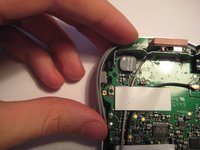
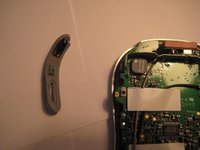
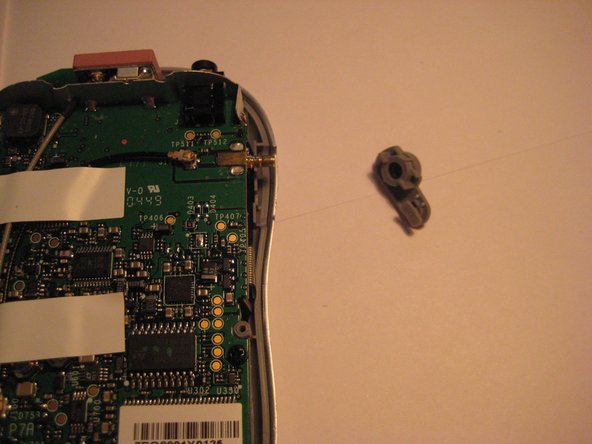
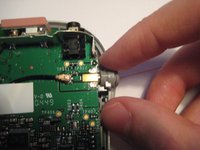
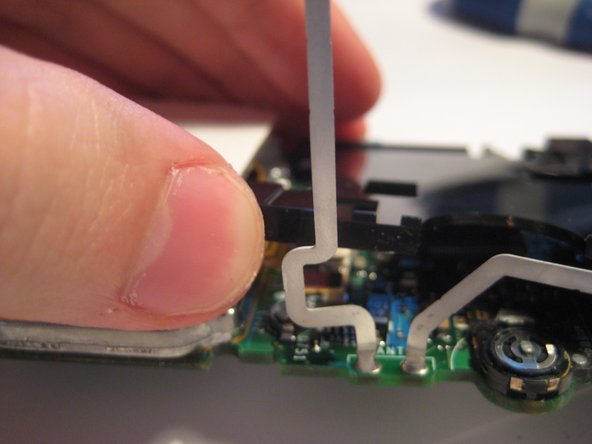
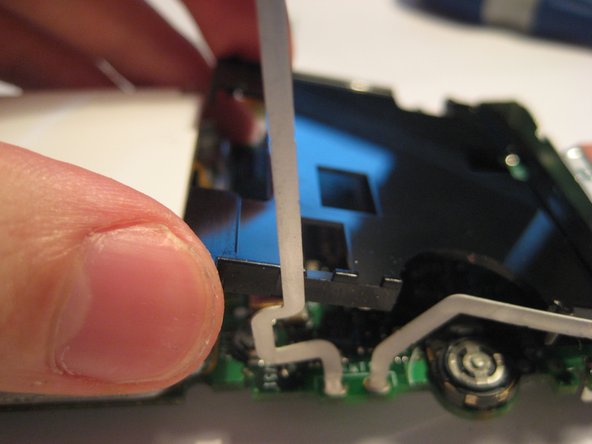
      • Remove the plastic antenna extension connector on the right side of the device.

      Demander à FixBot

      Ajouter un commentaire

    7. Removing Delphi Myfi XM2GO LCD Screen: étape 9, image 1 de 3 Removing Delphi Myfi XM2GO LCD Screen: étape 9, image 2 de 3 Removing Delphi Myfi XM2GO LCD Screen: étape 9, image 3 de 3
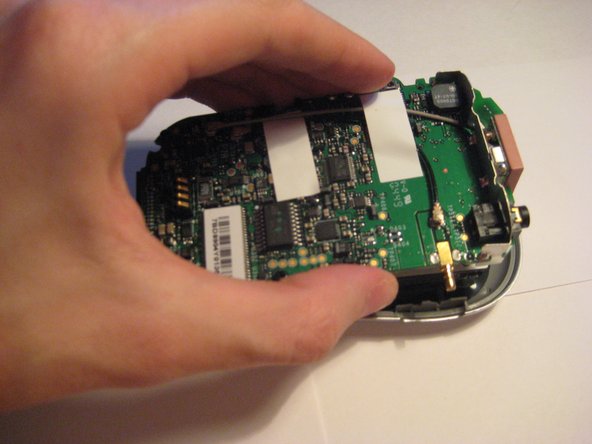
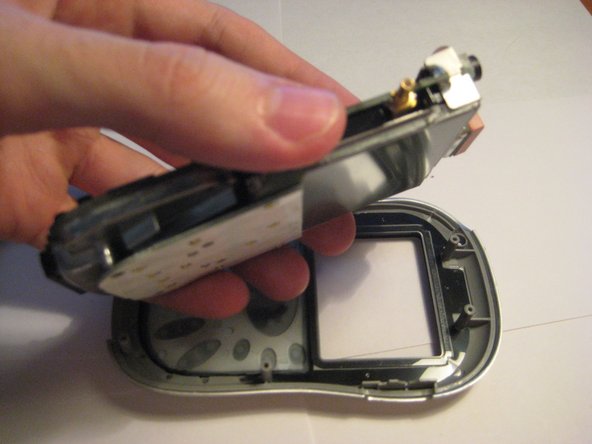
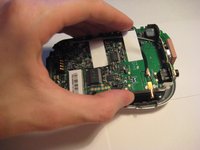
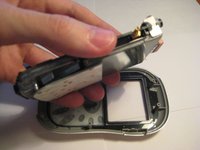
      • Pull up on the motherboard to remove it from the device.

      • The LCD screen and keypad are only connected to the motherboard with ribbon cables. They will hang down as the motherboard is removed.

      Demander à FixBot

      Ajouter un commentaire

    1. Removing Delphi Myfi XM2GO LCD Screen, Removing Delphi Myfi XM2GO LCD Screen: étape 10, image 1 de 2 Removing Delphi Myfi XM2GO LCD Screen, Removing Delphi Myfi XM2GO LCD Screen: étape 10, image 2 de 2
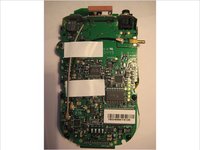
      • The logic board must be exposed to begin.

      • Flip the device over (see second picture).

      • CAUTION: The keyboard is loosely attached by a ribbon cable and may move when the device is flipped.

      Demander à FixBot

      Ajouter un commentaire

    2. Removing Delphi Myfi XM2GO LCD Screen: étape 11, image 1 de 1
      • Lift up the keyboard carefully from the right side, flipping to the left.

      • NOTE: The keyboard is attached on the left side by a ribbon cable. Do not remove it completely yet.

      Demander à FixBot

      Ajouter un commentaire

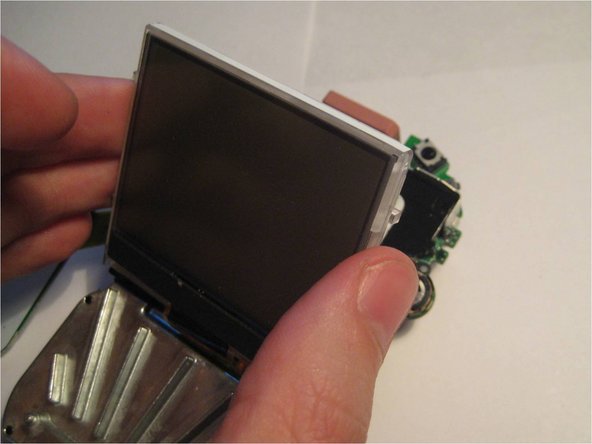
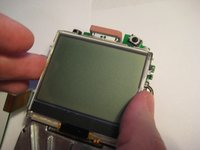
    3. Removing Delphi Myfi XM2GO LCD Screen: étape 12, image 1 de 3 Removing Delphi Myfi XM2GO LCD Screen: étape 12, image 2 de 3 Removing Delphi Myfi XM2GO LCD Screen: étape 12, image 3 de 3
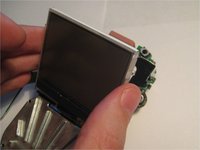
      • Pivot the LCD screen, pulling on the top and sides and keeping the bottom attached.

      Demander à FixBot

      Ajouter un commentaire

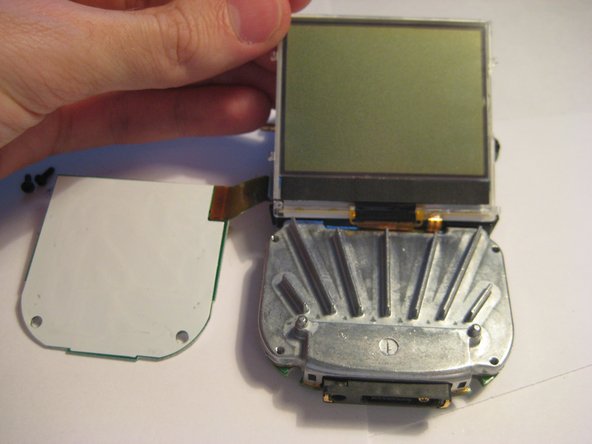
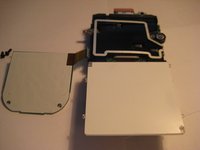
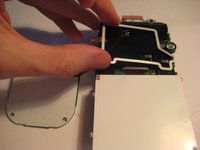
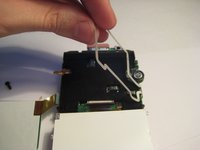
    4. Removing Delphi Myfi XM2GO LCD Screen: étape 13, image 1 de 3 Removing Delphi Myfi XM2GO LCD Screen: étape 13, image 2 de 3 Removing Delphi Myfi XM2GO LCD Screen: étape 13, image 3 de 3
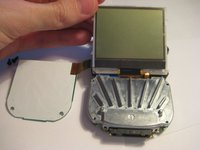
      • Continue to pivot the screen until it is lying on its face.

      • Pivot the wire frame, that was under the LCD, from the left side.

      • CAUTION: The wire bends as the frame pivots. Use the least amount of force necessary.

      Demander à FixBot

      Ajouter un commentaire

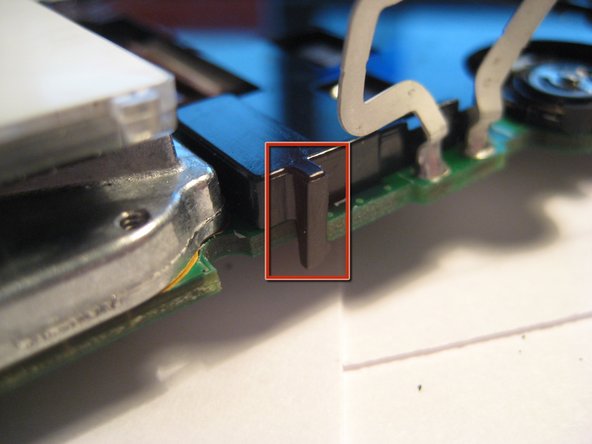
    5. Removing Delphi Myfi XM2GO LCD Screen: étape 14, image 1 de 3 Removing Delphi Myfi XM2GO LCD Screen: étape 14, image 2 de 3 Removing Delphi Myfi XM2GO LCD Screen: étape 14, image 3 de 3
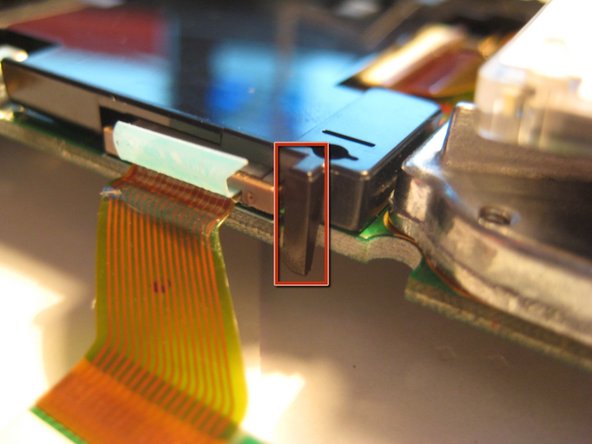
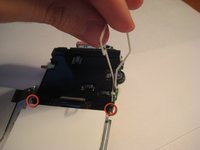
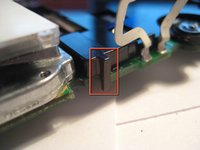
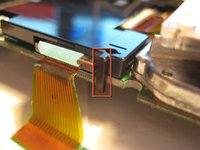
      • With the frame perpendicular to the device, locate the two black, plastic tabs shown in the two red circles.

      • The boxes show more detailed views in the following pictures.

      Demander à FixBot

      Ajouter un commentaire

    6. Removing Delphi Myfi XM2GO LCD Screen: étape 15, image 1 de 3 Removing Delphi Myfi XM2GO LCD Screen: étape 15, image 2 de 3 Removing Delphi Myfi XM2GO LCD Screen: étape 15, image 3 de 3
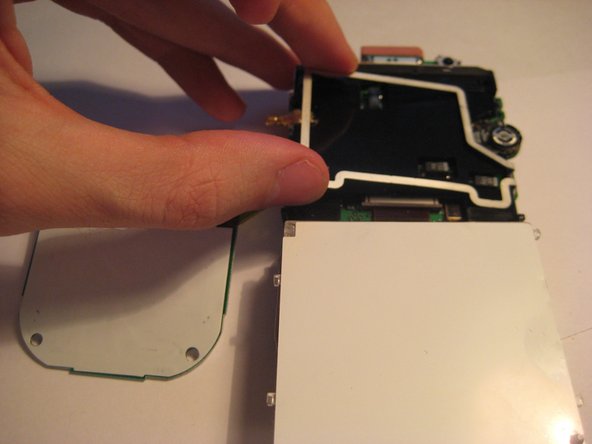
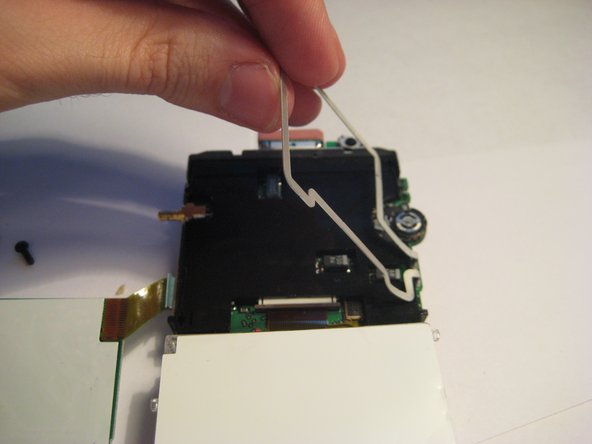
      • WIth both hands, pull the tabs outwards to release the plastic cover from the board.

      • Once the tabs are disengaged, pivot the plastic cover upwards.

      • After the cover is pivoted slightly, remove it from the device.

      Demander à FixBot

      Ajouter un commentaire

    7. Removing Delphi Myfi XM2GO LCD Screen: étape 16, image 1 de 2 Removing Delphi Myfi XM2GO LCD Screen: étape 16, image 2 de 2
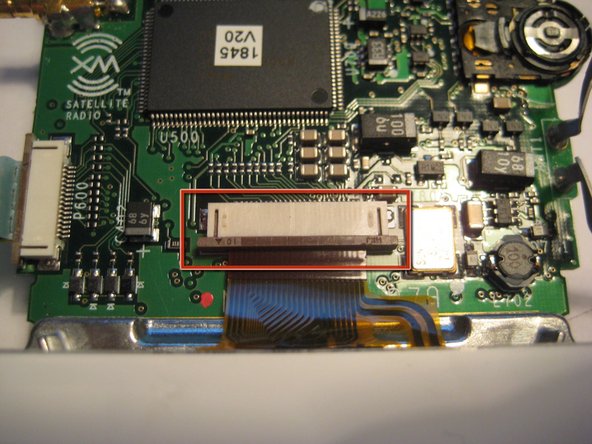
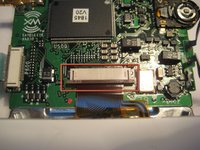
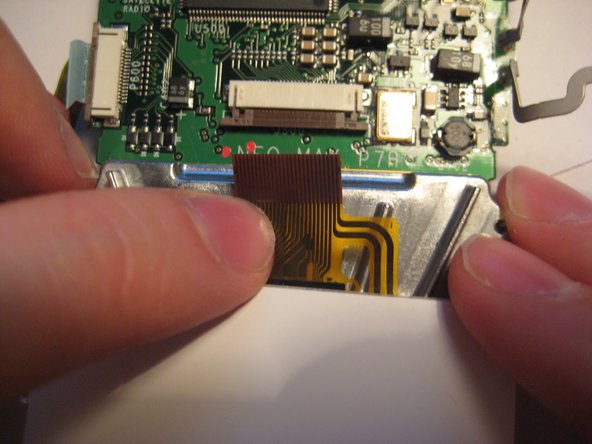
      • After the plastic cover is removed, locate the white, ribbon connector highlighted by the red square.

      • Rotate the device 90 degrees counterclockwise to remove the ribbon connector.

      Demander à FixBot

      Ajouter un commentaire

    8. Removing Delphi Myfi XM2GO LCD Screen: étape 17, image 1 de 3 Removing Delphi Myfi XM2GO LCD Screen: étape 17, image 2 de 3 Removing Delphi Myfi XM2GO LCD Screen: étape 17, image 3 de 3
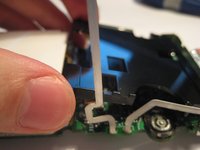
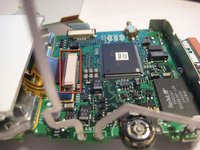
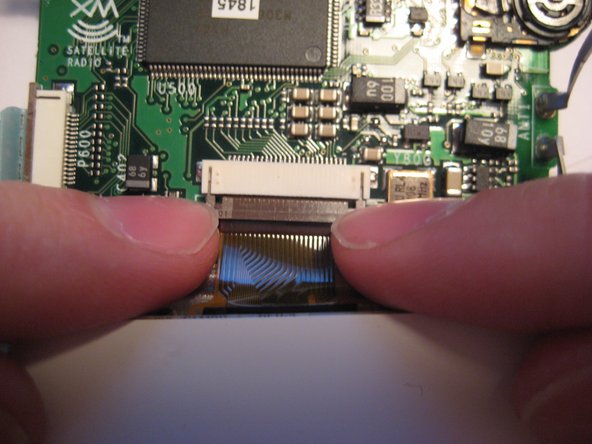
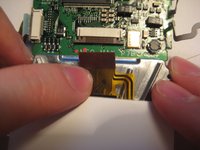
      • To remove the ribbon cable from the board, catch the sides of the connector with fingernails and pull downward.

      • CAUTION: The connector is delicate.

      • After the latch is pulled down, the ribbon cable is free to slide out of the connector housing.

      Demander à FixBot

      Ajouter un commentaire

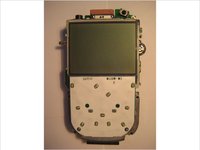
    9. Removing Delphi Myfi XM2GO LCD Screen: étape 18, image 1 de 1
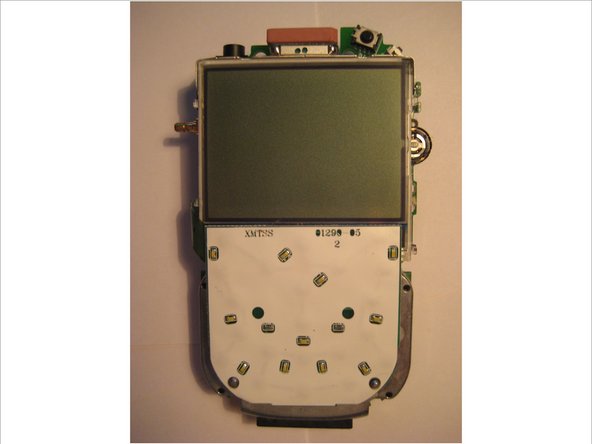
      • After following the prerequisite steps in the guide, the components are laid out as depicted in the picture.

      • The LCD screen is highlighted in red.

      Demander à FixBot

      Ajouter un commentaire

Conclusion

To reassemble your device, follow these instructions in reverse order.

Annulation : je n'ai pas terminé ce tutoriel.

Aubrey

Membre depuis le 03/09/12

54 Réputation

3 tutoriels rédigés

Équipe

Clemson, Team 1-2, Benson Spring 2012 Membre de l'équipe Clemson, Team 1-2, Benson Spring 2012

CLEM-BENSON-S12S1G2

3 membres

27 tutoriels rédigés

0 commentaires de tutoriel

Ajouter un commentaire

Nombre de vues :

Dernières 24 heures : 1

7 derniers jours : 11

30 derniers jours : 26

Total : 2,251