Introduction
This guide shows the process for replacing a broken spring in a Kenmore Elite refrigerator door. Many brands are assembled similarly, specifically LG models, so this guide can help repair many refrigerator doors. All you will need for this fix is a Phillips screwdriver and a very small flat head, which any small size should work. Be sure to purchase the correct spring with the correct number of coils per your refrigerator. In this case, we are using a 6 coil spring. The process is very simple and rather short. Taking your time should run about 20 minutes and save you a good amount of money.
Ce dont vous avez besoin
-
-
-
Turn off the refrigerator by unplugging it or turning the breaker off.
 Demander à FixBot
-
-
-
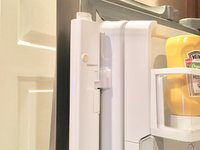
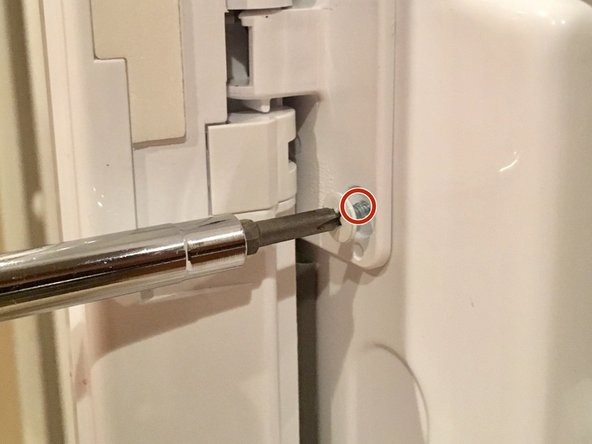
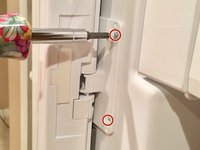
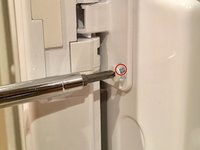
With a Phillips screwdriver, unscrew and remove the two screws on the hinge located directly in the middle of the door, connecting the assembly flap to the door.
-
-
-
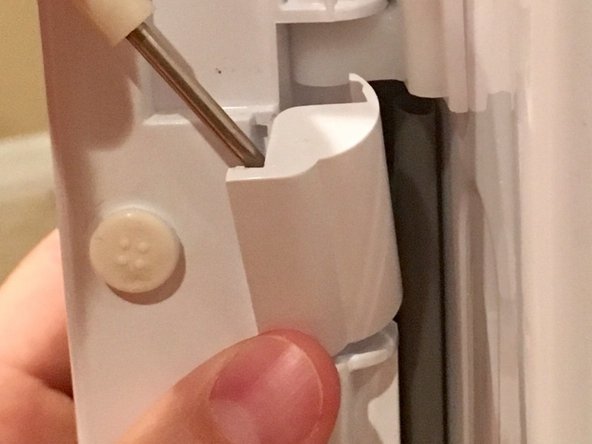
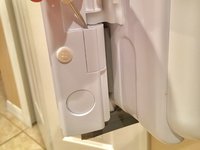
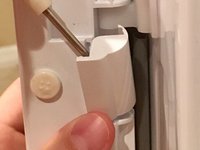
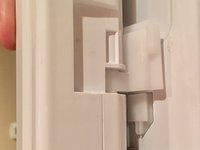
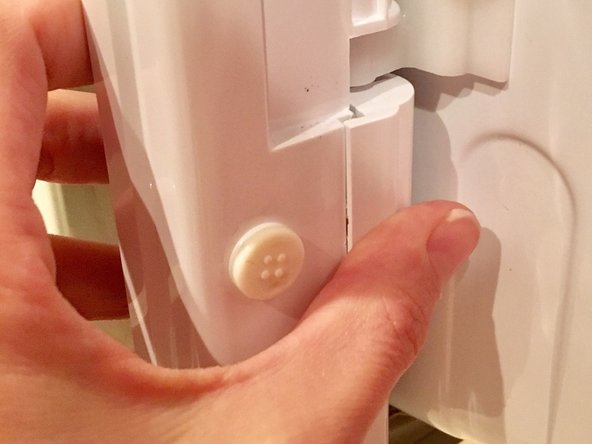
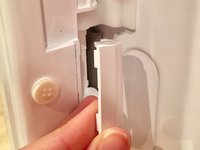
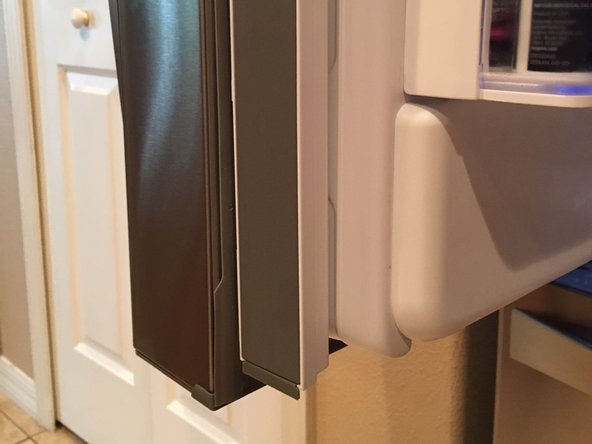
Located at the bottom of the assembly flap, remove the bottom plastic piece by gently shimmying it out with a small flat head screwdriver.
-
-
-
-
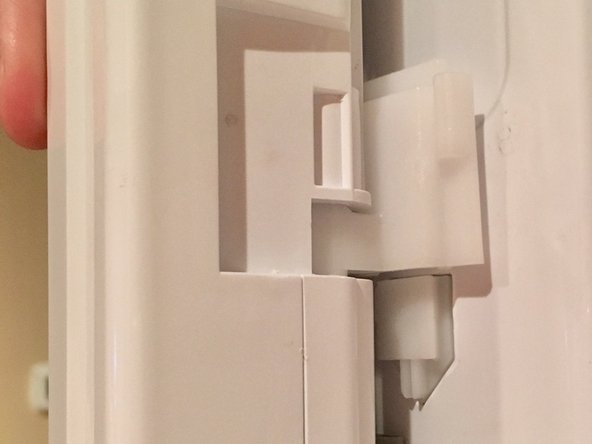
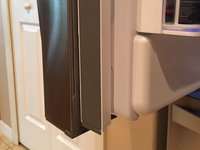
Carefully lift the assembly flap upward guiding it along the top and bottom plastic hinge just before it comes off.
-
-
-
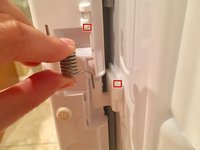
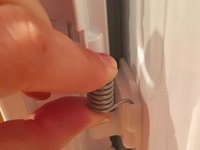
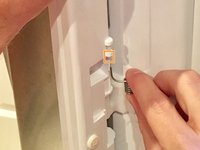
On the bottom of the assembly flap, carefully insert the spring into the plastic holes. One is connected to the bottom plastic hinge and the other is attached to the assembly flap.
-
Slide the assembly flap down into place. Be sure the top and bottom plastic hinge slides into place. You’ll notice the spring securely sliding into the plastic holes.
-
-
-
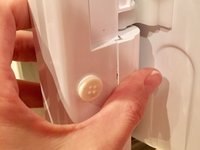
Re-insert the bottom plastic piece by pressing it in until it snaps.
-
-
-
Replace the two screws on the middle, metal hinge.
-
Turn the power on. Fast Fix is complete.
-
-







To reassemble your device, follow these instructions in reverse order.
Annulation : je n'ai pas terminé ce tutoriel.
5 autres ont terminé cette réparation.

Équipe

USF Sarasota-Manatee, Team S1-G1, Stewart Spring 2018 Membre de l'équipe USF Sarasota-Manatee, Team S1-G1, Stewart Spring 2018
USFSM-STEWART-S18S1G1
15 membres
90 tutoriels rédigés
1 commentaire de tutoriel
Very helpful! Easily completed and solved my problem.
