Aller au contenu principal
Pour réparer ensemble - Je crée un compte
SG 552-1 Commando Spring Replacement

Ce dont vous avez besoin

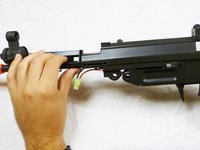
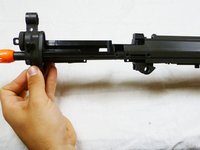
    1. SG 552-1 Commando Spring Replacement, Gearbox: étape 1, image 1 de 2 SG 552-1 Commando Spring Replacement, Gearbox: étape 1, image 2 de 2
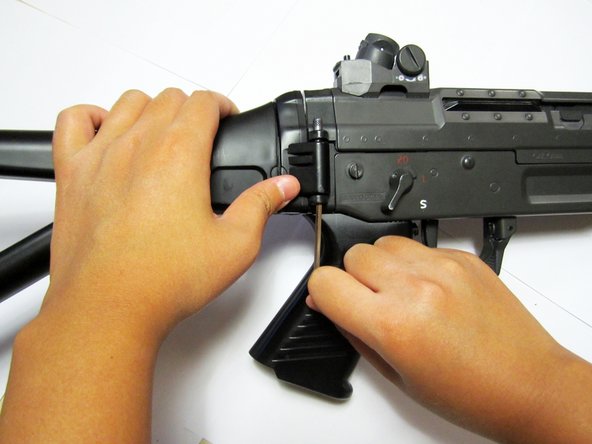
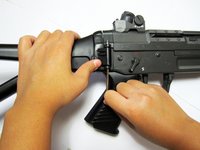
      • Using a flathead screwdriver, remove the pin holding the hand guard in place.

      • To remove this, turn the pin clockwise and push it through at the same time.

      • Remove the hand guard.

      Demander à FixBot

      Ajouter un commentaire

    2. SG 552-1 Commando Spring Replacement: étape 2, image 1 de 2 SG 552-1 Commando Spring Replacement: étape 2, image 2 de 2
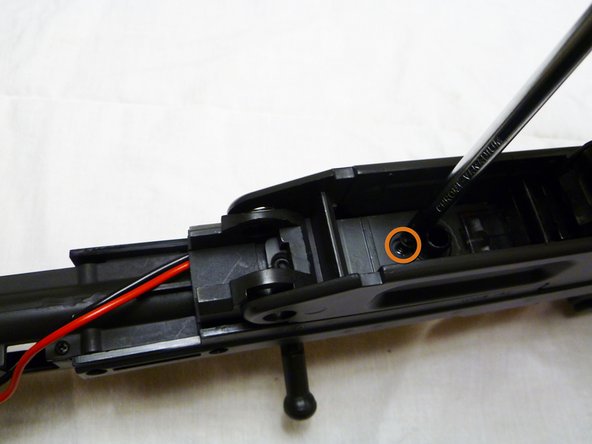
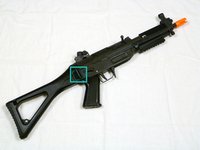
      • Using a Phillips #1 screwdriver, remove the two 8mm screws above the hand guard on both sides of the gun.

      • There should be four total.

      Demander à FixBot

      Ajouter un commentaire

    3. SG 552-1 Commando Spring Replacement: étape 3, image 1 de 2 SG 552-1 Commando Spring Replacement: étape 3, image 2 de 2
      • Turn the gun over so that you are facing the bottom of the gun.

      • Using a Phillips #1 screwdriver, remove the following screws:

      • Remove the 8mm screw that is located directly underneath the cocking lever.

      • Remove the 8mm screw located beside the screw you just removed.

      Demander à FixBot

      Ajouter un commentaire

    4. SG 552-1 Commando Spring Replacement: étape 4, image 1 de 2 SG 552-1 Commando Spring Replacement: étape 4, image 2 de 2
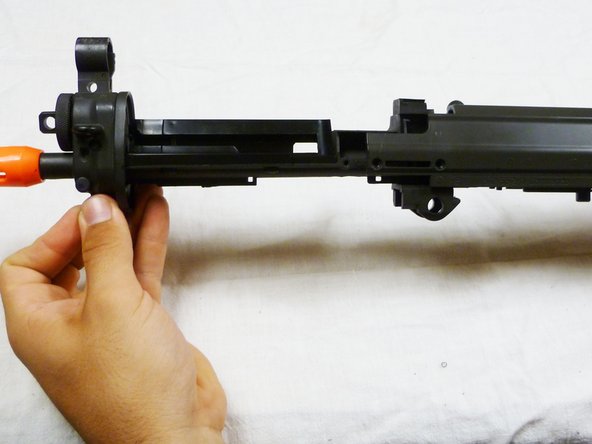
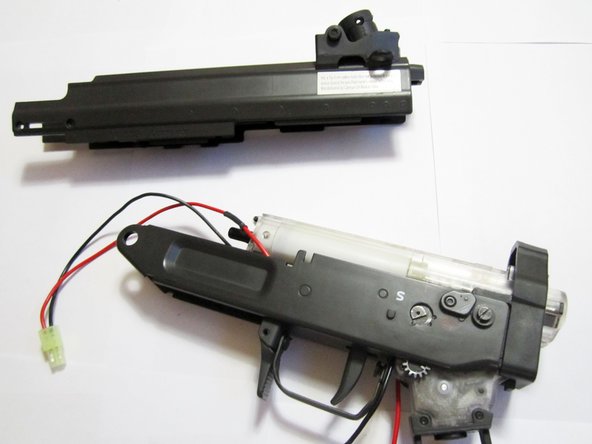
      • Carefully tug on the tip of the gun and pull the barrel and its cover out.

      Demander à FixBot

      Ajouter un commentaire

    5. SG 552-1 Commando Spring Replacement: étape 5, image 1 de 3 SG 552-1 Commando Spring Replacement: étape 5, image 2 de 3 SG 552-1 Commando Spring Replacement: étape 5, image 3 de 3
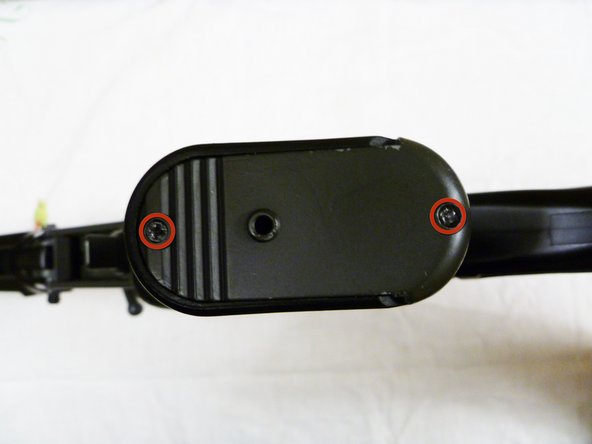
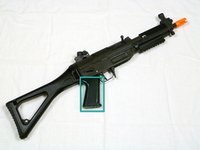
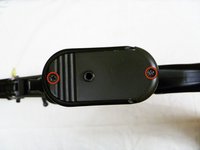
      • Locate the hand grip.

      • Using a Phillips #0 screwdriver, remove the two 6mm screws at the bottom of the hand grip.

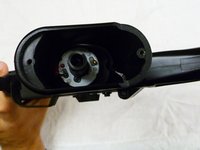
      • Slide the cover off.

      Demander à FixBot

      Ajouter un commentaire

    6. SG 552-1 Commando Spring Replacement: étape 6, image 1 de 2 SG 552-1 Commando Spring Replacement: étape 6, image 2 de 2
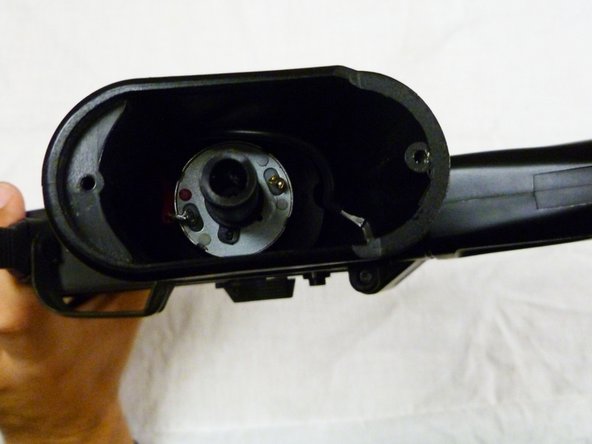
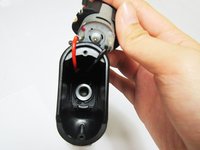
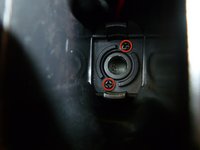
      • Pull the motor out of the hand grip.

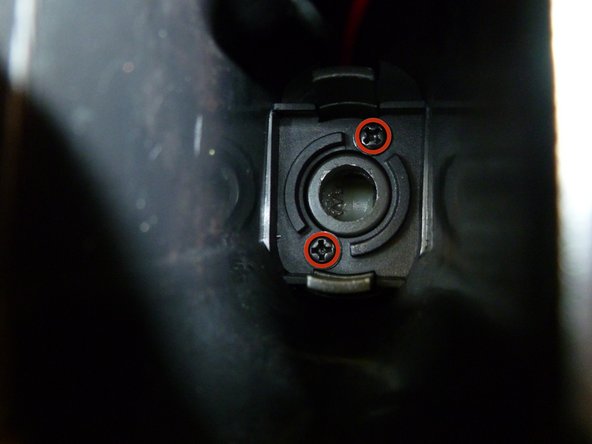
      • Using a Phillips #1 screwdriver, remove the two 5mm screws inside of the hand grip.

      Demander à FixBot

      Ajouter un commentaire

    7. SG 552-1 Commando Spring Replacement: étape 7, image 1 de 2 SG 552-1 Commando Spring Replacement: étape 7, image 2 de 2
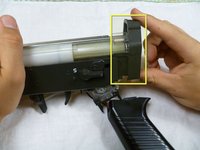
      • Locate the pin holding the folding stock in place.

      • Using an allen wrench or something small, carefully push the pin out.

      Demander à FixBot

      Ajouter un commentaire

    8. SG 552-1 Commando Spring Replacement: étape 8, image 1 de 2 SG 552-1 Commando Spring Replacement: étape 8, image 2 de 2
      • Using a Phillips #1 screwdriver, remove the 20mm screw behind the folding stock and above the gearbox.

      • Remove the cover that was held on by the screw.

      Demander à FixBot

      Ajouter un commentaire

    9. SG 552-1 Commando Spring Replacement: étape 9, image 1 de 3 SG 552-1 Commando Spring Replacement: étape 9, image 2 de 3 SG 552-1 Commando Spring Replacement: étape 9, image 3 de 3
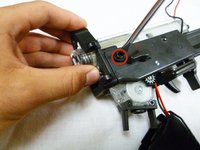
      • Using a flathead screwdriver, remove the two 5mm screws beside the safety switch on both sides of the gun.

      • Slide off the piece that was held on by those screws.

      Demander à FixBot

      Ajouter un commentaire

    10. SG 552-1 Commando Spring Replacement: étape 10, image 1 de 2 SG 552-1 Commando Spring Replacement: étape 10, image 2 de 2
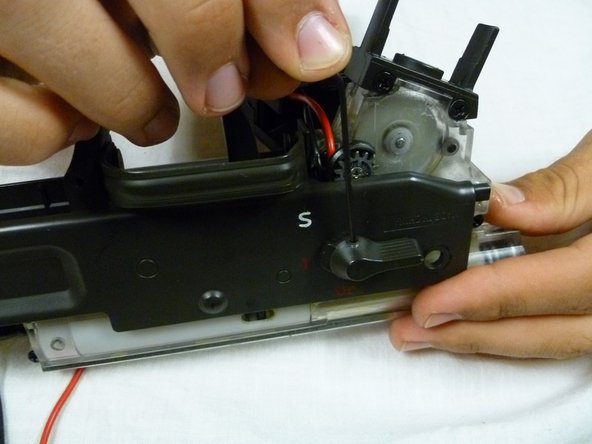
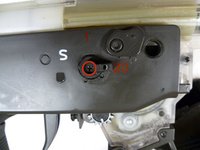
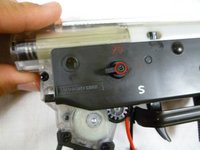
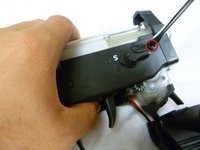
      • Using a small allen wrench, carefully unscrew the screws holding the safety switch in place on both sides of the gun.

      • The screws do not have to be taken out all the way, just slightly loosen them until you are able to pull the switch off.

      Demander à FixBot

      Ajouter un commentaire

    11. SG 552-1 Commando Spring Replacement: étape 11, image 1 de 2 SG 552-1 Commando Spring Replacement: étape 11, image 2 de 2
      • Using a Phillips #0 screwdriver, remove the two 6mm screws that were underneath the safety switch on both sides of the gun.

      • Carefully remove the pieces that were held on by the screws.

      Demander à FixBot

      Ajouter un commentaire

    12. SG 552-1 Commando Spring Replacement: étape 12, image 1 de 3 SG 552-1 Commando Spring Replacement: étape 12, image 2 de 3 SG 552-1 Commando Spring Replacement: étape 12, image 3 de 3
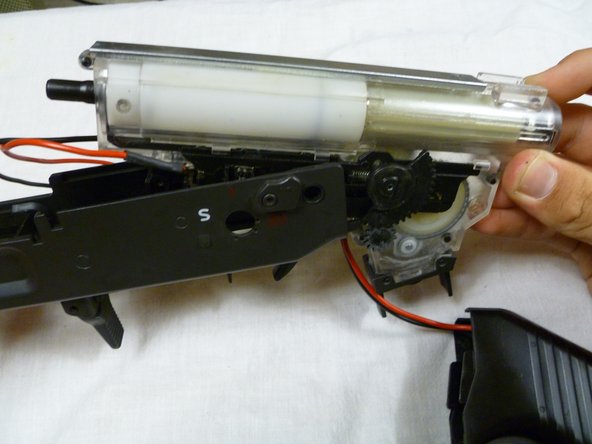
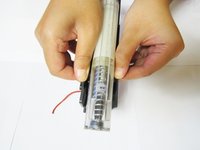
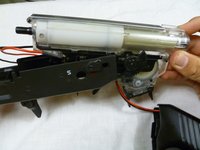
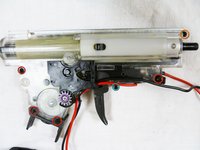
      • Pull apart the cover when pulling the gearbox out.

      • Pull the gearbox out.

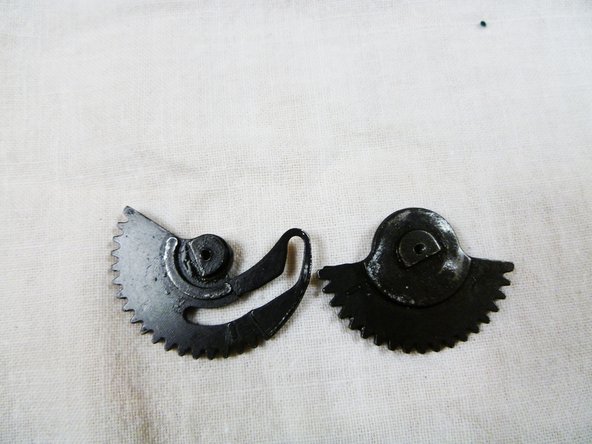
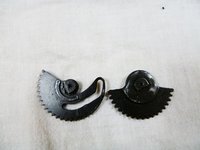
      • The gears will fall out when taking the gearbox out. Careful not to lose them.

      Demander à FixBot

      Ajouter un commentaire

    1. SG 552-1 Commando Spring Replacement, Spring: étape 13, image 1 de 2 SG 552-1 Commando Spring Replacement, Spring: étape 13, image 2 de 2
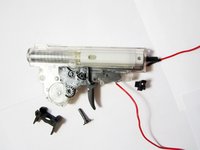
      • Using a Phillips #1 screwdriver, remove the following screws:

      • Remove these four 15mm screws.

      • Remove this single 8mm screw.

      • Using a Phillips #0 screwdriver, remove the following screws:

      • Remove this single 3mm screw.

      • Remove this single 14mm screw.

      • Detach the pieces unscrewed from the gearbox.

      Demander à FixBot

      Ajouter un commentaire

    2. SG 552-1 Commando Spring Replacement: étape 14, image 1 de 2 SG 552-1 Commando Spring Replacement: étape 14, image 2 de 2
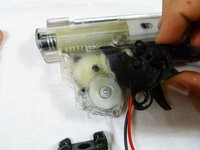
      • Remove the piece covering the trigger.

      • Remove the safety piece.

      • Using a Phillips #1 screwdriver, remove the 18mm screw beside the trigger.

      Demander à FixBot

      Ajouter un commentaire

    3. SG 552-1 Commando Spring Replacement: étape 15, image 1 de 1
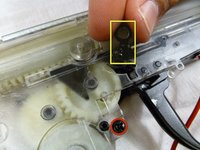
      • Remove the metal piece.

      • Removing this piece will permanently damage the metal piece.

      Demander à FixBot

      Ajouter un commentaire

    4. SG 552-1 Commando Spring Replacement: étape 16, image 1 de 3 SG 552-1 Commando Spring Replacement: étape 16, image 2 de 3 SG 552-1 Commando Spring Replacement: étape 16, image 3 de 3
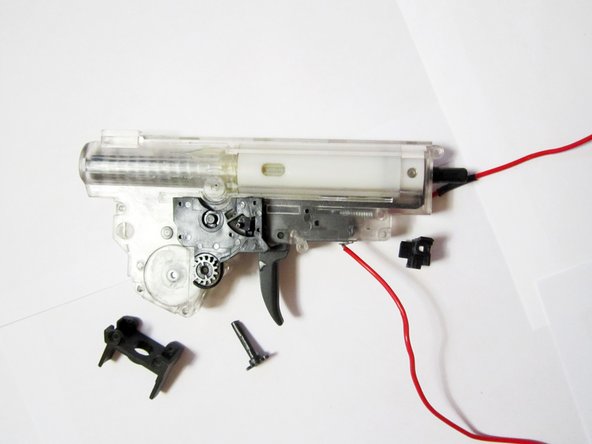
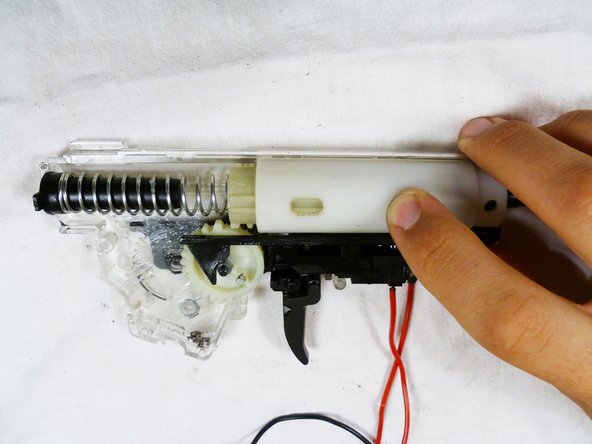
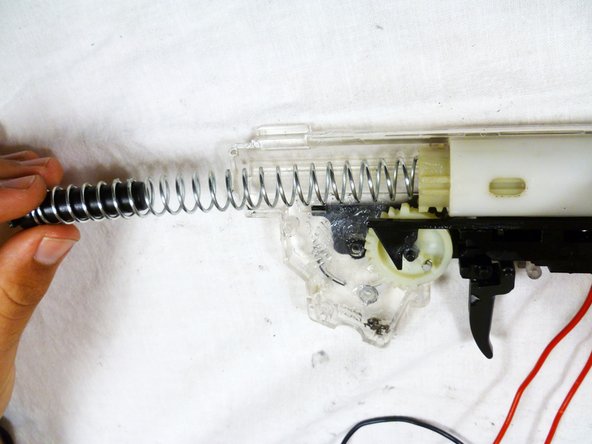
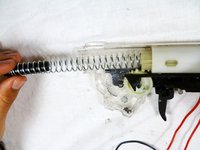
      • Remove the cover and pull out the spring.

      Demander à FixBot

      Ajouter un commentaire

Conclusion

To reassemble your device, follow these instructions in reverse order.

Annulation : je n'ai pas terminé ce tutoriel.

Anika Morris

Membre depuis le 10/05/12

1 Réputation

4 tutoriels rédigés

Équipe

Cal Poly, Team 18-41, Regan Fall 2012 Membre de l'équipe Cal Poly, Team 18-41, Regan Fall 2012

CPSU-REGAN-F12S18G41

6 membres

6 tutoriels rédigés

1 commentaire de tutoriel

When i read step 15 it seems impossible to up/downgrade spring without damaging the gun permanently??

Marco den Hartog - Réponse Partager
Ajouter un commentaire

Nombre de vues :

Dernières 24 heures : 0

7 derniers jours : 4

30 derniers jours : 29

Total : 2,341