Aller au contenu principal
Pour réparer ensemble - Je crée un compte
Samsung Galaxy Note9 Front Sensor Array Replacement

Ce dont vous avez besoin

  1. Samsung Galaxy Note9 Front Sensor Array Replacement, Eject the SIM card tray: étape 1, image 1 de 2 Samsung Galaxy Note9 Front Sensor Array Replacement, Eject the SIM card tray: étape 1, image 2 de 2
    • Insert a SIM card eject tool straight into the hole in the SIM card tray.

    • Press to eject the SIM card tray.

    Demander à FixBot

    Ajouter un commentaire

  2. Samsung Galaxy Note9 Front Sensor Array Replacement, Remove the SIM card tray: étape 2, image 1 de 1
    • Remove the SIM card tray.

    • The SIM card will fall out of the tray easily.

    Demander à FixBot

    Ajouter un commentaire

  3. Samsung Galaxy Note9 Front Sensor Array Replacement, Apply a heated iOpener: étape 3, image 1 de 1
    • Power off your phone before beginning disassembly.

    • Use a hairdryer, a heatgun, or prepare an iOpener and apply it to the right edge of the back of the phone for about a minute to soften the adhesive underneath.

    Demander à FixBot

    Ajouter un commentaire

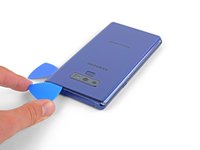
  4. Samsung Galaxy Note9 Front Sensor Array Replacement, Insert an opening pick: étape 4, image 1 de 3 Samsung Galaxy Note9 Front Sensor Array Replacement, Insert an opening pick: étape 4, image 2 de 3 Samsung Galaxy Note9 Front Sensor Array Replacement, Insert an opening pick: étape 4, image 3 de 3
    • Apply a suction handle to the back cover.

    • Lift with a suction handle to create a gap between the back cover and the frame of the phone.

    • Insert an opening pick into the gap.

    • If the glass is badly cracked, cover it in packing tape to create a surface for the suction cup to adhere to.

    • If the adhesive won't budge, apply more heat, not excessive force. Too much force could break the glass.

    Demander à FixBot

    Ajouter un commentaire

  5. Samsung Galaxy Note9 Front Sensor Array Replacement, Cut through the adhesive: étape 5, image 1 de 1
    • Note that there is more adhesive along the top edge and around the camera bezel than around the rest of the phone.

    • Cut carefully around the left edge near the fingerprint sensor or you risk damaging the ribbon cable inside.

    • If, at any point, the adhesive feels stubborn, apply more heat—not more force.

    Demander à FixBot

    Ajouter un commentaire

  6. Samsung Galaxy Note9 Front Sensor Array Replacement, Slide the opening pick: étape 6, image 1 de 3 Samsung Galaxy Note9 Front Sensor Array Replacement, Slide the opening pick: étape 6, image 2 de 3 Samsung Galaxy Note9 Front Sensor Array Replacement, Slide the opening pick: étape 6, image 3 de 3
    • Starting from the center, cut the adhesive up and down the right side with an opening pick.

    • Do not insert the pick more than halfway into the phone when cutting near the fingerprint sensor or cameras, or you risk damaging internal components.

    Demander à FixBot

    Ajouter un commentaire

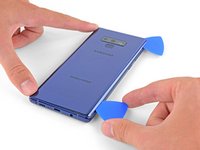
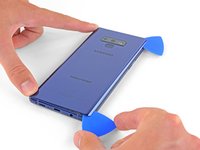
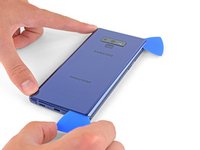
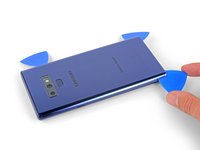
  7. Samsung Galaxy Note9 Front Sensor Array Replacement: étape 7, image 1 de 3 Samsung Galaxy Note9 Front Sensor Array Replacement: étape 7, image 2 de 3 Samsung Galaxy Note9 Front Sensor Array Replacement: étape 7, image 3 de 3
    • Be careful near the corner, as the glass is very weak. Apply more heat at any time if the adhesive becomes stuck.

    • Leave an opening pick in the upper-right corner.

    • Use another opening pick to cut the adhesive around the bottom-right corner.

    • Leave that opening pick in the phone.

    Demander à FixBot

    Ajouter un commentaire

  8. Samsung Galaxy Note9 Front Sensor Array Replacement: étape 8, image 1 de 1
    • Use a heat gun or hair dryer or apply a heated iOpener to the left side of the rear panel for at three minutes to soften the adhesive underneath.

    Demander à FixBot

    Ajouter un commentaire

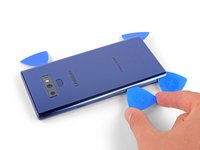
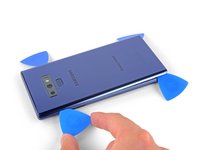
  9. Samsung Galaxy Note9 Front Sensor Array Replacement: étape 9, image 1 de 3 Samsung Galaxy Note9 Front Sensor Array Replacement: étape 9, image 2 de 3 Samsung Galaxy Note9 Front Sensor Array Replacement: étape 9, image 3 de 3
    • Be careful near the corners, as the glass is weakest there.

    • Insert an opening pick into the lower-left corner of the rear panel.

    • Using another opening pick, cut the adhesive along the left edge of the rear panel.

    • Don't insert an opening pick in more than halfway on the left edge near the fingerprint sensor or you may damage the ribbon cable inside.

    • It is fine if opening picks fall out as the back cover becomes separated.

    Demander à FixBot

    Ajouter un commentaire

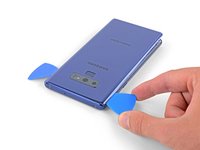
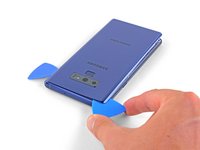
  10. Samsung Galaxy Note9 Front Sensor Array Replacement: étape 10, image 1 de 3 Samsung Galaxy Note9 Front Sensor Array Replacement: étape 10, image 2 de 3 Samsung Galaxy Note9 Front Sensor Array Replacement: étape 10, image 3 de 3
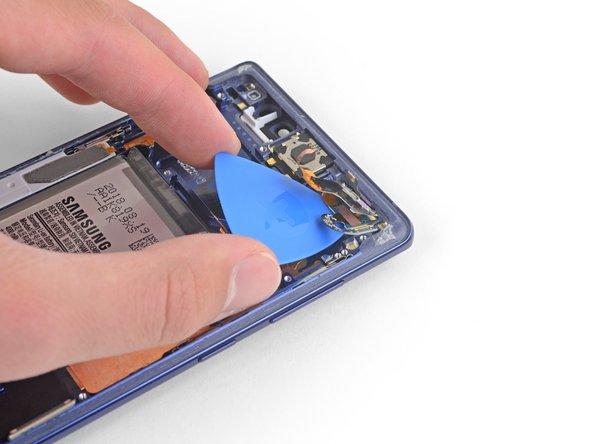
    • Using the inserted opening pick, carefully cut the adhesive around the upper-left corner of the rear panel.

    • Finally, cut the last of the adhesive along the top of the phone.

    • Use an iOpener, hair dryer, or heat gun to apply more heat as needed where you are cutting the adhesive.

    Demander à FixBot

    Ajouter un commentaire

  11. Samsung Galaxy Note9 Front Sensor Array Replacement: étape 11, image 1 de 2 Samsung Galaxy Note9 Front Sensor Array Replacement: étape 11, image 2 de 2
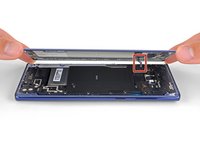
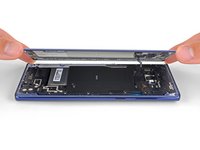
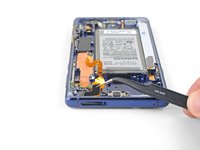
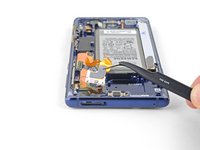
    • Separate the right side of the rear cover first.

    • Tilt the cover up along the left edge to expose the fingerprint sensor ribbon cable.

    • Do not pull out the fingerprint sensor ribbon cable yet.

    • The fingerprint sensor cover might stay attached to the midframe.

    Demander à FixBot

    Ajouter un commentaire

  12. Samsung Galaxy Note9 Front Sensor Array Replacement, Disconnect the fingerprint sensor: étape 12, image 1 de 2 Samsung Galaxy Note9 Front Sensor Array Replacement, Disconnect the fingerprint sensor: étape 12, image 2 de 2
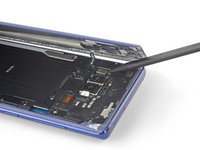
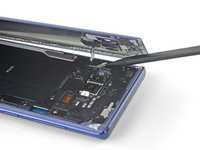
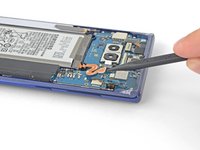
    • Use the tip of a spudger to pry the fingerprint sensor ribbon cable up and out of its socket.

    Demander à FixBot

    Ajouter un commentaire

  13. Samsung Galaxy Note9 Front Sensor Array Replacement: étape 13, image 1 de 1
    Outil utilisé dans cette étape :
    Tweezers
    $4.99
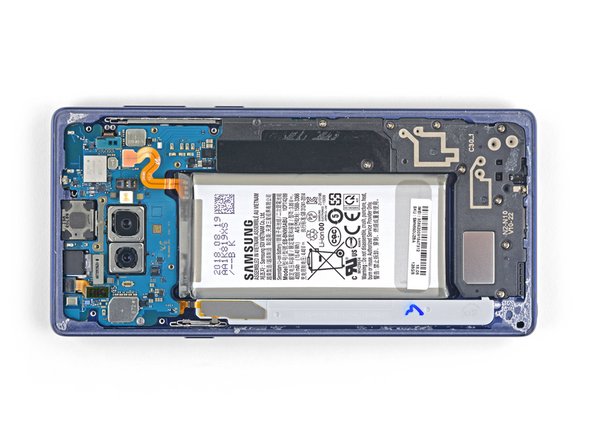
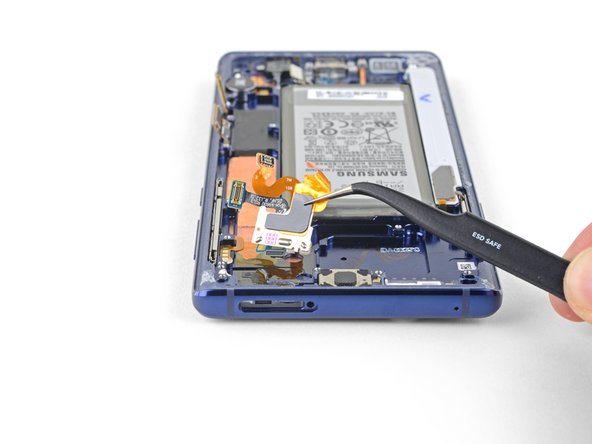
    • Remove the back cover.

    • To re-install the back cover:

    • Use tweezers to peel away any remaining adhesive from the phone's chassis. Then clean the adhesion areas with high concentration isopropyl alcohol (at least 90%) and a lint-free cloth to prep the surface for the new adhesive. You don't have to clear out adhesive down to the plastic but larger pieces should be removed.

    • Turn on your phone and test your repair before installing new adhesive and resealing the phone.

    • Carefully apply the new adhesive to the back cover, then line up one edge of the glass against the phone chassis and firmly press the glass into the phone.

    Demander à FixBot

    Ajouter un commentaire

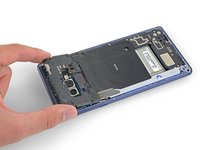
  14. Attention : les étapes 14 à 17 sont issues d'un tutoriel marqué comme étant en cours.

    Samsung Galaxy Note9 Front Sensor Array Replacement, Remove the upper midframe: étape 14, image 1 de 2 Samsung Galaxy Note9 Front Sensor Array Replacement, Remove the upper midframe: étape 14, image 2 de 2
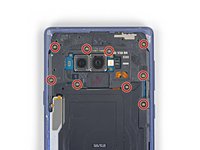
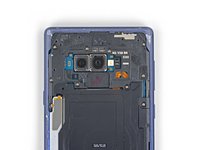
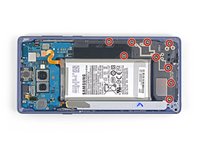
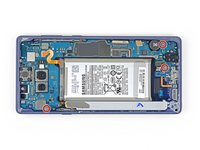
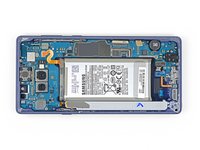
    • Use a Phillips screwdriver to remove the nine 4 mm screws securing the upper midframe.

    Demander à FixBot

    Ajouter un commentaire

  15. Samsung Galaxy Note9 Front Sensor Array Replacement: étape 15, image 1 de 2 Samsung Galaxy Note9 Front Sensor Array Replacement: étape 15, image 2 de 2
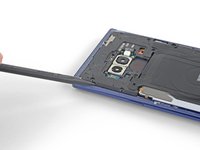
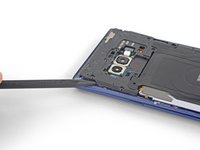
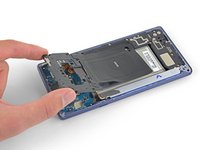
    • Insert the tip of a spudger into the upper-left corner of the upper midframe.

    • Pry the upper midframe out of the phone.

    • The upper midframe snaps into and out of place.

    Demander à FixBot

    Ajouter un commentaire

  16. Samsung Galaxy Note9 Front Sensor Array Replacement: étape 16, image 1 de 3 Samsung Galaxy Note9 Front Sensor Array Replacement: étape 16, image 2 de 3 Samsung Galaxy Note9 Front Sensor Array Replacement: étape 16, image 3 de 3
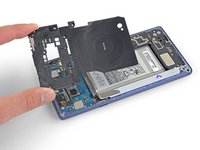
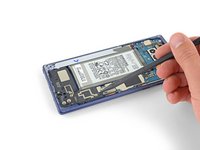
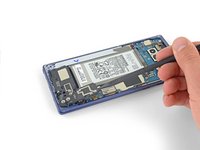
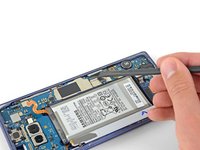
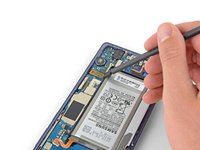
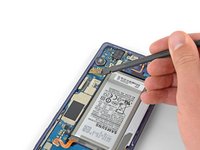
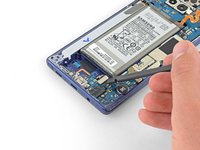
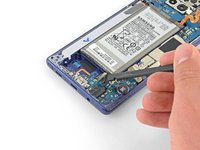
    • Peel the wireless charging coil off the battery starting with the left side.

    • The adhesive is weak but you can use an opening pick to cut it if necessary.

    • During reassembly start by snapping the midframe into place first before adhering the wireless charging coil.

    Demander à FixBot

    Ajouter un commentaire

  17. Samsung Galaxy Note9 Front Sensor Array Replacement, Disconnect the battery: étape 17, image 1 de 2 Samsung Galaxy Note9 Front Sensor Array Replacement, Disconnect the battery: étape 17, image 2 de 2
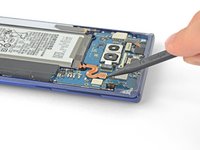
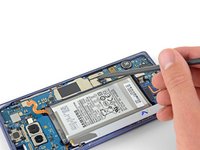
    • Use the tip of a spudger to disconnect the orange ribbon cable connecting the battery to the motherboard.

    Demander à FixBot

    Ajouter un commentaire

  18. Samsung Galaxy Note9 Front Sensor Array Replacement, Remove the midframe: étape 18, image 1 de 2 Samsung Galaxy Note9 Front Sensor Array Replacement, Remove the midframe: étape 18, image 2 de 2
    • Remove the nine 4 mm Phillips screws from the plastic cover next to the battery.

    Demander à FixBot

    Ajouter un commentaire

  19. Samsung Galaxy Note9 Front Sensor Array Replacement: étape 19, image 1 de 1
    • Remove the plastic cover next to the battery.

    Demander à FixBot

    Ajouter un commentaire

  20. Samsung Galaxy Note9 Front Sensor Array Replacement: étape 20, image 1 de 3 Samsung Galaxy Note9 Front Sensor Array Replacement: étape 20, image 2 de 3 Samsung Galaxy Note9 Front Sensor Array Replacement: étape 20, image 3 de 3
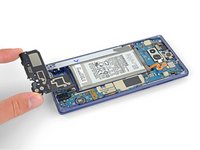
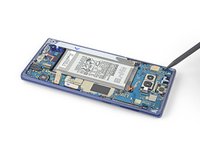
    • Insert the tip of a spudger into the top of the lower midframe.

    • Pry the lower midframe out from the phone.

    • The lower midframe snaps into and out of place.

    • Remove the lower midframe.

    Demander à FixBot

    Ajouter un commentaire

  21. Samsung Galaxy Note9 Front Sensor Array Replacement, Remove the front camera: étape 21, image 1 de 3 Samsung Galaxy Note9 Front Sensor Array Replacement, Remove the front camera: étape 21, image 2 de 3 Samsung Galaxy Note9 Front Sensor Array Replacement, Remove the front camera: étape 21, image 3 de 3
    Outil utilisé dans cette étape :
    Tweezers
    $4.99
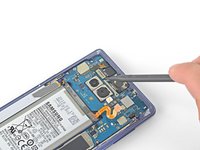
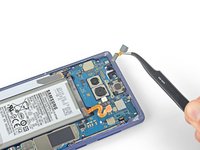
    • Use the tip of a spudger to pry the front camera connector straight up and out of its socket.

    • Use tweezers to remove the front camera.

    Demander à FixBot

    Ajouter un commentaire

  22. Samsung Galaxy Note9 Front Sensor Array Replacement, Remove the iris scanner: étape 22, image 1 de 3 Samsung Galaxy Note9 Front Sensor Array Replacement, Remove the iris scanner: étape 22, image 2 de 3 Samsung Galaxy Note9 Front Sensor Array Replacement, Remove the iris scanner: étape 22, image 3 de 3
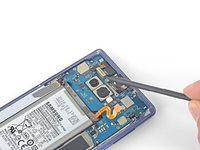
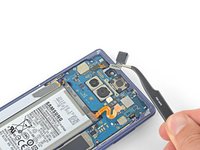
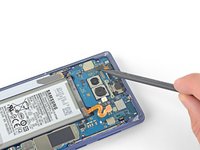
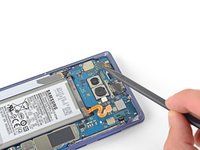
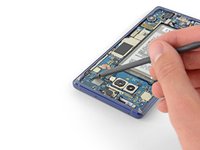
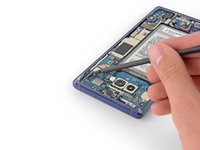
    • Use the tip of a spudger to disconnect the iris scanner from the motherboard.

    • Use tweezers to remove the iris scanner.

    Demander à FixBot

    Ajouter un commentaire

  23. Samsung Galaxy Note9 Front Sensor Array Replacement, Disconnect the front sensor array: étape 23, image 1 de 2 Samsung Galaxy Note9 Front Sensor Array Replacement, Disconnect the front sensor array: étape 23, image 2 de 2
    • Use the flat end of a spudger to pry the front sensor connector out of its socket.

    Demander à FixBot

    Ajouter un commentaire

  24. Samsung Galaxy Note9 Front Sensor Array Replacement, Disconnect the display assembly: étape 24, image 1 de 2 Samsung Galaxy Note9 Front Sensor Array Replacement, Disconnect the display assembly: étape 24, image 2 de 2
    • Use the flat end of a spudger to disconnect the display cable from the motherboard.

    Demander à FixBot

    Ajouter un commentaire

  25. Samsung Galaxy Note9 Front Sensor Array Replacement: étape 25, image 1 de 2 Samsung Galaxy Note9 Front Sensor Array Replacement: étape 25, image 2 de 2
    • Use the flat end of a spudger to disconnect the touchscreen cable from the motherboard.

    Demander à FixBot

    Ajouter un commentaire

  26. Samsung Galaxy Note9 Front Sensor Array Replacement, Disconnect the charging assembly: étape 26, image 1 de 2 Samsung Galaxy Note9 Front Sensor Array Replacement, Disconnect the charging assembly: étape 26, image 2 de 2
    • Use the flat end of a spudger to disconnect the charging assembly from the motherboard.

    Demander à FixBot

    Ajouter un commentaire

  27. Samsung Galaxy Note9 Front Sensor Array Replacement: étape 27, image 1 de 2 Samsung Galaxy Note9 Front Sensor Array Replacement: étape 27, image 2 de 2
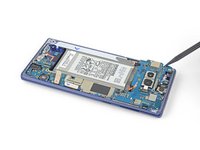
    • Remove the three 4 mm Phillips screws securing the motherboard.

    • There are triangles next to the holes indicating the motherboard screw locations.

    Demander à FixBot

    Ajouter un commentaire

  28. Samsung Galaxy Note9 Front Sensor Array Replacement: étape 28, image 1 de 3 Samsung Galaxy Note9 Front Sensor Array Replacement: étape 28, image 2 de 3 Samsung Galaxy Note9 Front Sensor Array Replacement: étape 28, image 3 de 3
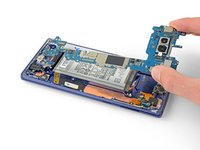
    • Use a spudger to gently lift the motherbord from the upper-left corner.

    • Carefully remove the motherboard.

    • Move the ribbon cables out of the way as necessary. Do not pull the motherboard out if it becomes snagged on any cables.

    Demander à FixBot

    Ajouter un commentaire

  29. Samsung Galaxy Note9 Front Sensor Array Replacement, Remove the front sensor array: étape 29, image 1 de 2 Samsung Galaxy Note9 Front Sensor Array Replacement, Remove the front sensor array: étape 29, image 2 de 2
    Outil utilisé dans cette étape :
    Tweezers
    $4.99
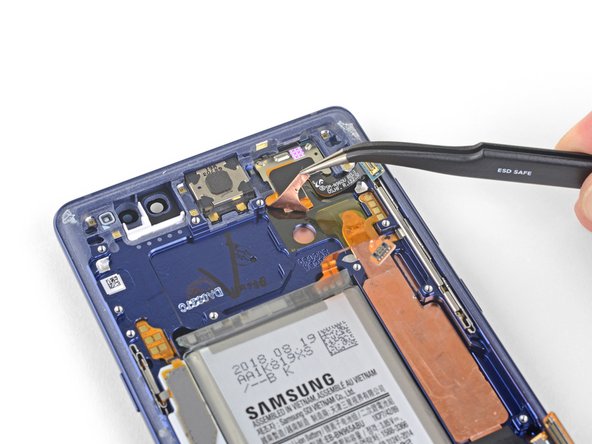
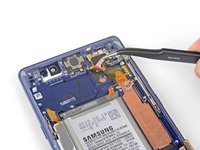
    • Use a pair of tweezers to peel back the adhesive-backed copper foil.

    • Stop peeling once you reach the sensor array.

    • Be careful not to tear the foil.

    Demander à FixBot

    Ajouter un commentaire

  30. Samsung Galaxy Note9 Front Sensor Array Replacement: étape 30, image 1 de 2 Samsung Galaxy Note9 Front Sensor Array Replacement: étape 30, image 2 de 2
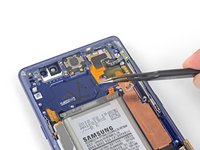
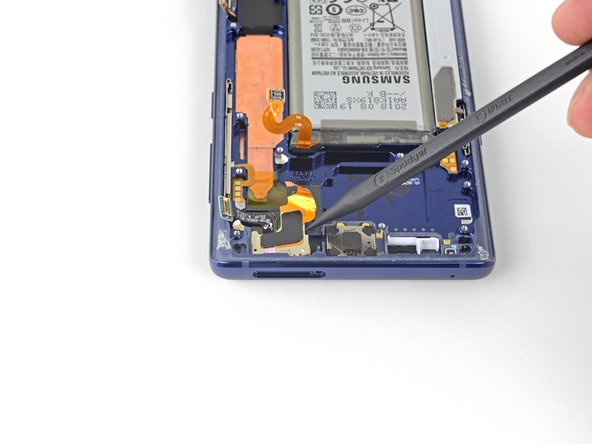
    • Use the tip of a spudger to lift the left side of the front sensor array and separate the adhesive the rest of the way.

    • The front sensor array is still connected to a ribbon cable that is adhered to the phone. Do not try to remove the front sensor array yet or you will damage it.

    Demander à FixBot

    Ajouter un commentaire

  31. Samsung Galaxy Note9 Front Sensor Array Replacement: étape 31, image 1 de 2 Samsung Galaxy Note9 Front Sensor Array Replacement: étape 31, image 2 de 2
    • Carefully slide an opening pick under the front sensor array ribbon cable to cut the adhesive underneath.

    Demander à FixBot

    Ajouter un commentaire

  32. Samsung Galaxy Note9 Front Sensor Array Replacement: étape 32, image 1 de 2 Samsung Galaxy Note9 Front Sensor Array Replacement: étape 32, image 2 de 2
    • Use a pair of tweezers to remove the front sensor array.

    Demander à FixBot

    Ajouter un commentaire

Conclusion

To reassemble your device, follow the above steps in reverse order.

Take your e-waste to an R2 or e-Stewards certified recycler.

Repair didn’t go as planned? Check out our Answers community for troubleshooting help.

Compare your new replacement part to the original part—you may need to transfer remaining components or remove adhesive backings from the new part before installing.

Annulation : je n'ai pas terminé ce tutoriel.

3 autres ont terminé cette réparation.

Sam Omiotek

Membre depuis le 02/25/19

99 272 Réputation

290 tutoriels rédigés

0 commentaires de tutoriel

Ajouter un commentaire

Nombre de vues :

Dernières 24 heures : 2

7 derniers jours : 9

30 derniers jours : 42

Total : 1,679