Aller au contenu principal

Samsung Galaxy S21 Wireless Charging Coil Replacement

Conditions préalables uniquement
Ce tutoriel est uniquement destiné à être utilisé comme prérequis d'autres tutoriels. Il ne se suffit pas à lui-même.
  1. Samsung Galaxy S21 Wireless Charging Coil Replacement, Unfasten the motherboard bracket: étape 1, image 1 de 2 Samsung Galaxy S21 Wireless Charging Coil Replacement, Unfasten the motherboard bracket: étape 1, image 2 de 2
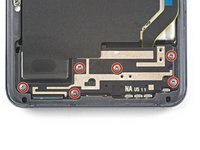
    • Use a Phillips screwdriver to remove the five 4 mm-long screws securing the motherboard bracket to the frame.

  2. Samsung Galaxy S21 Wireless Charging Coil Replacement, Unclip the motherboard bracket: étape 2, image 1 de 2 Samsung Galaxy S21 Wireless Charging Coil Replacement, Unclip the motherboard bracket: étape 2, image 2 de 2
    Outil utilisé dans cette étape :
    Tweezers
    $4.99
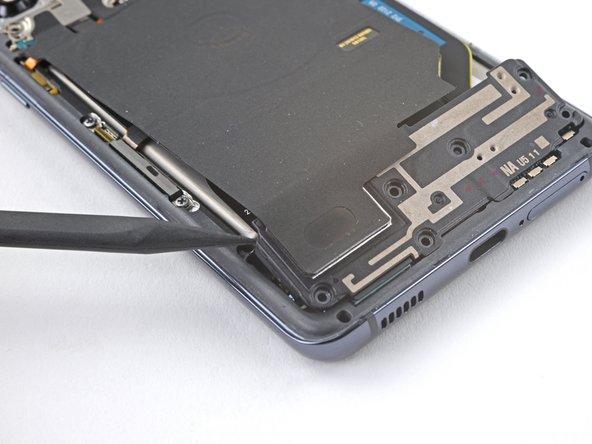
    • Use a pair of tweezers to gently pull up and unclip the motherboard bracket from the frame.

    • Do not completely remove the bracket yet, as it's still attached to the wireless charging coil.

  3. Samsung Galaxy S21 Wireless Charging Coil Replacement, Disconnect the battery: étape 3, image 1 de 2 Samsung Galaxy S21 Wireless Charging Coil Replacement, Disconnect the battery: étape 3, image 2 de 2
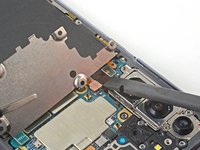
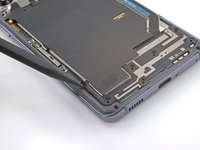
    • While using tweezers, or your fingers, to hold the motherboard bracket out of the way, use a spudger to pry up the battery press connector.

    • Take care to pry only under the edge of the connector to prevent damaging the socket itself and surrounding components.

    • To re-attach press connectors like this one, carefully align and press down on one side until it clicks into place, then repeat on the other side. Do not press down on the middle. If the connector is misaligned, the pins can bend, causing permanent damage.

  4. Samsung Galaxy S21 Wireless Charging Coil Replacement, Disconnect the wireless charging coil: étape 4, image 1 de 2 Samsung Galaxy S21 Wireless Charging Coil Replacement, Disconnect the wireless charging coil: étape 4, image 2 de 2
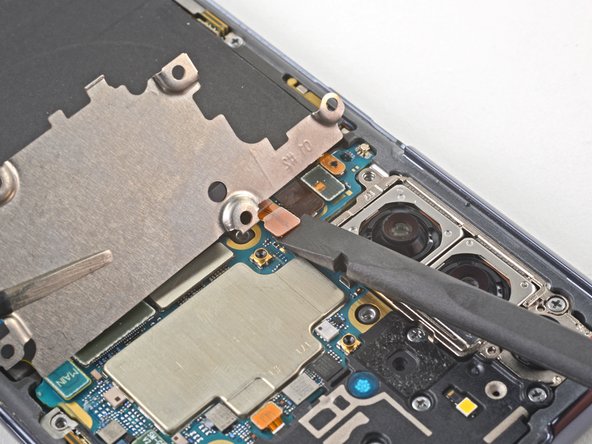
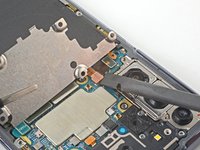
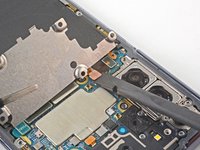
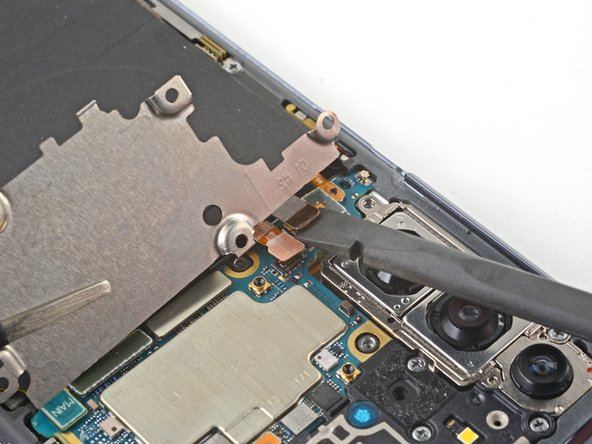
    • While holding the motherboard bracket out of the way, use a spudger to pry up and disconnect the wireless charging coil's press connector.

  5. Samsung Galaxy S21 Wireless Charging Coil Replacement, Unfasten the loudspeaker: étape 5, image 1 de 2 Samsung Galaxy S21 Wireless Charging Coil Replacement, Unfasten the loudspeaker: étape 5, image 2 de 2
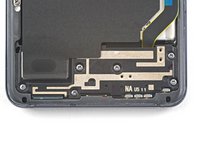
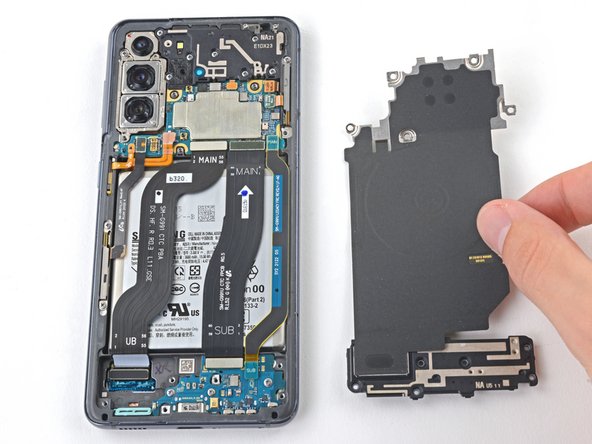
    • Use a Phillips screwdriver to remove the six 4 mm-long screws securing the loudspeaker to the frame.

  6. Samsung Galaxy S21 Wireless Charging Coil Replacement, Disconnect the loudspeaker: étape 6, image 1 de 2 Samsung Galaxy S21 Wireless Charging Coil Replacement, Disconnect the loudspeaker: étape 6, image 2 de 2
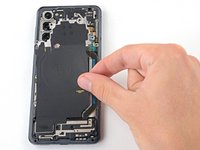
    • Insert the point of a spudger into the notch in the top-left corner of the loudspeaker and pry up to release the clips holding it in place.

  7. Samsung Galaxy S21 Wireless Charging Coil Replacement, Remove the wireless charging coil: étape 7, image 1 de 2 Samsung Galaxy S21 Wireless Charging Coil Replacement, Remove the wireless charging coil: étape 7, image 2 de 2
    • Remove the wireless charging coil.

Conclusion

To reassemble your device, follow these instructions in reverse order.

Alex Diaz-Kokaisl

Membre depuis le 01/16/22

161 942 Réputation

769 tutoriels rédigés

Équipe

iFixit Membre de l'équipe iFixit

Staff

118 membres

19 410 tutoriels rédigés

0 commentaires

Ajouter un commentaire

Nombre de vues :

Dernières 24 heures : 4

7 derniers jours : 4

30 derniers jours : 4

Total : 63