Aller au contenu principal
Pour réparer ensemble - Je crée un compte

Shark Flex DuoClean LED Headlight Replacement

Ce dont vous avez besoin

    1. Shark Flex DuoClean LED Headlight Replacement, Garage Door: étape 1, image 1 de 2 Shark Flex DuoClean LED Headlight Replacement, Garage Door: étape 1, image 2 de 2
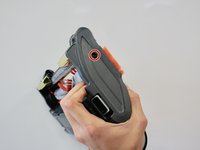
      • Open the garage door by sliding both of the release buttons away from you.

      • Lift off the garage door.

      Demander à FixBot

      Ajouter un commentaire

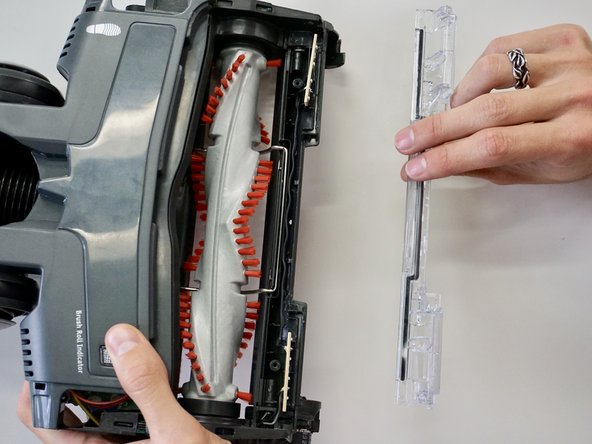
    1. Shark Flex DuoClean LED Headlight Replacement, Side Component: étape 2, image 1 de 2 Shark Flex DuoClean LED Headlight Replacement, Side Component: étape 2, image 2 de 2
      • Remove the plastic screw covering using a metal spudger by pushing the sharp side into the crevice and prying the cover out.

      Demander à FixBot

      Ajouter un commentaire

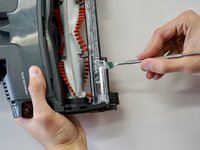
    2. Shark Flex DuoClean LED Headlight Replacement: étape 3, image 1 de 2 Shark Flex DuoClean LED Headlight Replacement: étape 3, image 2 de 2
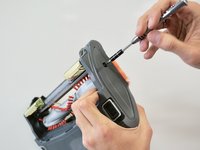
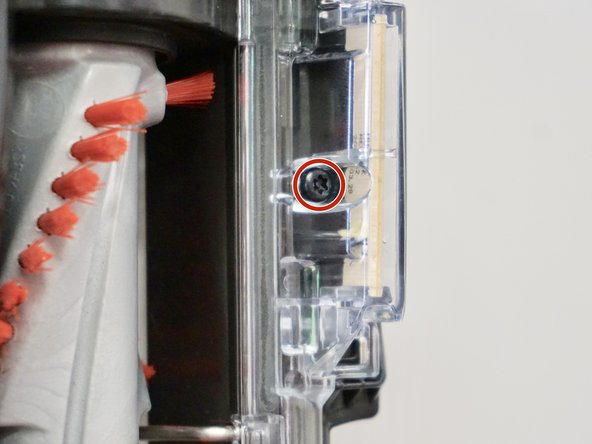
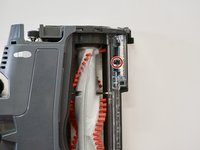
      • Turn the T10 Security Torx screwdriver counterclockwise to remove the 15mm screw.

      Demander à FixBot

      Ajouter un commentaire

    3. Shark Flex DuoClean LED Headlight Replacement: étape 4, image 1 de 1
      • Use the iFixit Opening Tool to pry the side of the vacuum open.

      Demander à FixBot

      Ajouter un commentaire

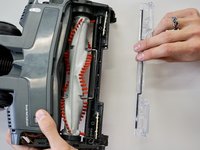
    4. Shark Flex DuoClean LED Headlight Replacement: étape 5, image 1 de 1
      • Remove the side component with your hands.

      Demander à FixBot

      Ajouter un commentaire

    1. Shark Flex DuoClean LED Headlight Replacement, LED Headlight: étape 6, image 1 de 1
      • Turn the T10 Security Torx screwdriver counterclockwise to remove the 15mm screw.

      Demander à FixBot

      Ajouter un commentaire

    2. Shark Flex DuoClean LED Headlight Replacement: étape 7, image 1 de 2 Shark Flex DuoClean LED Headlight Replacement: étape 7, image 2 de 2
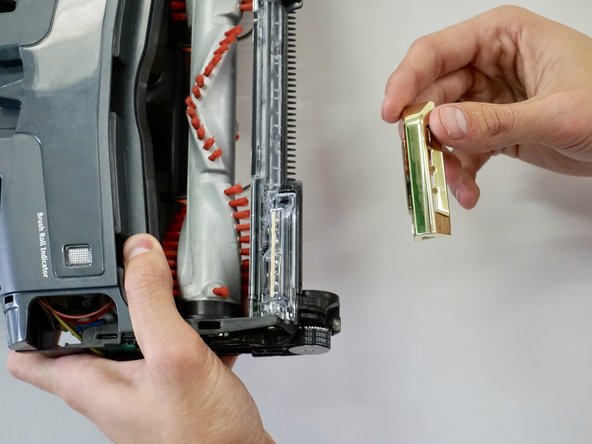
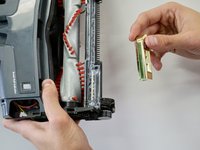
      • Use the nylon spudger to pry the gold, plastic cover off of the headlights.

      • Prying off the cover too aggressively may cause it to break.

      Demander à FixBot

      Ajouter un commentaire

    3. Shark Flex DuoClean LED Headlight Replacement: étape 8, image 1 de 2 Shark Flex DuoClean LED Headlight Replacement: étape 8, image 2 de 2
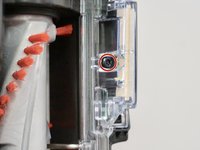
      • Turn the T10 Security Torx screwdriver counterclockwise to remove the 15mm screw.

      Demander à FixBot

      Ajouter un commentaire

    4. Shark Flex DuoClean LED Headlight Replacement: étape 9, image 1 de 2 Shark Flex DuoClean LED Headlight Replacement: étape 9, image 2 de 2
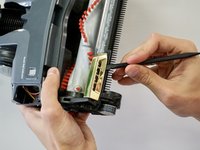
      • Use the metal spudger to pry off the clear, plastic cover on the LEDs.

      • Prying the cover off too aggressively may cause it to break.

      Demander à FixBot

      Ajouter un commentaire

    5. Shark Flex DuoClean LED Headlight Replacement: étape 10, image 1 de 1
      • Use wire cutters to detach the black cables from the LEDs on both sides.

      • Strip 1 cm off the ends of the wires, using a wire stripper.

      • Solder the exposed wires to the new LEDs.

      • Use the soldering guide in the Introduction.

      Demander à FixBot

      Ajouter un commentaire

Conclusion

To reassemble your device, follow these instructions in reverse order.

Annulation : je n'ai pas terminé ce tutoriel.

Samantha Mickelson

Membre depuis le 10/08/18

496 Réputation

4 tutoriels rédigés

Équipe

Cal Poly, Team S17-G5, White Fall 2018 Membre de l'équipe Cal Poly, Team S17-G5, White Fall 2018

CPSU-WHITE-F18S17G5

4 membres

25 tutoriels rédigés

0 commentaires de tutoriel

Ajouter un commentaire

Nombre de vues :

Dernières 24 heures : 2

7 derniers jours : 4

30 derniers jours : 24

Total : 1,841