Cette traduction a été générée automatiquement et n’a pas encore fait l’objet d’une relecture humaine. Vous parlez cette langue ? Relisez-la.
Introduction
Si votre Ion ne tire pas correctement, il se peut que les joints toriques du bolt aient besoin d'être lubrifiés, ou que le bolt soit endommagé par l'usure. Lorsque vous intervenez sur le Ion, soyez conscient de la pression due à l'air à l'intérieur du marqueur. L'air comprimé peut être puissant et projeter des particules dans vos yeux ou sur votre peau. Si des bulles d'air pénètrent dans la circulation sanguine, elles peuvent obstruer des vaisseaux sanguins et provoquer des embolies. Pour éviter cela, assurez-vous de pointer le marqueur dans une direction sécurisée lors du dégazage du Ion.
Ce dont vous avez besoin
-
-
-
Retirez le réservoir d'air en le faisant tourner dans le sens inverse des aiguilles d'une montre.
 Demander à FixBot
-
-
-
Retirez la trémie en la sortant du tube d'alimentation situé sur le dessus du corps de l'appareil. La trémie doit se détacher facilement si vous tirez tout droit vers le haut.
-
-
-
-
-
Allumez le pistolet en appuyant sur le bouton de marche jusqu'à ce que le voyant rouge clignote.
-
Désactivez le mode vision en appuyant à nouveau sur le bouton de marche.
-
-
-
Appuyez sur la gâchette pour détacher l'air présent dans le pistolet.
-
-
-
-
-
Retirez les quatre vis de 8 mm de chaque côté de la poignée du pistolet avec un tournevis cruciforme #2.
-
-
-
Retirez la poignée en la faisant glisser vers l'avant de l'arme.
-
-
-
-
-
-
-
À l'aide d'une clé Allen de 3/32", retirez les vis avant et arrière de 1" du châssis de la poignée du pistolet.
-
-
-
Retirez la vis de 12 mm située sur le haut du châssis de la poignée à l'aide d'une clé Allen de 3/32".
-
-
-
Séparez le corps de l'arme du châssis en tirant délicatement dans des directions opposées.
-
-
-
Retirez la vis de 1-1/4" fixée sur le tube bleu au-dessus de la poignée avant, à l'aide d'une clé Allen de 3/32".
-
-
-
-
Outil utilisé dans cette étape :Tweezers$4.99
-
Utilisez délicatement des pincettes pour détacher le faisceau de câbles de vision blanc, situé directement sous le tube d'alimentation.
-
-
-
Retirez les deux vis de 3,175 cm (1-1/4") situées de chaque côté du circuit imprimé, à l'aide d'une clé Allen de 2,38 mm (3/32").
-
-
-
Séparez le solénoïde du corps du pistolet en tirant doucement vers le haut.
-
-
-
Faites glisser le corps métallique hors de la coque en plastique en en tenant une partie dans chaque main et en tirant doucement.
-
-
-
-
-
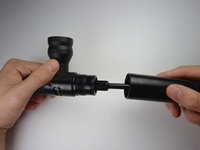
Séparez le corps de culasse avant de la chambre de combustion en faisant pivoter la culasse dans le sens inverse des aiguilles d'une montre.
-
-
-
Retirez le verrou du boîtier avant en tirant doucement dessus.
-
-


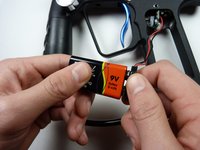
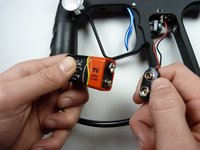


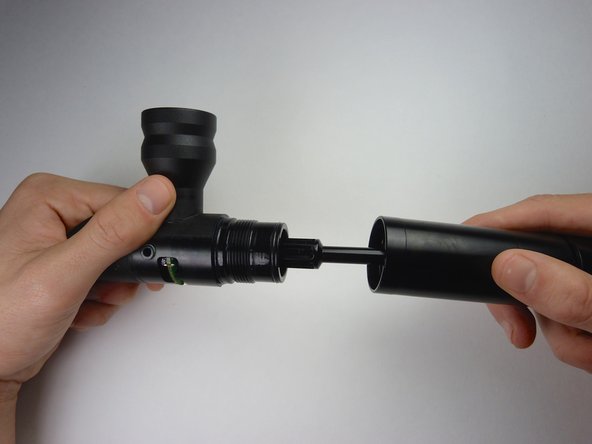
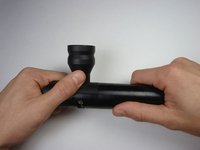

Pour remonter votre appareil, suivez ces instructions en sens inverse.
Annulation : je n'ai pas terminé ce tutoriel.
3 autres ont terminé cette réparation.

Équipe

Cal Poly, Team 8-42, Amido Winter 2015 Membre de l'équipe Cal Poly, Team 8-42, Amido Winter 2015
CPSU-AMIDO-W15S8G42
4 membres
90 tutoriels rédigés
