Introduction
If your Sonos Roam is having audio issues such as distorted sound, cutting out, or no sound playing, then use this guide to replace the speaker module.
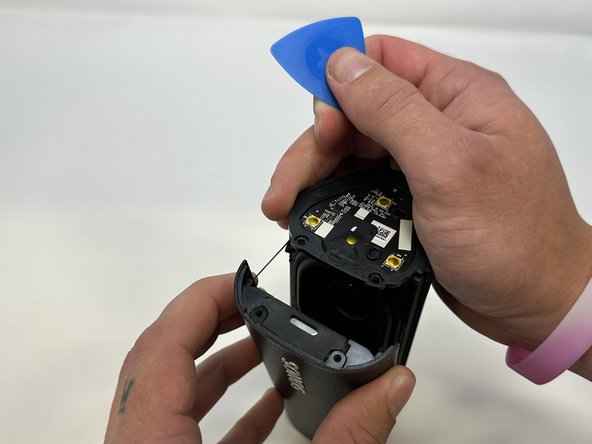
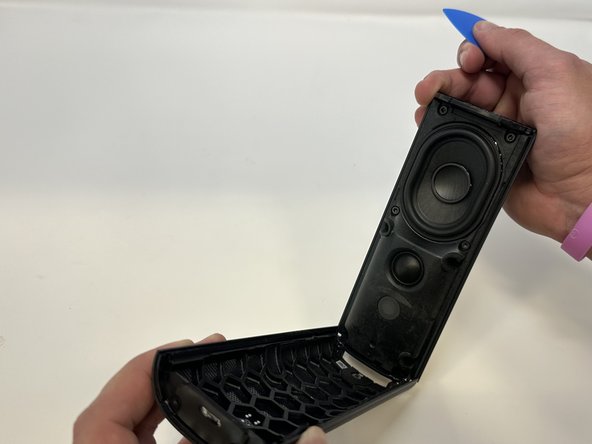
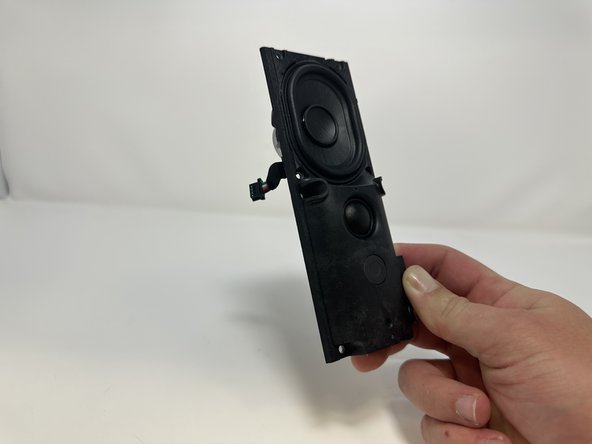
The speaker module is the large, internal component that produces the sound. A broken speaker module will result in various audio issues.
Before using this guide, make sure the Bluetooth is stable. Also try rebooting the device before performing any replacement.
There are steps that recommend (not require) the use of the iOpener. This will help with carefully removing the adhesive used to keep this device together. Refer to this link on how to properly use the iOpener.
Ce dont vous avez besoin
-
-
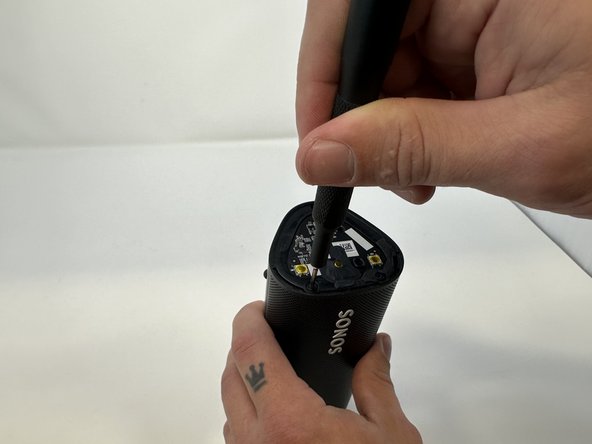
Use the metal spudger to pry the end cap with the buttons.
-
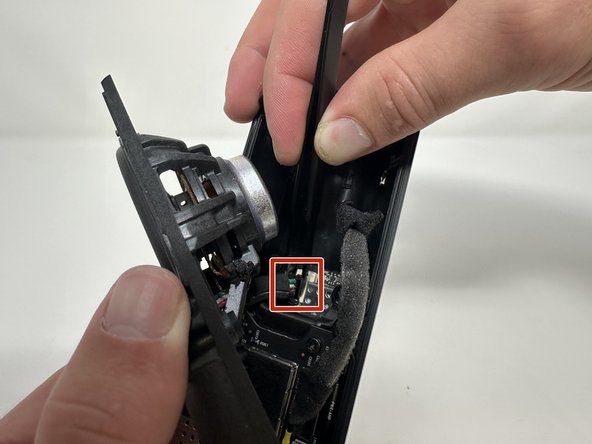
Pry from all sides to loosen the adhesive.
-
-
-
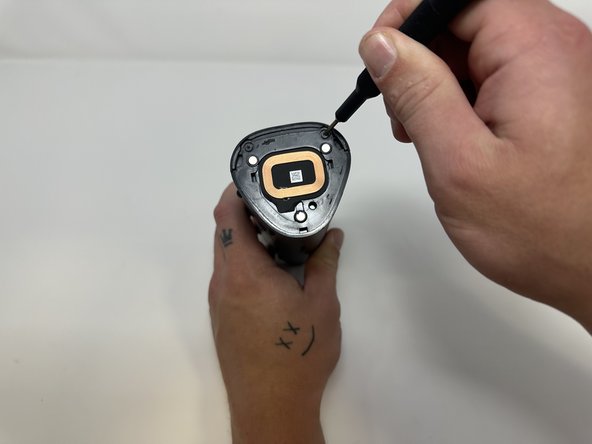
Flip the device so that the Sonos logo is on the top.
-
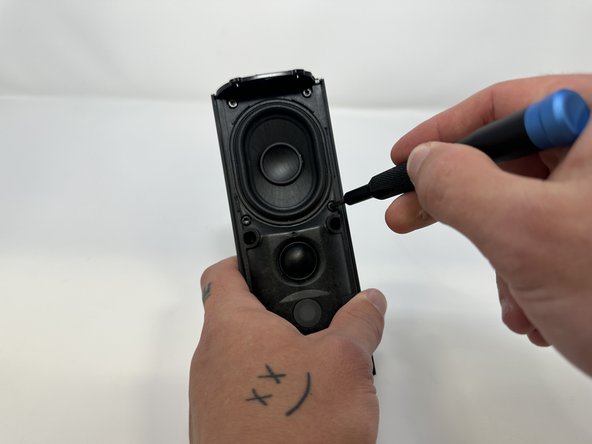
Use the Torx T6 screwdriver to remove the two 6 mm screws.
-
-


To reassemble your device, follow these instructions in reverse order.
To reassemble your device, follow these instructions in reverse order.

Équipe

Utah Tech University, Team 1-2, McMurrin Fall 2023 Membre de l'équipe Utah Tech University, Team 1-2, McMurrin Fall 2023
UTAHTECH-MCMURRIN-F23S1G2
3 membres
10 tutoriels rédigés