Aller au contenu principal
Pour réparer ensemble - Je crée un compte

Spy Net Ultra Vision Goggles MicroSD Card Reader Replacement

Ce dont vous avez besoin

    1. Spy Net Ultra Vision Goggles MicroSD Card Reader Replacement, Opening the Device: étape 1, image 1 de 2 Spy Net Ultra Vision Goggles MicroSD Card Reader Replacement, Opening the Device: étape 1, image 2 de 2
      • Remove the six silver 11.4 mm Phillips #0 screws

      • Pry open the device using a plastic opening tool if necessary. To do this, locate the groves running along the side of the entire device and wedge it open.

      Demander à FixBot

      Ajouter un commentaire

    2. Spy Net Ultra Vision Goggles MicroSD Card Reader Replacement, Removing the Styrofoam Pad: étape 2, image 1 de 1
      • Now that your device is open, remove the Styrofoam pad that covers the main circuit board. The adhesive should allow you to remove and replace it with ease.

      • Do this carefully to avoid tearing the pad.

      Demander à FixBot

      Ajouter un commentaire

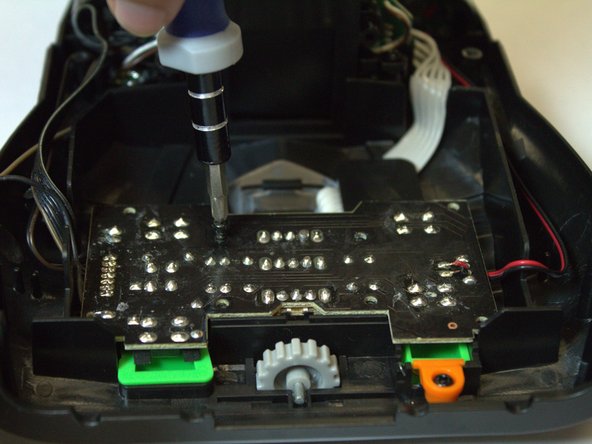
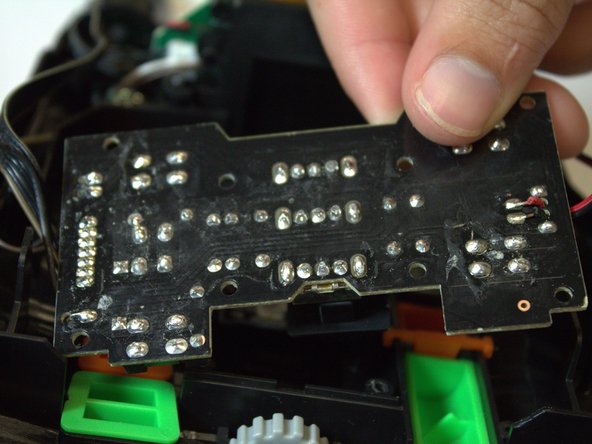
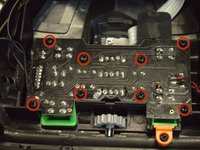
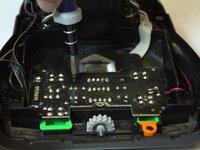
    3. Spy Net Ultra Vision Goggles MicroSD Card Reader Replacement, Removing the Circuit Board: étape 3, image 1 de 3 Spy Net Ultra Vision Goggles MicroSD Card Reader Replacement, Removing the Circuit Board: étape 3, image 2 de 3 Spy Net Ultra Vision Goggles MicroSD Card Reader Replacement, Removing the Circuit Board: étape 3, image 3 de 3
      • Remove the eight black 7.2 mm Phillips #0 screws from the top of the circuit board and remove the circuit board.

      Demander à FixBot

      Ajouter un commentaire

    4. Spy Net Ultra Vision Goggles MicroSD Card Reader Replacement, Removing The Micro SD Reader: étape 4, image 1 de 3 Spy Net Ultra Vision Goggles MicroSD Card Reader Replacement, Removing The Micro SD Reader: étape 4, image 2 de 3 Spy Net Ultra Vision Goggles MicroSD Card Reader Replacement, Removing The Micro SD Reader: étape 4, image 3 de 3
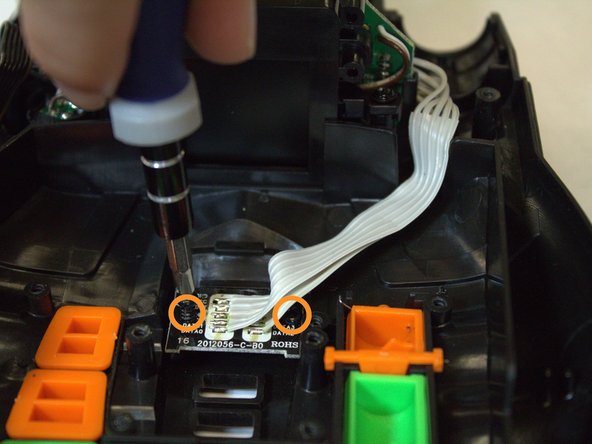
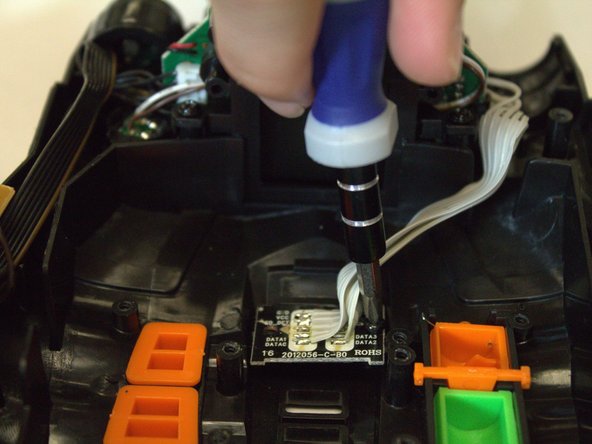
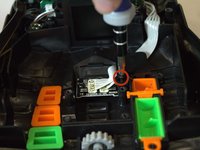
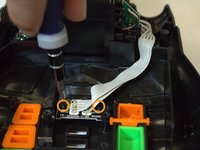
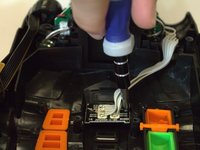
      • Unscrew the one 7.2 mm Phillips #0 screw from the plastic piece covering the microSD reader.

      • Then, unscrew the two 7.2 mm Phillips #0 screws from the microSD reader and remove it from its fastening.

      Demander à FixBot

      Ajouter un commentaire

    5. Spy Net Ultra Vision Goggles MicroSD Card Reader Replacement, Un-Soldering the Wires: étape 5, image 1 de 1
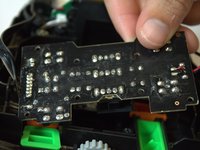
      • On the back side of the reader there are nine wires. Un-solder these wires, remove the micro SD card reader, and solder on the replacement.

      • Need Help Soldering? Check out Comment souder et dessouder des connexions for tips.

      Demander à FixBot

      Ajouter un commentaire

Conclusion

To reassemble your device, follow these instructions in reverse order.

Annulation : je n'ai pas terminé ce tutoriel.

Andrew Gittens

Membre depuis le 09/22/14

143 Réputation

4 tutoriels rédigés

Équipe

USF Tampa, Team 4-5, Brown Fall 2014 Membre de l'équipe USF Tampa, Team 4-5, Brown Fall 2014

USFT-BROWN-F14S4G5

3 membres

18 tutoriels rédigés

1 commentaire de tutoriel

Where do you get the replacement parts?

clsutliff - Réponse Partager

Ajouter un commentaire

Nombre de vues :

Dernières 24 heures : 2

7 derniers jours : 8

30 derniers jours : 29

Total : 810