Cette version peut contenir des modifications incorrectes. Passez au dernier aperçu vérifié.
Ce dont vous avez besoin
-
Cette étape n’est pas traduite. Aidez à la traduire
-
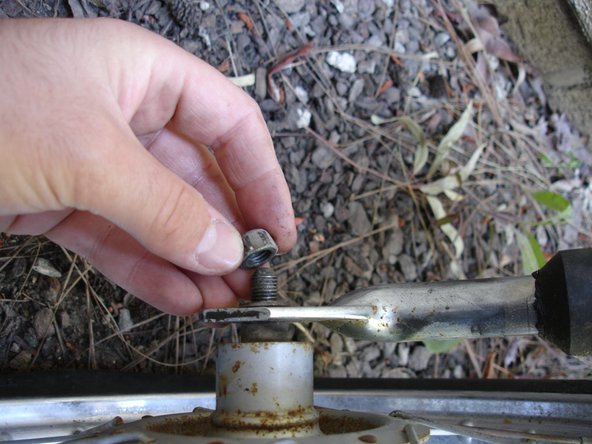
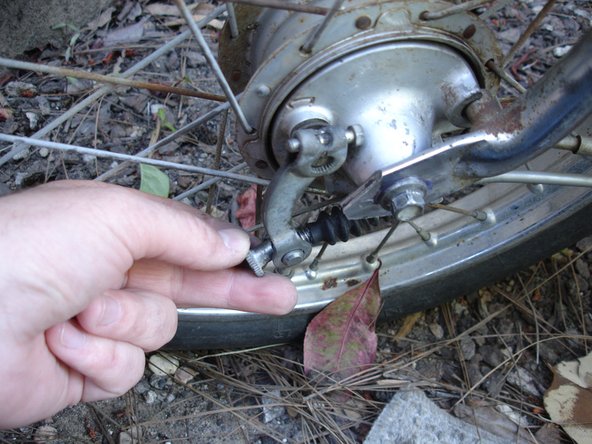
Use your fingers to unscrew and remove the brake cable adjustment nut.
-
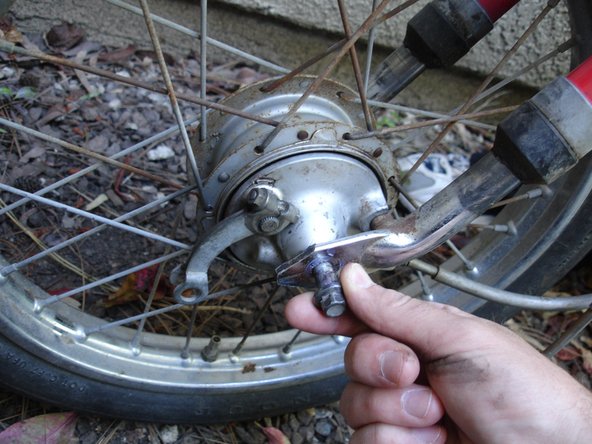
Remove the brake cable by pulling it straight out of the dust cover and its retaining bracket.
-
The black rubber boot (and spring within it) is now loose, so remove it from the brake line and set it aside until reassembly.
-
-
Cette étape n’est pas traduite. Aidez à la traduire
-
Place a 12 mm combination (or box-end) wrench over the lug nut on the opposite side of the front wheel.
-
While holding the lug nut with the combination wrench, use a 12 mm socket wrench to loosen the axle screw on the brake side of the wheel.
-
Slide the axle screw out and remove the front wheel from the moped.
-
-
Cette étape n’est pas traduite. Aidez à la traduire
-
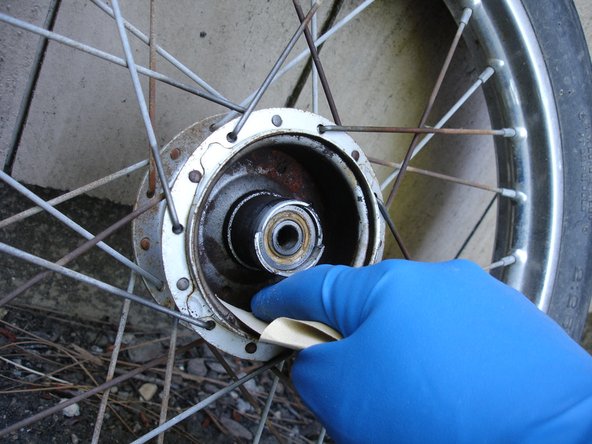
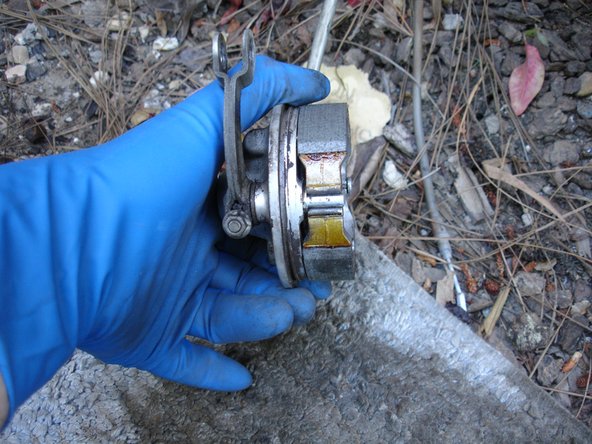
Remove the brake drum assembly by pulling it straight up from the wheel.
-
-
Cette étape n’est pas traduite. Aidez à la traduire
-
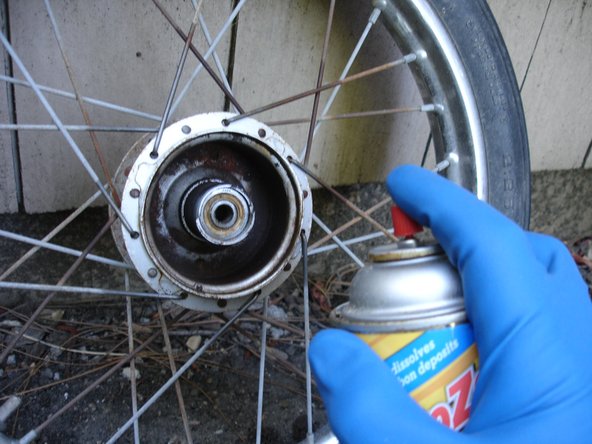
Thoroughly spray the inside of the brake drum with a brake cleaning solvent.
-
Once the solvent has had a chance to work its magic (10 minutes or so), use a rough-grit sandpaper (100 grit or so) to clean the inner diameter of the drum. Rinse and repeat until you are satisfied with the cleanliness of the drum.
-
-
-
Cette étape n’est pas traduite. Aidez à la traduire
-
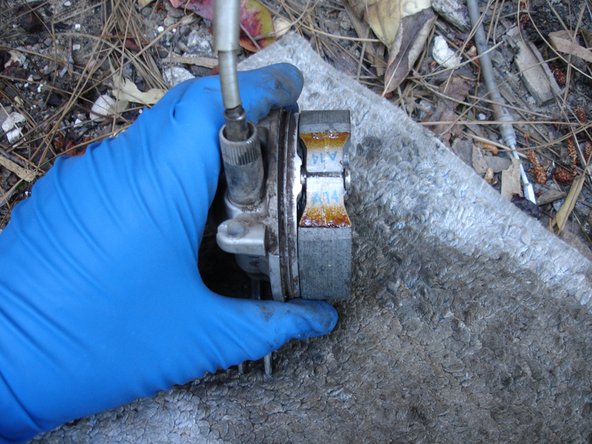
Spray all of the brake shoe hardware with the cleaning solvent before taking off the old shoes. This will clean the hardware and prevent any asbestos from flying into your lungs.
-
-
Cette étape n’est pas traduite. Aidez à la traduire
-
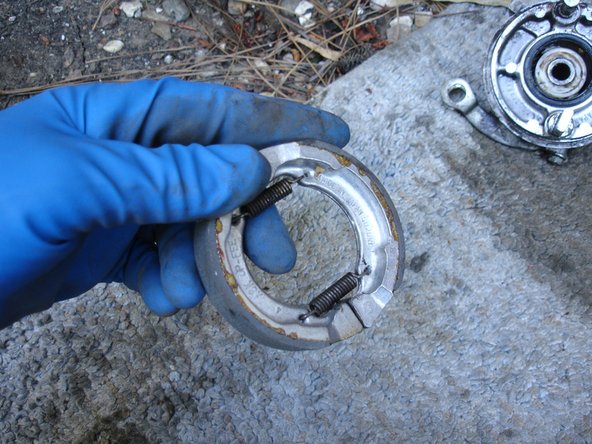
Attach the two brake shoes and springs together. First put both springs through one of the shoes, then loosely attach the other side of the springs to the other shoe.
-
Carefully straighten out the shoes so they look just like the third picture.
-
-
Cette étape n’est pas traduite. Aidez à la traduire
-
Carefully spread apart the round side of the brake shoes and place them through the round bolt on the brake drum assembly.
-
Then, spread apart the flat side of the brake shoes and place them through the flat bolt on the brake drum assembly.
-
The shoes should now be sitting as shown in the second and third pictures.
-
-
Cette étape n’est pas traduite. Aidez à la traduire
-
Place the brake drum assembly back into the wheel.
-
-
Cette étape n’est pas traduite. Aidez à la traduire
-
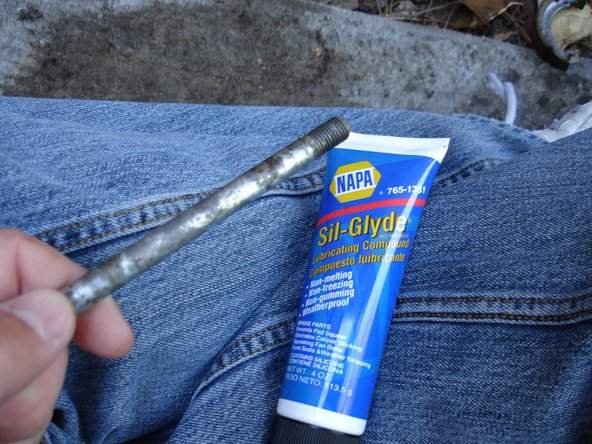
Before putting the wheel back on, remove any dirt and grime from the axle screw.
-
Apply some silicone-based grease to the shaft of the axle screw.
-
Place the front wheel back on the fork and slide the axle screw into place.
-
-
Cette étape n’est pas traduite. Aidez à la traduire
-
Place the washer over the axle screw on the opposite side of the wheel.
-
Replace the lug nut and tighten it as much as you can with your fingers.
-
-
Cette étape n’est pas traduite. Aidez à la traduire
-
Insert the black rubber boot back on the brake cable.
-
Place the brake cable back in its retaining bracket and slide the rubber over the exposed braided cable.
-
At this point, you'll need to adjust the front brake arm because the new shoes are much thicker than the old ones (see next step).
-
-
Cette étape n’est pas traduite. Aidez à la traduire
-
Use an 8 mm socket wrench to remove the nut that secures the top of the brake arm to the brake drum.
-
Adjust the brake arm so that the brake cable goes through its guide.
-
Place the brake adjustment nut back onto the threaded portion of the brake cable.
-
-
Cette étape n’est pas traduite. Aidez à la traduire
-
First use the 8 mm socket wrench to tighten the brake arm retaining screw, so that the brake arm is in its held sturdily in its new position.
-
Then, tighten the brake cable adjusting nut with your fingers until your front brake lever is about 0.8 - 1.0" from the handlebar when fully engaged.
-


Annulation : je n'ai pas terminé ce tutoriel.
3 autres ont terminé cette réparation.
