Aller au contenu principal
Pour réparer ensemble - Je crée un compte

Syma S107 Gyro Replacement

Ce dont vous avez besoin

  1. Syma S107 Gyro Replacement, Counterweight Bar: étape 1, image 1 de 2 Syma S107 Gyro Replacement, Counterweight Bar: étape 1, image 2 de 2
    Outil utilisé dans cette étape :
    Tweezers
    $4.99
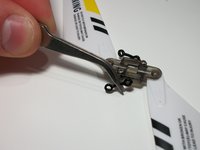
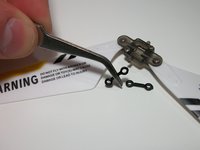
    • Using tweezers, gently remove the two stabilizing links by pulling straight away from the point of connection.

    Demander à FixBot
  2. Syma S107 Gyro Replacement: étape 2, image 1 de 2 Syma S107 Gyro Replacement: étape 2, image 2 de 2
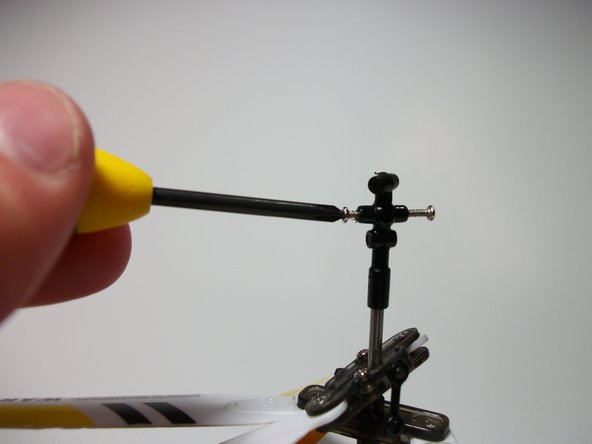
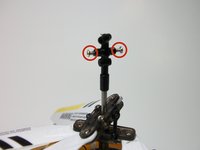
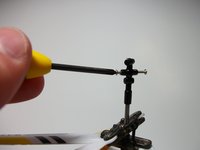
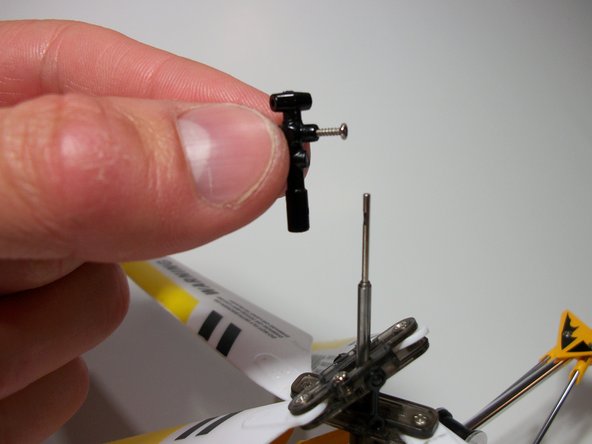
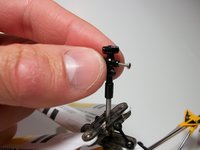
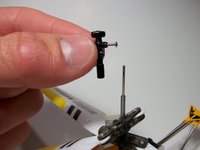
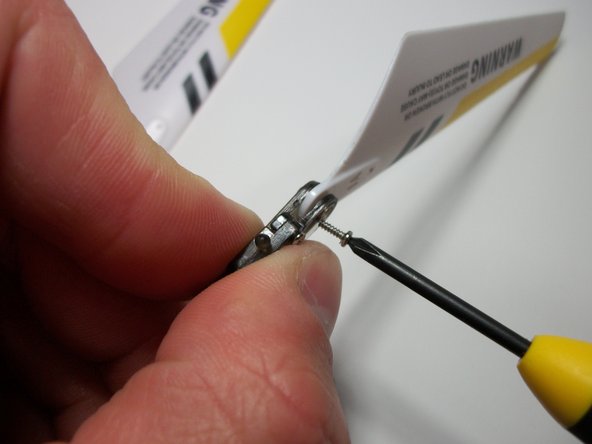
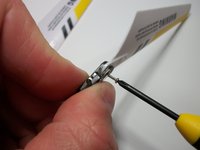
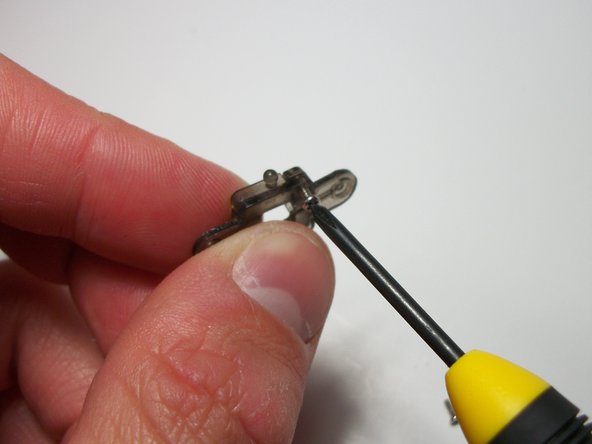
    • Remove the counterweight bar by removing the screw.

    • One 10.1mm Phillips #0.

    Demander à FixBot
  3. Syma S107 Gyro Replacement, Gyro Carriage: étape 3, image 1 de 2 Syma S107 Gyro Replacement, Gyro Carriage: étape 3, image 2 de 2
    • Remove the gyro carriage by removing the following screws:

    • Two 5.6mm Phillips #0.

    • When reinstalling these screws make sure to line up one screw with the keyway on the main rotor shaft.

    Demander à FixBot
  4. Syma S107 Gyro Replacement: étape 4, image 1 de 2 Syma S107 Gyro Replacement: étape 4, image 2 de 2
    • Gently remove the broken gyro carriage by pulling up.

    • Remove blade assembly by simply sliding it up and off the shaft.

    Demander à FixBot
  5. Syma S107 Gyro Replacement, Blade Carriage: étape 5, image 1 de 3 Syma S107 Gyro Replacement, Blade Carriage: étape 5, image 2 de 3 Syma S107 Gyro Replacement, Blade Carriage: étape 5, image 3 de 3
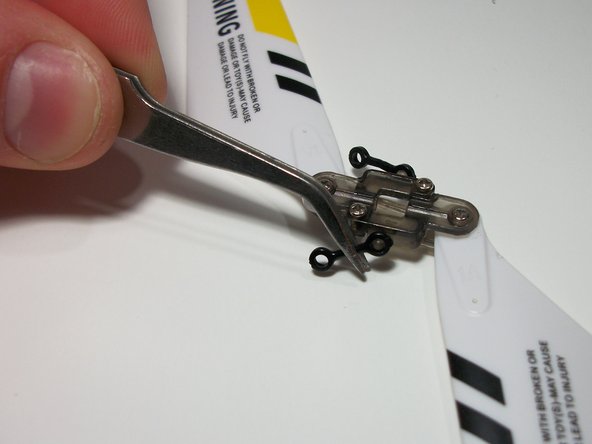
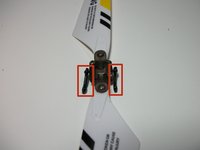
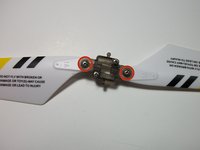
    • Again using tweezers gently remove the stabilizing links from the blade carriage by pulling straight away from the point of connection.

    Demander à FixBot
  6. Syma S107 Gyro Replacement: étape 6, image 1 de 2 Syma S107 Gyro Replacement: étape 6, image 2 de 2
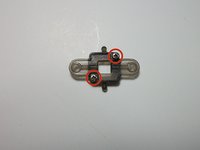
    • Remove the blades from the blade carriage by removing the following screws:

    • Two 4.7mm Phillips #0.

    Demander à FixBot
  7. Syma S107 Gyro Replacement: étape 7, image 1 de 2 Syma S107 Gyro Replacement: étape 7, image 2 de 2
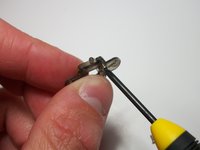
    • Remove the following screws:

    • Two 4.5mm Phillips #0.

    • Make sure to remove any broken plastic pins before reassembling the components.

    • You will have to slide the two halves of the blade carriage over the pins on the gyro carriage first when reassembling.

    Demander à FixBot
Conclusion

To reassemble your device, follow these instructions in reverse order.

7 autres ont terminé cette réparation.

Christopher Smith

Membre depuis le 10/11/14

305 Réputation

1 tutoriel rédigé

Équipe

USF Tampa, Team 1-31, Donnelly Fall 2014 Membre de l'équipe USF Tampa, Team 1-31, Donnelly Fall 2014

USFT-DONNELLY-F14S1G31

1 membre

1 tutoriel rédigé

6 commentaires de tutoriel

Thank you for this guide! This has fixed the issue and made a 35 year old boy very happy!

Patrick haymer - Réponse Partager

Cheers thanks too this page I fixed problem  great ,  Martin

Martin Worboys - Réponse Partager

Same here, incidentally where can I get replacement batteries please? Also have a “Picolo” heli with a bad feedback IC , supposedly this part can also be replaced on some units as its a soldered vertical board on the main.

Andre - Réponse Partager

Thank you! Took forever to find an answer to my problem! Now very obvious thanks to you. My sanity is restored! HaHa!

CRC 04/04/2021

Chris - Réponse Partager

I’m halfway there and grateful for the directions. But I’m not having any luck removing the broken plastic pins from the blade carriage. I’ve tried using a needle but no luck. Did anyone else come up against this?

Adam Leavesley - Réponse Partager

Ajouter un commentaire

Nombre de vues :

Dernières 24 heures : 3

7 derniers jours : 20

30 derniers jours : 113

Total : 15,677