Cette traduction a été générée automatiquement et n’a pas encore fait l’objet d’une relecture humaine. Vous parlez cette langue ? Relisez-la.
Introduction
Les boutons peuvent parfois se fissurer, s'abîmer ou tomber. Ce tutoriel vous montre comment accéder aux boutons, les retirer et les remplacer.
Ce dont vous avez besoin
-
-
-
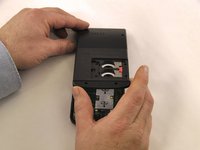
Repérez le cache de la batterie sur la coque arrière de l'appareil.
-
Faites glisser le cache de la batterie vers la droite pour révéler les batteries.
 Demander à FixBot
-
-
-
Retirez le cache de la batterie.
-
Faites glisser le verrou rouge vers le bas.
-
Faites glisser la languette métallique vers la droite de la pile bouton de 3 V supérieure.
-
Retirez la pile bouton au lithium de 3 V.
-
Faites glisser le verrou rouge vers le haut.
-
Faites glisser la languette métallique vers la droite de la pile bouton de 3 V inférieure.
-
Retirez la pile bouton au lithium de 3 V.
-
-
-
-
-
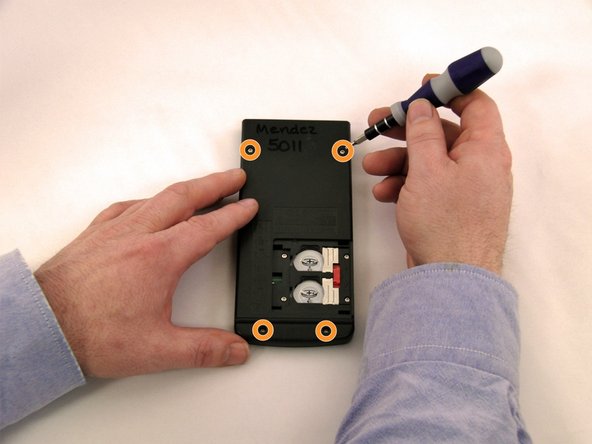
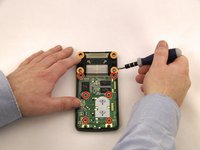
À l'aide d'un tournevis Torx T6, dévissez les quatre vis de 7,38 mm du boîtier de la batterie.
-
Dévissez les quatre vis de 7,15 mm du boîtier arrière.
-
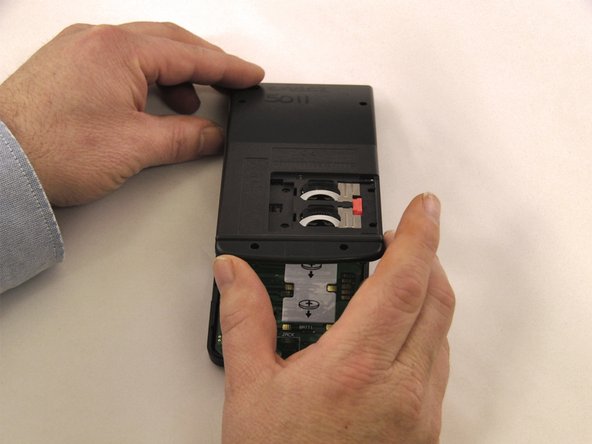
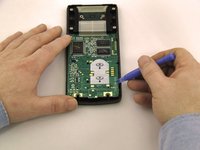
À l'aide de l'outil d'ouverture en plastique bleu, faites levier le long de la jointure pour retirer le boîtier avant.
-
-
-
-
-
-
À l'aide d'un tournevis cruciforme PH0, retirez les 6 vis : 2 en haut de la carte mère, 2 au milieu et 2 en bas de la carte mère.
-
À l'aide d'un tournevis cruciforme PH0, retirez les 4 vis du support d'écran.
-
À l'aide de l'outil pour ouvrir en plastique bleu, faites levier pour soulever la carte mère.
-
À l'aide de l'outil pour ouvrir en plastique bleu, faites levier pour soulever l'écran du support d'écran.
-
-
-
-
-
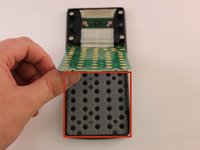
Vérifiez si le tapis en caoutchouc est endommagé ou obstrué à l'emplacement des touches qui ne fonctionnent pas.
-
Retournez le tapis pour évaluer la présence de saleté et de dommages.
-
-
-
-
-
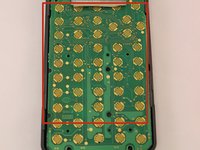
Vérifiez l'arrière des boutons pour détecter tout dommage ou obstruction.
-
Si des obstructions sont présentes, retirez-les.
-
-
Outil utilisé dans cette étape :Tweezers$4.99
-
Si un bouton est endommagé, utilisez une pincette pour soulever le bouton de la façade.
-
-
-
Insérez le nouveau bouton, en vous assurant qu'il est correctement positionné.
-
-








Pour remonter votre appareil, suivez ces instructions en sens inverse.

Équipe

Eastern Washington University, Team 1-1, Carnegie Winter 2015 Membre de l'équipe Eastern Washington University, Team 1-1, Carnegie Winter 2015
EWU-CARNEGIE-W15S1G1
4 membres
60 tutoriels rédigés
