Aller au contenu principal
Pour réparer ensemble - Je crée un compte

Texas Instruments TI-83 Plus Keyboard Mat Replacement

Ce dont vous avez besoin

    1. Texas Instruments TI-83 Plus Keyboard Mat Replacement, Backup Battery: étape 1, image 1 de 2 Texas Instruments TI-83 Plus Keyboard Mat Replacement, Backup Battery: étape 1, image 2 de 2
      • Remove the battery cover.

      • Remove the AAA batteries from the calculator.

      Demander à FixBot

      Ajouter un commentaire

    2. Texas Instruments TI-83 Plus Keyboard Mat Replacement: étape 2, image 1 de 1
      • Remove the 5mm Philips #00 screw holding backup battery cover.

      • Remove the backup battery cover.

      Demander à FixBot

      Ajouter un commentaire

    3. Texas Instruments TI-83 Plus Keyboard Mat Replacement: étape 3, image 1 de 1
      • Use plastic opening tool to remove the backup battery. Place the tool in the small cut-out next to the battery and pry the battery out.

      • Be careful, the backup battery is spring loaded and may shoot up when you remove it.

      Demander à FixBot

      Ajouter un commentaire

    1. Texas Instruments TI-83 Plus Keyboard Mat Replacement, Back Case: étape 4, image 1 de 1
      • Unscrew the six 7.5mm T6 screws on the back case. You will need to use a screwdriver with a long and skinny head.

      Demander à FixBot

      Ajouter un commentaire

    2. Texas Instruments TI-83 Plus Keyboard Mat Replacement: étape 5, image 1 de 2 Texas Instruments TI-83 Plus Keyboard Mat Replacement: étape 5, image 2 de 2
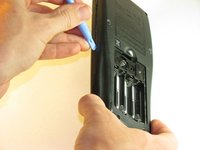
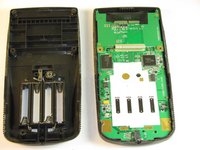
      • Pry back case off. Insert the plastic opening tool in the track for the protective cover and pry the halves of the case apart.

      Demander à FixBot

      Ajouter un commentaire

    1. Texas Instruments TI-83 Plus Keyboard Mat Replacement, Motherboard & Screen: étape 6, image 1 de 2 Texas Instruments TI-83 Plus Keyboard Mat Replacement, Motherboard & Screen: étape 6, image 2 de 2
      • Keep the screen face-down during this step. Only the motherboard is attached to the face-plate and the screen may fall out.

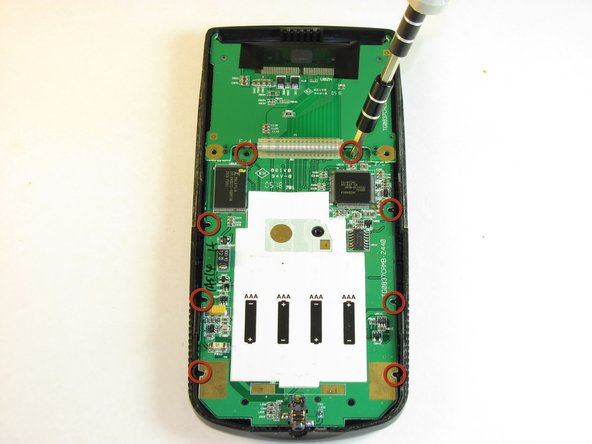
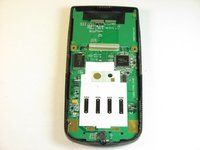
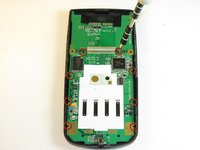
      • Remove the eight (8) 5mm Philips #00 screws on the motherboard.

      Demander à FixBot

      Ajouter un commentaire

    2. Texas Instruments TI-83 Plus Keyboard Mat Replacement: étape 7, image 1 de 2 Texas Instruments TI-83 Plus Keyboard Mat Replacement: étape 7, image 2 de 2
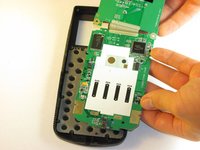
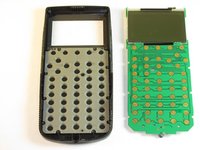
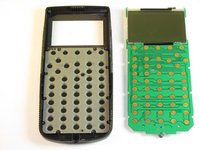
      • Carefully remove the motherboard and screen. Grab the board by its side with one hand and the screen with the other. Carefully lift the two parts up.

      • Keep the face-plate face-down to prevent the keys from falling out.

      Demander à FixBot

      Ajouter un commentaire

    1. Texas Instruments TI-83 Plus Keyboard Mat Replacement, Keyboard Mat: étape 8, image 1 de 2 Texas Instruments TI-83 Plus Keyboard Mat Replacement, Keyboard Mat: étape 8, image 2 de 2
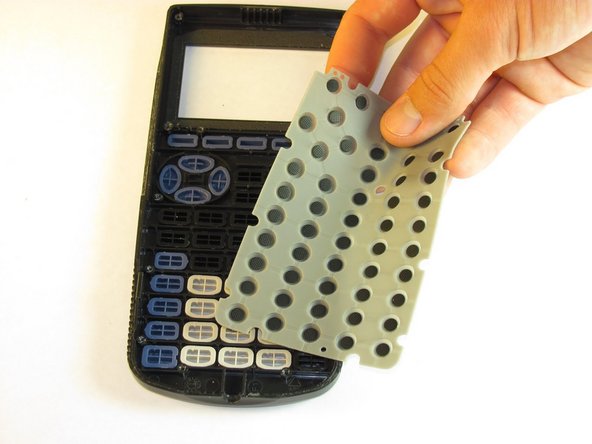
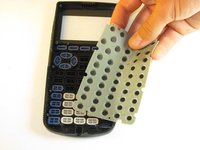
      • Remove light gray rubber keyboard mat.

      • Keep your calculator face down to ensure the individual keys do not fall out.

      Demander à FixBot

      Ajouter un commentaire

    2. Texas Instruments TI-83 Plus Keyboard Mat Replacement: étape 9, image 1 de 1
      • Clean the contacts on the keyboard with a soft cloth.

      Demander à FixBot

      Ajouter un commentaire

Conclusion

To reassemble your device, follow these instructions in reverse order.

Annulation : je n'ai pas terminé ce tutoriel.

Une autre personne a terminé cette réparation.

corey

Membre depuis le 10/02/12

11 Réputation

1 tutoriel rédigé

Équipe

Cal Poly, Team 18-37, Regan Fall 2012 Membre de l'équipe Cal Poly, Team 18-37, Regan Fall 2012

CPSU-REGAN-F12S18G37

5 membres

18 tutoriels rédigés

0 commentaires de tutoriel

Ajouter un commentaire

Nombre de vues :

Dernières 24 heures : 3

7 derniers jours : 12

30 derniers jours : 42

Total : 5,182