Aller au contenu principal
Pour réparer ensemble - Je crée un compte

Tungsten T3 Battery Replacement

Ce dont vous avez besoin

    1. Tungsten T3 Battery Replacement, Battery: étape 1, image 1 de 2 Tungsten T3 Battery Replacement, Battery: étape 1, image 2 de 2
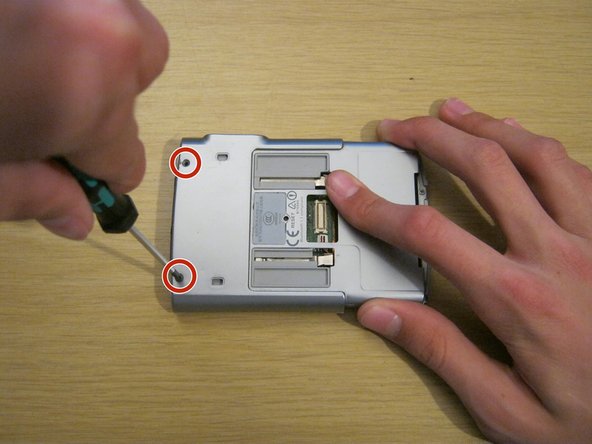
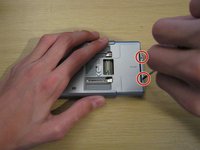
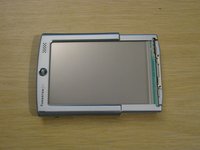
      • Remove the two Phillips #00 screws on either side of the device, on the sliding panel.

      Demander à FixBot

      Ajouter un commentaire

    2. Tungsten T3 Battery Replacement: étape 2, image 1 de 3 Tungsten T3 Battery Replacement: étape 2, image 2 de 3 Tungsten T3 Battery Replacement: étape 2, image 3 de 3
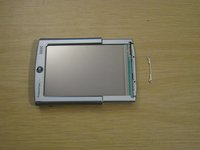
      • Slide out the function panel.

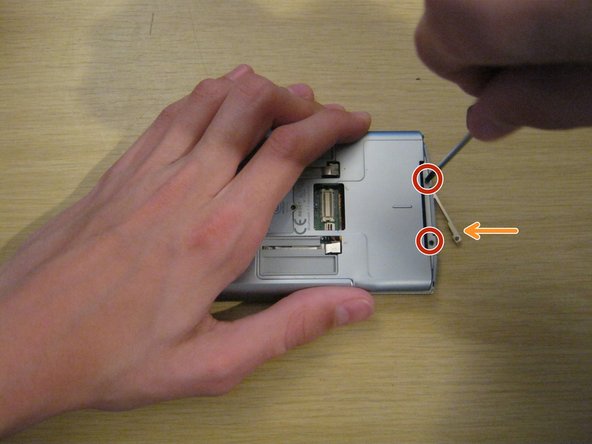
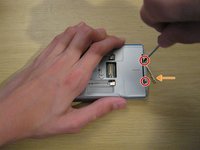
      • Insert a paper clip into the two marked small holes on the back and push downwards while pulling the function panel gently.

      • The connector for the buttons will be revealed.

      Demander à FixBot

      Ajouter un commentaire

    3. Tungsten T3 Battery Replacement: étape 3, image 1 de 3 Tungsten T3 Battery Replacement: étape 3, image 2 de 3 Tungsten T3 Battery Replacement: étape 3, image 3 de 3
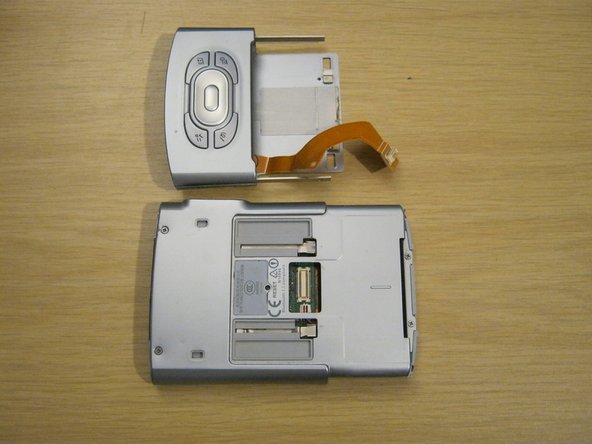
      • Gently remove the function panel from the device.

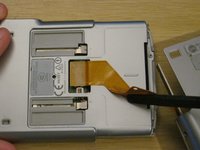
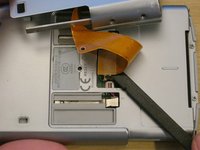
      • Be careful - it's still connected by the button cable. Peel the cable from the device carefully with a spudger - it is attached with a little bit of adhesive.
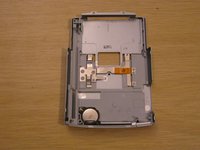
      • Carefully remove the connector and set the panel aside.

      Demander à FixBot

      Ajouter un commentaire

    4. Tungsten T3 Battery Replacement: étape 4, image 1 de 2 Tungsten T3 Battery Replacement: étape 4, image 2 de 2
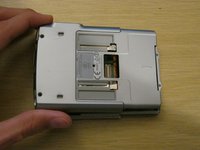
      • Remove the two Phillips #00 screws on the back of the device.

      Demander à FixBot

      Ajouter un commentaire

    5. Tungsten T3 Battery Replacement: étape 5, image 1 de 3 Tungsten T3 Battery Replacement: étape 5, image 2 de 3 Tungsten T3 Battery Replacement: étape 5, image 3 de 3
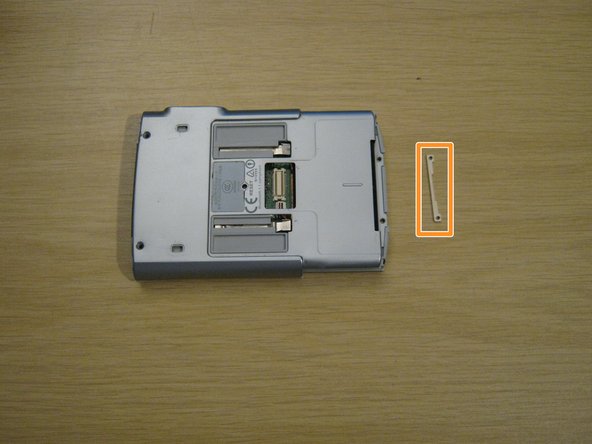
      • Remove the two small Phillips #00 screws at the other end of the device.

      • A small metal part will fall out of the device from the other side. Keep hold of this - you won't be able to put these screws back in without it.

      Demander à FixBot

      Ajouter un commentaire

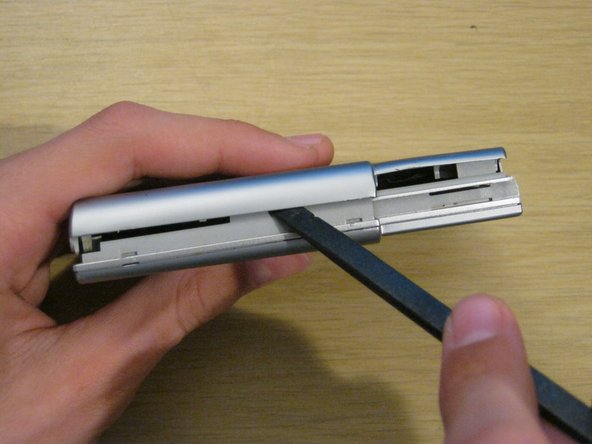
    6. Tungsten T3 Battery Replacement: étape 6, image 1 de 3 Tungsten T3 Battery Replacement: étape 6, image 2 de 3 Tungsten T3 Battery Replacement: étape 6, image 3 de 3
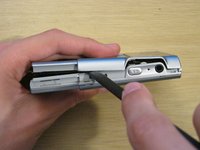
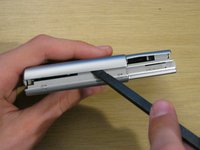
      • Using a spudger, gently separate the back casing from the rest of the device.

      • Be careful - the back casing contains the battery, which is connected by a very thin battery cable.

      Demander à FixBot

      Ajouter un commentaire

    7. Tungsten T3 Battery Replacement: étape 7, image 1 de 3 Tungsten T3 Battery Replacement: étape 7, image 2 de 3 Tungsten T3 Battery Replacement: étape 7, image 3 de 3
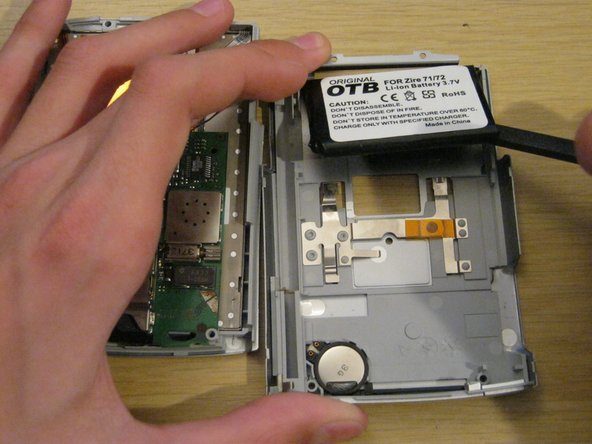
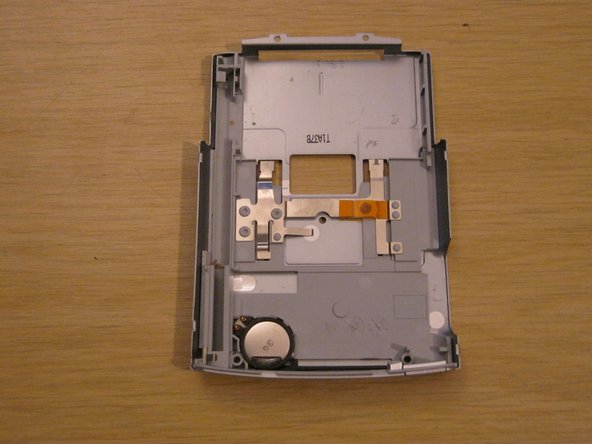
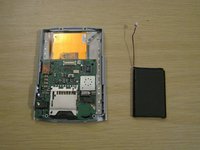
      • Lay the two halves side by side.

      • The battery is usually held to the case by a small amount of adhesive. Carefully peel it up with a spudger.

      • Lay the back case aside.

      Demander à FixBot

      Ajouter un commentaire

    8. Tungsten T3 Battery Replacement: étape 8, image 1 de 3 Tungsten T3 Battery Replacement: étape 8, image 2 de 3 Tungsten T3 Battery Replacement: étape 8, image 3 de 3
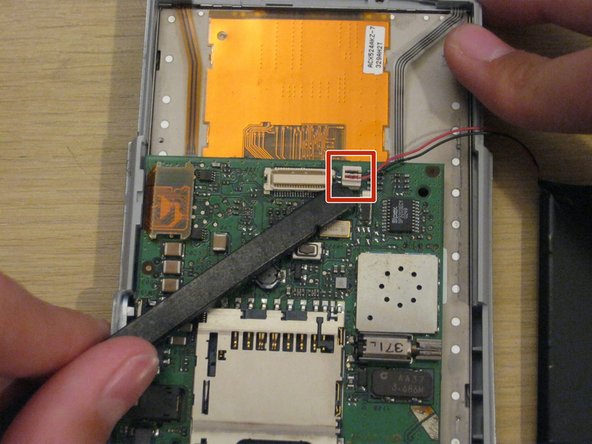
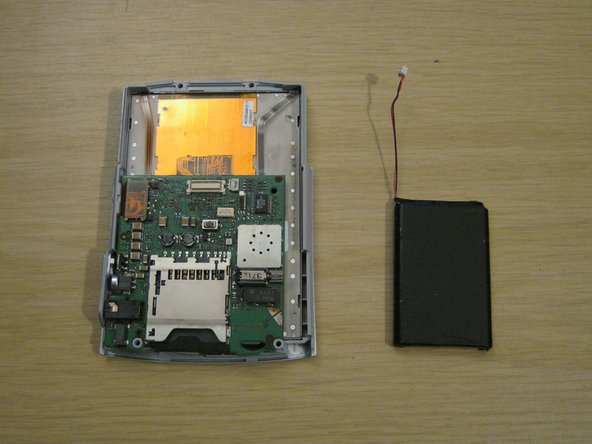
      • You should now be left with the front panel and the battery.

      • Gently disconnect the battery connector from the front panel. It's small and the pins are delicate, so be careful not to bend it.

      • When you install the new battery, you may find it useful to secure it to the back casing with some double-sided tape or even a small amount of glue.

      Demander à FixBot

      Ajouter un commentaire

    9. Tungsten T3 Battery Replacement: étape 9, image 1 de 2 Tungsten T3 Battery Replacement: étape 9, image 2 de 2
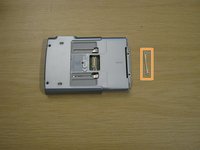
      • When reassembling your device, remember to place the small metal part on the front of the device and hold it while you insert the two small screws.

      • The screws won't stay in unless they're screwed into this metal part.

      Demander à FixBot

      Ajouter un commentaire

Conclusion

To reassemble your device, follow these instructions in reverse order.

Annulation : je n'ai pas terminé ce tutoriel.

11 autres ont terminé cette réparation.

Whitney

Membre depuis le 09/08/11

318 Réputation

3 tutoriels rédigés

Équipe

University of Maine, Team 1-14, Diaz Fall 2011 Membre de l'équipe University of Maine, Team 1-14, Diaz Fall 2011

UMAINE-DIAZ-F11S1G14

2 membres

9 tutoriels rédigés

1 commentaire de tutoriel

The only thing I would add is before replacing the battery, be sure to backup your device since disconnecting the battery will do a total reset.

bill.costa_01 - Réponse Partager

Ajouter un commentaire

Nombre de vues :

Dernières 24 heures : 0

7 derniers jours : 11

30 derniers jours : 70

Total : 8,743