Aller au contenu principal
Pour réparer ensemble - Je crée un compte

Turtle Beach Elite Pro Left Speaker Replacement

Ce dont vous avez besoin

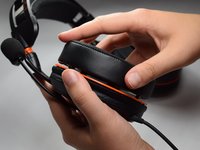
    1. Turtle Beach Elite Pro Left Speaker  Replacement, Ear Cushion: étape 1, image 1 de 1
      • Firmly pinch ear cushion between thumb and forefinger.

      • Using the hand not holding the ear cushion, grasp the orange plate that is below the ear cushion.

      • If the black rubber lining on the orange plate is grasped, then the rubber lining on the ear piece may tear.

      Demander à FixBot

      Ajouter un commentaire

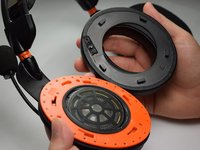
    2. Turtle Beach Elite Pro Left Speaker  Replacement: étape 2, image 1 de 2 Turtle Beach Elite Pro Left Speaker  Replacement: étape 2, image 2 de 2
      • Rotate ear cushion counter-clockwise about half an inch.

      • The ear cushion should audibly snap out of place.

      • After it has audibly snapped out of place, lift the ear cushion off of the device.

      • During reassembly, rotate the ear cushion clockwise.

      Demander à FixBot

      Ajouter un commentaire

    3. Turtle Beach Elite Pro Left Speaker  Replacement: étape 3, image 1 de 2 Turtle Beach Elite Pro Left Speaker  Replacement: étape 3, image 2 de 2
      • Using the new cushion, align the pegs located on both the orange plate and ear cushion.

      • Make sure that both the ear cushion and the orange plate have the same designation.

      • Once the pegs are aligned, push the new ear cushion in place.

      Demander à FixBot

      Ajouter un commentaire

    1. Turtle Beach Elite Pro Left Speaker  Replacement, Left Speaker: étape 4, image 1 de 1
      • Remove the left ear cushion completely from the headset.

      • The left ear cushion will be on the side of the headset where the microphone and audio control is attached.

      Demander à FixBot

      Ajouter un commentaire

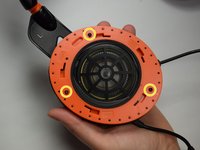
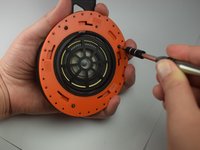
    2. Turtle Beach Elite Pro Left Speaker  Replacement: étape 5, image 1 de 2 Turtle Beach Elite Pro Left Speaker  Replacement: étape 5, image 2 de 2
      • Using the Phillips #0 screwdriver, remove the 6.0 mm screws on the orange plate.

      Demander à FixBot

      Ajouter un commentaire

    3. Turtle Beach Elite Pro Left Speaker  Replacement: étape 6, image 1 de 2 Turtle Beach Elite Pro Left Speaker  Replacement: étape 6, image 2 de 2
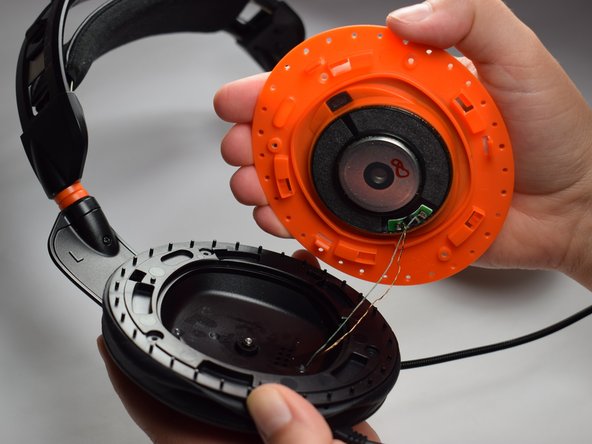
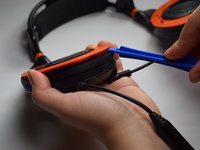
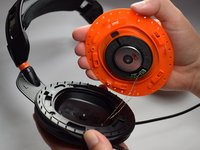
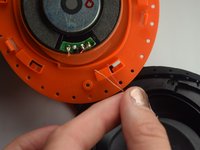
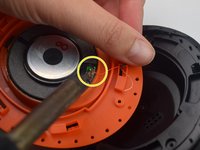
      • Use the opening tool to separate the orange plate from the black base plate.

      • Focus on the wires that are connected to the speaker.

      Demander à FixBot

      Ajouter un commentaire

    4. Turtle Beach Elite Pro Left Speaker  Replacement: étape 7, image 1 de 1
      • Using wire cutters, cut the two wires that are attached to the speaker.

      • Make sure to cut the wires as close to the speaker as possible, because these wires will be used in the next step.

      Demander à FixBot

      Ajouter un commentaire

    5. Turtle Beach Elite Pro Left Speaker  Replacement: étape 8, image 1 de 2 Turtle Beach Elite Pro Left Speaker  Replacement: étape 8, image 2 de 2
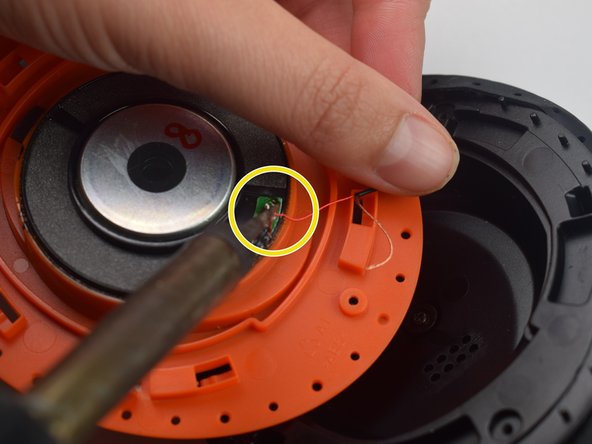
      • Replace the old speaker with the new speaker.

      • Using the soldering iron, solder the wires to the new speaker.

      • Make sure to solder the wires to their original locations on the speaker.

      Demander à FixBot

      Ajouter un commentaire

Conclusion

To reassemble your device, follow these instructions in reverse order.

Annulation : je n'ai pas terminé ce tutoriel.

Une autre personne a terminé cette réparation.

Alexis Uribe

Membre depuis le 03/24/17

528 Réputation

4 tutoriels rédigés

Équipe

Baylor, Team S5-G1, Williams Spring 2017 Membre de l'équipe Baylor, Team S5-G1, Williams Spring 2017

BU-WILLIAMS-S17S5G1

3 membres

20 tutoriels rédigés

0 commentaires de tutoriel

Ajouter un commentaire

Nombre de vues :

Dernières 24 heures : 0

7 derniers jours : 9

30 derniers jours : 38

Total : 3,682