Introduction
In this guide, you will learn step-by-step instructions on how to replace the broken shell of a VHS tape when it is too broken to work correctly in a VHS player. In doing this repair, you will be able to salvage the tape so that it can be digitized or continue to be watched. No special skills are needed for this repair, with a screwdriver being the only tool used. It is recommended that you cut or rip off any labels on the sides of the tape before beginning, so that it will be easier to take the top half of the shell off.
Ce dont vous avez besoin
-
-
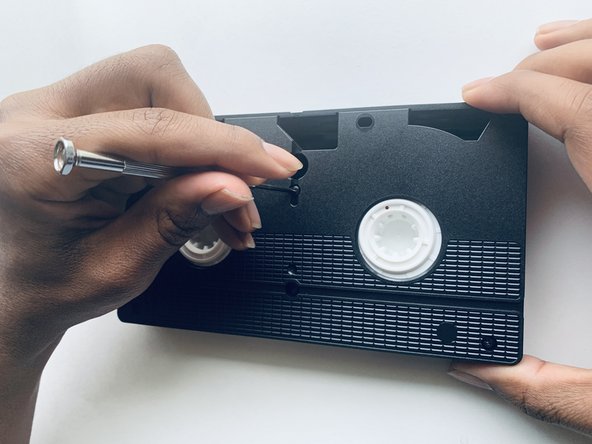
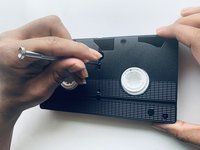
Unscrew the five 3mm screws with the Phillips #1 screwdriver.
 Demander à FixBot
-
-
-
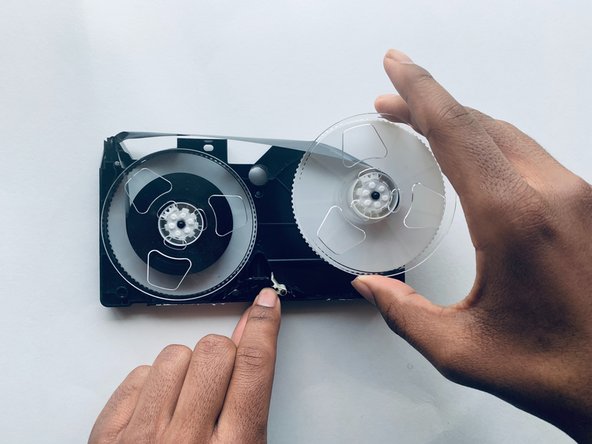
Hold down on the white lever.
-
While holding down, carefully take out the reel on the right.
-
Take out the left reel and set them both aside, with the tape still wrapped inside and connecting them.
-
-
-
Get the replacement shell and unscrew the 5 marked 3mm (21/32 in length) #1 Phillips screws with the screwdriver.
-
-
-
-
Once the screws are out, pull off the front of the replacement shell.
-
-
-
Place the right reel into the replacement shell, making sure the tape goes in-between metal and plastic circular pieces here.
-
-
-
Place the left reel into the replacement shell, making sure the tape goes in-between metal circular piece and the plastic triangular piece pictured.
-
-
-
Turn the reels to retract any excess tape hanging out of the top.
-






To reassemble your device, follow these instructions in reverse order.

Équipe

Grand Valley State University, Team S3-G6, DeVasto Winter 2021 Membre de l'équipe Grand Valley State University, Team S3-G6, DeVasto Winter 2021
GVSU-DEVASTO-W21S3G6
1 membre
1 tutoriel rédigé
2 commentaires de tutoriel
Hello. Does anyone know where to buy new cassette parts including the shell, hub and all the internals? I'm looking to move tape from a broken shell to a new one so that I can play it and digitize it. Thank you.
