Aller au contenu principal
Pour réparer ensemble - Je crée un compte

VTech Baby's Learning Laptop Buttons Replacement

Ce dont vous avez besoin

    1. VTech Baby's Learning Laptop Buttons Replacement, Battery and Rear Panel: étape 1, image 1 de 1
      • To remove the battery door, loosen the screw shown using a Phillips #2 screwdriver.

      • A coin can also be used to loosen the screw.

      Demander à FixBot

      Ajouter un commentaire

    2. VTech Baby's Learning Laptop Buttons Replacement: étape 2, image 1 de 1
      • Remove the battery door.

      • Take out the batteries.

      Demander à FixBot

      Ajouter un commentaire

    3. VTech Baby's Learning Laptop Buttons Replacement: étape 3, image 1 de 1
      • Remove the rear panel screws using a Phillips #2 screwdriver.

      • Two 21.6mm (Long)

      • One 9.8mm (Short)

      • Five 13.8mm (Medium)

      Demander à FixBot

      Ajouter un commentaire

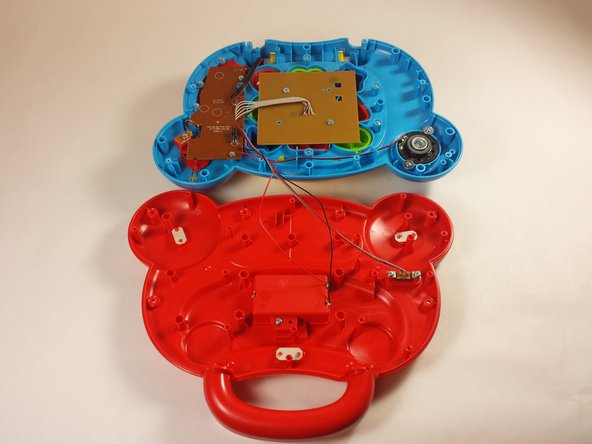
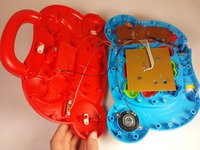
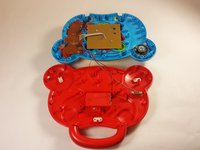
    4. VTech Baby's Learning Laptop Buttons Replacement: étape 4, image 1 de 2 VTech Baby's Learning Laptop Buttons Replacement: étape 4, image 2 de 2
      • Gently pull up on the rear panel.

      • Be careful not to pull on the wire connections.

      • Rest the laptop open on the table.

      Demander à FixBot

      Ajouter un commentaire

    1. VTech Baby's Learning Laptop Buttons Replacement, Buttons: étape 5, image 1 de 1
      • Using a Phillips #0 screwdriver remove the two 6.0mm screws.

      Demander à FixBot

      Ajouter un commentaire

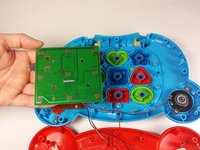
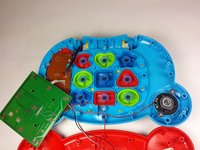
    2. VTech Baby's Learning Laptop Buttons Replacement: étape 6, image 1 de 2 VTech Baby's Learning Laptop Buttons Replacement: étape 6, image 2 de 2
      • Lift up on the board and set it aside.

      • Movement of the board will be limited. Be careful not to damage the connection to the motherboard.

      Demander à FixBot

      Ajouter un commentaire

    3. VTech Baby's Learning Laptop Buttons Replacement: étape 7, image 1 de 1
      • Remove each button and button contact.

      Demander à FixBot

      Ajouter un commentaire

Conclusion

To reassemble your device, follow these instructions in reverse order.

Annulation : je n'ai pas terminé ce tutoriel.

2 autres ont terminé cette réparation.

Équipe

USF Tampa, Team 12-2, Blackwell Fall 2015 Membre de l'équipe USF Tampa, Team 12-2, Blackwell Fall 2015

USFT-BLACKWELL-F15S12G2

4 membres

14 tutoriels rédigés

0 commentaires de tutoriel

Ajouter un commentaire

Nombre de vues :

Dernières 24 heures : 1

7 derniers jours : 7

30 derniers jours : 19

Total : 1,303