Aller au contenu principal
Pour réparer ensemble - Je crée un compte

Verizon Ellipsis 10 Camera Replacement

Ce dont vous avez besoin

    1. Verizon Ellipsis 10 Camera Replacement, Back Cover: étape 1, image 1 de 1
      • Open the SD/SIM card cover to start prying off the back cover.

      Demander à FixBot

      Ajouter un commentaire

    2. Verizon Ellipsis 10 Camera Replacement: étape 2, image 1 de 1
      • Start using the iFixit Opening Tool in the SD/SIM area to release the clips holding the back panel on.

      Demander à FixBot

      Ajouter un commentaire

    3. Verizon Ellipsis 10 Camera Replacement: étape 3, image 1 de 1
      • Follow along the edge of the device to undo all of the retaining clips.

      Demander à FixBot

      Ajouter un commentaire

    4. Verizon Ellipsis 10 Camera Replacement: étape 4, image 1 de 1
      • Once all the clips are undone, the back panel should come off with little effort.

      Demander à FixBot

      Ajouter un commentaire

    1. Verizon Ellipsis 10 Camera Replacement, Battery: étape 5, image 1 de 1
      • Remove the bottom piece of tape securing the battery making sure you are not peeling up anything else in the process.

      Demander à FixBot

      Ajouter un commentaire

    2. Verizon Ellipsis 10 Camera Replacement: étape 6, image 1 de 1
      • Remove the top piece of tape using an iFixit opening tool.

      Demander à FixBot

      Ajouter un commentaire

    3. Verizon Ellipsis 10 Camera Replacement: étape 7, image 1 de 1
      • Once you have a hold on the tape, carefully remove it making sure you aren’t damaging the battery in the process.

      Demander à FixBot

      Ajouter un commentaire

    4. Verizon Ellipsis 10 Camera Replacement: étape 8, image 1 de 1
      • Unplug the battery power connector by sliding the white plastic plug down away from the board.

      Demander à FixBot

      Ajouter un commentaire

    5. Verizon Ellipsis 10 Camera Replacement: étape 9, image 1 de 1
      • The battery should be free to come out of the device. Make sure not to bend or damage the battery.

      Demander à FixBot

      Ajouter un commentaire

    1. Verizon Ellipsis 10 Camera Replacement, Camera: étape 10, image 1 de 1
      • Remove 4 M1.5 screws holding in the labeled LTE module.

      Demander à FixBot

      Ajouter un commentaire

    2. Verizon Ellipsis 10 Camera Replacement: étape 11, image 1 de 1
      • Use a nylon spudger to pry up the module.

      • It's held in with some clips so there will be a little bit of resistance.

      Demander à FixBot

      Ajouter un commentaire

    3. Verizon Ellipsis 10 Camera Replacement: étape 12, image 1 de 2 Verizon Ellipsis 10 Camera Replacement: étape 12, image 2 de 2
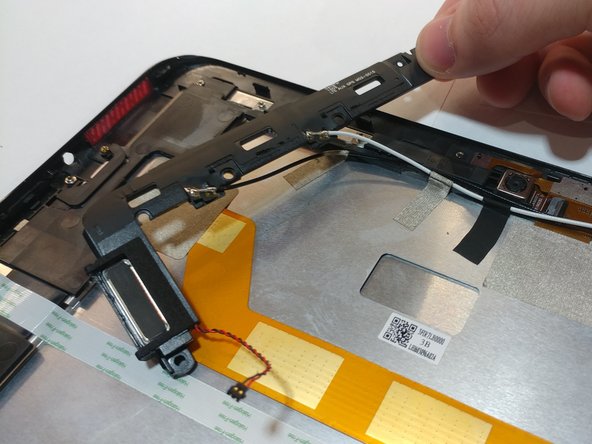
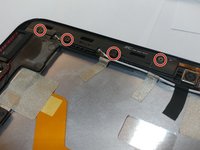
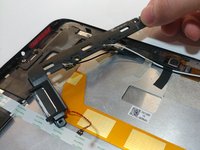
      • Remove the 4 M1.5 screws holding in the labeled auxiliary LTE/GPS module.

      • The module should come up with a little resistance.

      Demander à FixBot

      Ajouter un commentaire

    4. Verizon Ellipsis 10 Camera Replacement: étape 13, image 1 de 1
      Outil utilisé dans cette étape :
      Tweezers
      $4.99
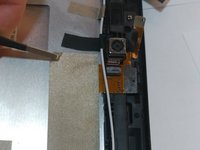
      • Use a pair of tweezers to lift up the front camera off its locating post.

      Demander à FixBot

      Ajouter un commentaire

    5. Verizon Ellipsis 10 Camera Replacement: étape 14, image 1 de 2 Verizon Ellipsis 10 Camera Replacement: étape 14, image 2 de 2
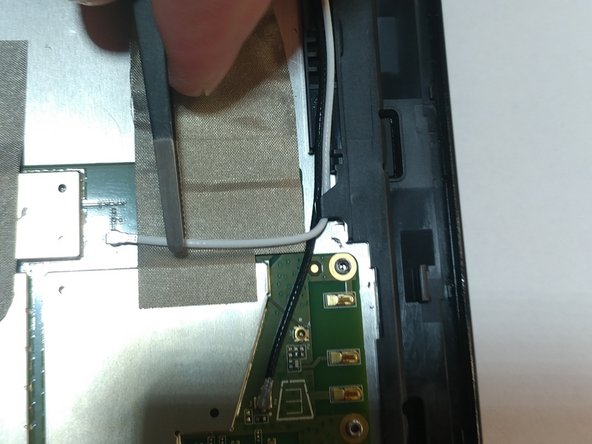
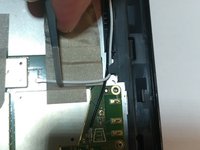
      • Remove the non-conductive tape covering the camera ribbon cable.

      • You may need to remove the white antenna cable to remove the tape.

      Demander à FixBot

      Ajouter un commentaire

    6. Verizon Ellipsis 10 Camera Replacement: étape 15, image 1 de 1
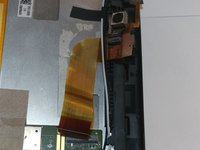
      • Carefully unplug the ribbon cable from the motherboard.

      Demander à FixBot

      Ajouter un commentaire

    7. Verizon Ellipsis 10 Camera Replacement: étape 16, image 1 de 2 Verizon Ellipsis 10 Camera Replacement: étape 16, image 2 de 2
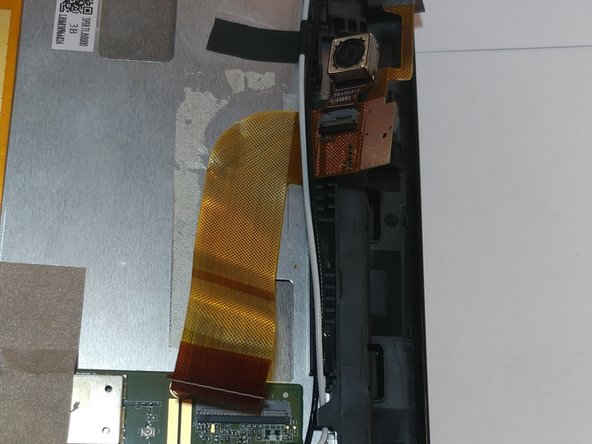
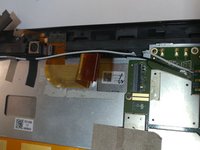
      • Peel up the ribbon cable carefully as it is glued to the device.

      • After having peeled up the cable, the cameras should be free to come out of the device.

      Demander à FixBot

      Ajouter un commentaire

Conclusion

To reassemble your device, follow these instructions in reverse order.

Annulation : je n'ai pas terminé ce tutoriel.

Une autre personne a terminé cette réparation.

0 commentaires de tutoriel

Ajouter un commentaire

Nombre de vues :

Dernières 24 heures : 0

7 derniers jours : 3

30 derniers jours : 16

Total : 329