Introduction
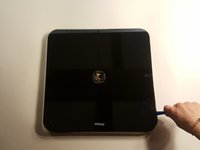
This guide will demonstrate how to replace pressure sensors on the Withings Smart Body Analyzer WS-50. There are four pressure sensors located within this device. One pressure sensor is located at each corner of the device. The pressure sensors are what allow the scale to correct determine weight. Our easy to follow guide will run you through all the necessary steps to remove these sensors.
Ce dont vous avez besoin
-
-
Push the battery door
-
Open the compartment
-
Gently remove the batteries from their designated positions
-
Place them aside, away from the reach of children
 Demander à FixBot
-
-
-
With caution, insert the plastic opening tools in between the disk and the glass face
-
It's a tight fit, so don't be afraid to apply a little bit of force
-
As soon as you hear a faint crackling sound, that means that the adhesive is budging out of place
-
Gently rotate the plastic spudger around the disk to get around the adhesive
-
Gently lift the metal disk
-
After the disk has been lifted, a wire and a small copper plate can be seen attached to the back of the disk
-
Carefully remove the wire and plate by peeling back the adhesive sticker that has been positioned around them
-
-
-
-
After all the above steps have been completed, proceed by removing the glass face
-
Carefully insert a plasic spudger in the small gap that exist in between the glass face and the plastic back
-
Run the plastic spudger all around the scale to increase the gap size
-
Place a plastic spudger in every corner, since the feet of the scale are also attached to the glass face using adhesive
-
Carefully insert the metal spudger underneath the adhesive that is located underneath the feet of the scale, and gently keep pushing until the adhesive is out of place
-
Repeat the above steps four times
-
After all the adhesives has been removed, gently lift the glass face off
-
-
-
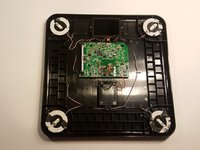
Notice the red and black wires connecting the circuit board to each of the pressure sensors.
-
Using a soldering iron and de-soldering braid, remove the soldered red and black wires from the circuit board
-
-
-
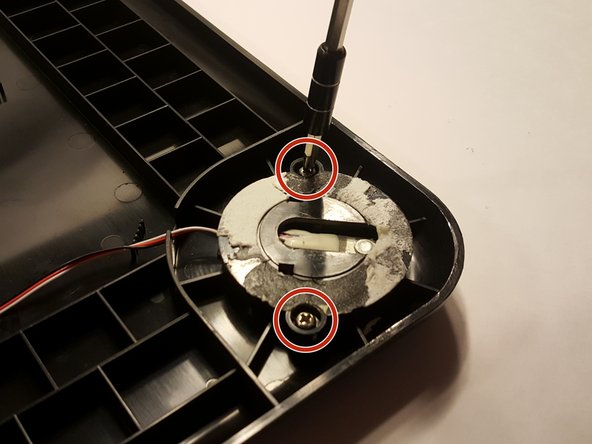
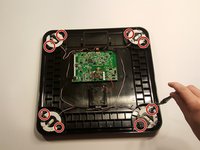
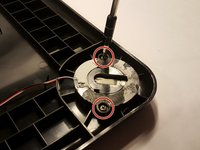
Use a Phillips-head screwdriver to remove the screw from the sensor. There will be two screws per sensor.
-
-
-
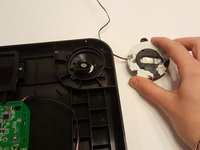
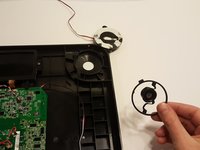
Remove any sensors you need and you are now ready to replace or repair depending on your needs.
-






To reassemble your device, follow these instructions in reverse order.
Annulation : je n'ai pas terminé ce tutoriel.
Une autre personne a terminé cette réparation.

Équipe

UMass Dartmouth, Team S4-G1, Julie Spring 2017 Membre de l'équipe UMass Dartmouth, Team S4-G1, Julie Spring 2017
UMASSD-JULIE-S17S4G1
4 membres
5 tutoriels rédigés
3 commentaires de tutoriel
where can I buy pressure sensors?
The issue is not the pressure sensor, but a weak area within the foot.
Having taken my scales apart to repair them I found the the foot (pictured within the plastic ring above) has a metal disc in it, that is supported by a few weak plastic ribs that easily damage. I filled them in with Araldyte to create a firm level surface and all is good again.
As a design engineer who fault-finds all day, I would say this is either poor design (an oversight), or brilliant salesmanship (a weak point that allows Withings to sell more scales). Which is true? Only they know.
