Aller au contenu principal
Pour réparer ensemble - Je crée un compte

XBOX Controller S Shell Replacement

Ce dont vous avez besoin

  1. XBOX Controller S Shell Replacement, Shell: étape 1, image 1 de 1
    • Remove the seven 9.4 mm screws on the back of the controller using a Phillips #00 screwdriver.

    • One screw is hidden behind the sticker on the back of the controller. Peel that sticker back and remove that screw as well.

    Demander à FixBot

    Ajouter un commentaire

  2. XBOX Controller S Shell Replacement: étape 2, image 1 de 3 XBOX Controller S Shell Replacement: étape 2, image 2 de 3 XBOX Controller S Shell Replacement: étape 2, image 3 de 3
    • Keep the controller facing down to prevent components from falling out.

    • Remove the back shell.

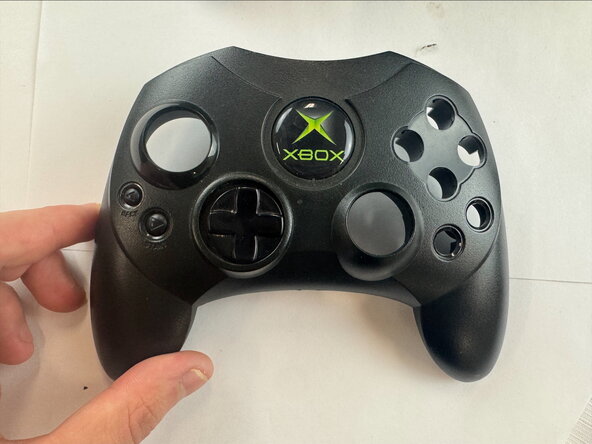
    • Flip the controller over and remove the front shell.

    Demander à FixBot

    Ajouter un commentaire

Conclusion

To reassemble your device, follow these instructions in reverse order.

Annulation : je n'ai pas terminé ce tutoriel.

Une autre personne a terminé cette réparation.

WyattGripp

Membre depuis le 09/24/25

345 Réputation

3 tutoriels rédigés

Équipe

Texas Tech, Team 46-5, Johansen Fall 2025 Membre de l'équipe Texas Tech, Team 46-5, Johansen Fall 2025

TTU-JOHANSEN-F25S46G5

4 membres

6 tutoriels rédigés

0 commentaires de tutoriel

Ajouter un commentaire

Nombre de vues :

Dernières 24 heures : 3

7 derniers jours : 13

30 derniers jours : 61

Total : 279