Introduction
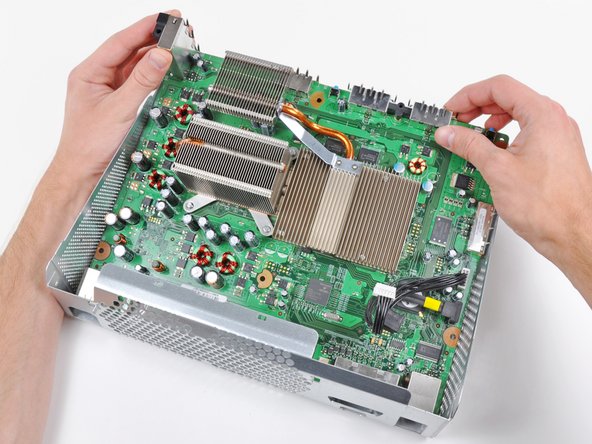
Use this guide to remove the CPU heat sink from your Xbox 360. When reinstalling the CPU heat sink, be sure to apply a new layer of thermal paste.
Ce dont vous avez besoin
-
-
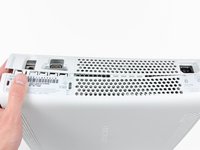
Grasp the hard drive assembly and press the release button while lifting its front edge.
-
Remove the hard drive assembly from the top vent.
-
-
Outil utilisé dans cette étape :Xbox 360 Opening Tool$4.99
-
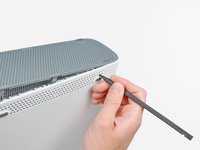
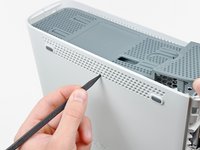
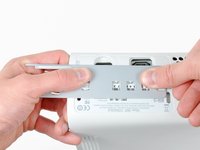
Insert the flat end of a spudger or the edge of an Xbox 360 opening tool into the small gap at the front edge of the bottom vent.
-
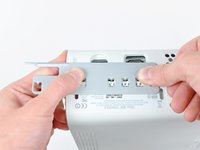
Pry the front edge of the bottom vent away from the faceplate.
-
-
-
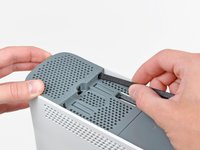
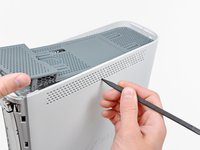
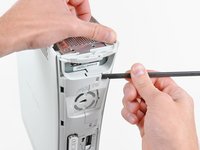
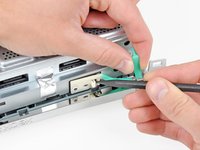
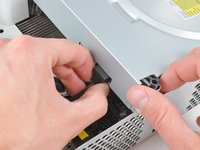
Insert the flat edge of a spudger between the faceplate and the outer casing near the power button.
-
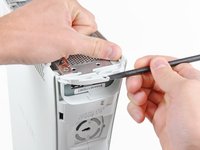
Run your spudger along the edge of the faceplate to release the clips securing it to the front of the console.
-
-
-
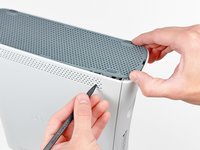
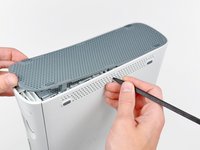
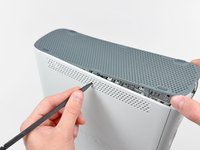
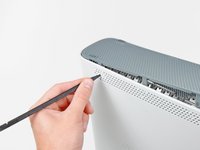
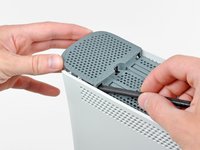
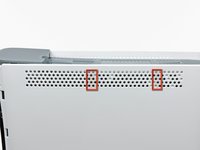
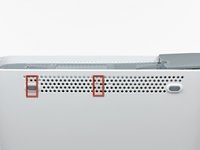
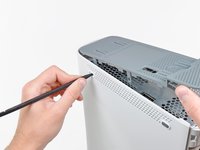
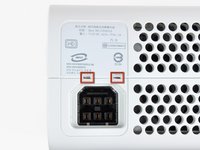
The top vent is secured to the console via clips. The first two clips are located underneath the top vent closest to the faceplate, as shown in the pictures.
-
-
-
-
Stand the console vertically with the top edge facing down.
-
Carefully peel the warranty sticker off the console.
-
-
-
While pushing the upper and lower cases apart, use the tip of a spudger or the finger of an Xbox 360 opening tool to push the long clip highlighted in red toward the center of the 360.
-
The clip should release, leaving the clips near the power connector as the only thing holding the upper and lower cases together.
-
-
-
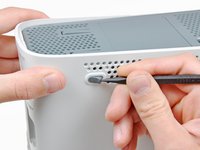
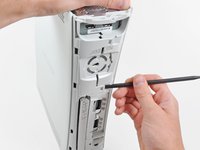
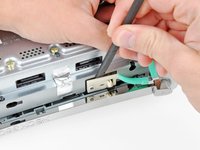
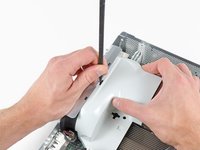
Use the tip of a spudger to release the clip securing the eject button to the metal casing.
-
Insert the flat end of a spudger between the eject button and the optical drive.
-
Pry the eject button off its retaining posts and remove it from the 360.
-
-
-
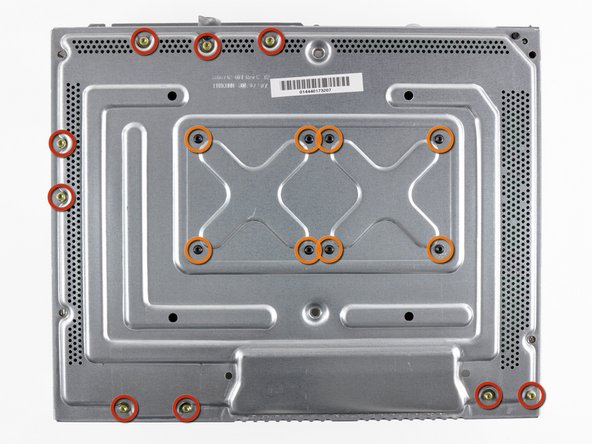
Remove the six silver 64 mm T10 Torx screws securing the upper case to the metal casing.
-
-
-
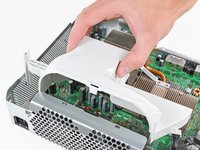
Peel the silver tape securing the optical drive to the metal casing.
-
-
-
Insert the flat end of a spudger into the small rectangular opening on the top of the cooling fan duct.
-
Carefully release the fan duct retaining clip and remove the fan duct from the Xbox.
-
The clip can alternatively be released using the metal finger of an Xbox 360 opening tool.
-
-
-
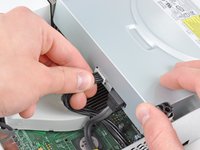
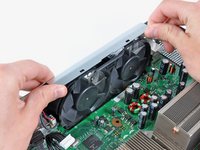
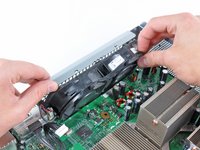
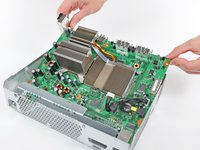
While lifting the metal chassis strip above the dual fans, pull the fans toward the center of the motherboard.
-
-
-
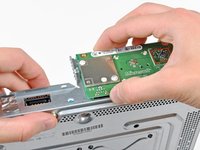
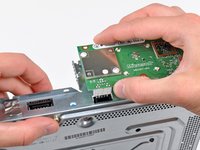
Use the flat end of a spudger to release the clips securing the RF module shield along the top and the left edge of the RF module.
-
Remove the RF module shield from the console.
-
-
-
Insert the tip of a small flathead screwdriver between the X clamp and its retaining post on the heat sink.
-
Pry the X clamp away from its retaining post until it is lifted above the small groove cut into the retaining post.
-


To reassemble your device, follow these instructions in reverse order.
To reassemble your device, follow these instructions in reverse order.
Annulation : je n'ai pas terminé ce tutoriel.
51 autres ont terminé cette réparation.
