Aller au contenu principal

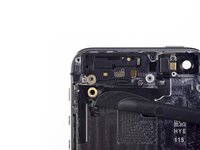
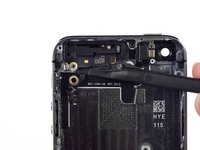
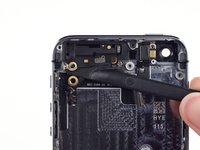
iPhone 5s Bluetooth and Wi-Fi Antenna Replacement

Ce dont vous avez besoin

  1. iPhone 5s Bluetooth and Wi-Fi Antenna Replacement, Removing the Pentalobe screws: Ă©tape 1, image 1 de 1
    • Before you proceed, discharge your iPhone battery below 25%. A charged lithium-ion battery can catch fire and/or explode if accidentally punctured.

    • Power off your iPhone before beginning disassembly.

    • Remove the two 3.9 mm Pentalobe screws from either side of Lightning connector.

  2. iPhone 5s Bluetooth and Wi-Fi Antenna Replacement, Taping the display glass: Ă©tape 2, image 1 de 3 iPhone 5s Bluetooth and Wi-Fi Antenna Replacement, Taping the display glass: Ă©tape 2, image 2 de 3 iPhone 5s Bluetooth and Wi-Fi Antenna Replacement, Taping the display glass: Ă©tape 2, image 3 de 3
    • If your display glass is cracked, keep further breakage contained and prevent bodily harm during your repair by taping the glass.

    • Lay overlapping strips of clear packing tape over the iPhone's display until the whole face is covered.

    • This will keep glass shards contained and provide structural integrity when prying and lifting the display.

    • Wear safety glasses to protect your eyes from any glass shaken free during the repair.

  3. iPhone 5s Bluetooth and Wi-Fi Antenna Replacement, Display separation prevention: Ă©tape 3, image 1 de 3 iPhone 5s Bluetooth and Wi-Fi Antenna Replacement, Display separation prevention: Ă©tape 3, image 2 de 3 iPhone 5s Bluetooth and Wi-Fi Antenna Replacement, Display separation prevention: Ă©tape 3, image 3 de 3
    • In the following steps you will be pulling the display up out of the phone body. The display is composed of a glass screen and a plastic bezel with metal clips.

    • Regardless of the tool you use, you need to be sure you pull up the entire display.

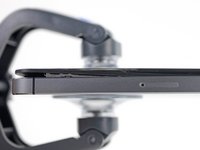
    • If the glass begins to separate from the plastic, as shown in the first image, slide a plastic opening tool between the plastic frame and the metal phone body to pry the metal clips out of the case.

    • If you are reassembling a phone with a separated display bezel, you may want to place a thin strip of adhesive between the plastic bezel and the glass to keep the phone closed.

  4. iPhone 5s Bluetooth and Wi-Fi Antenna Replacement, Anti-Clamp instructions: Ă©tape 4, image 1 de 3 iPhone 5s Bluetooth and Wi-Fi Antenna Replacement, Anti-Clamp instructions: Ă©tape 4, image 2 de 3 iPhone 5s Bluetooth and Wi-Fi Antenna Replacement, Anti-Clamp instructions: Ă©tape 4, image 3 de 3
    Outil utilisé dans cette étape :
    Anti-Clamp
    $24.95
    J'achète
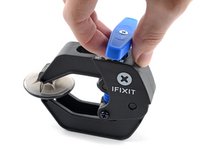
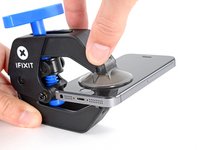
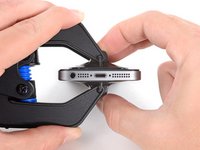
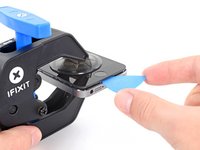
    • The next two steps demonstrate the Anti-Clamp, a tool we designed to make the opening procedure easier. If you aren't using the Anti-Clamp, skip down two steps for an alternate method.

    • For complete instructions on how to use the Anti-Clamp, check out this guide.

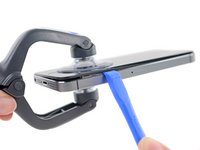
    • Pull the blue handle backwards to unlock the Anti-Clamp's arms.

    • Slide the arms over either the left or right edge of your iPhone.

    • Position the suction cups near the bottom edge of the iPhone just above the home button—one on the front, and one on the back.

    • Squeeze the cups together to apply suction to the desired area.

    • If the surface of your iPhone is too slippery for the Anti-Clamp to hold onto, you can use the included tape pad to create a grippier surface.

  5. iPhone 5s Bluetooth and Wi-Fi Antenna Replacement: Ă©tape 5, image 1 de 3 iPhone 5s Bluetooth and Wi-Fi Antenna Replacement: Ă©tape 5, image 2 de 3 iPhone 5s Bluetooth and Wi-Fi Antenna Replacement: Ă©tape 5, image 3 de 3
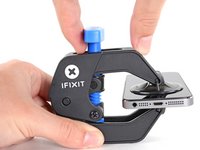
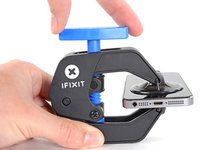
    • Pull the blue handle forwards to lock the arms.

    • Turn the handle clockwise 360 degrees or until the cups start to stretch.

    • Make sure the suction cups remain aligned with each other. If they begin to slip out of alignment, loosen the suction cups slightly and realign the arms.

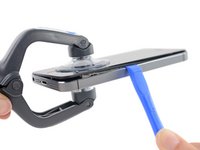
    • Insert an opening pick under the screen when the Anti-Clamp creates a large enough gap.

    • If the Anti-Clamp doesn't create a sufficient gap, rotate the handle a quarter turn.

    • Don't crank more than a quarter turn at a time and wait a few seconds between turns. Let the Anti-Clamp and time do the work for you.

    • Skip the next two steps.

  6. iPhone 5s Bluetooth and Wi-Fi Antenna Replacement, Manual Opening Procedure: Ă©tape 6, image 1 de 1
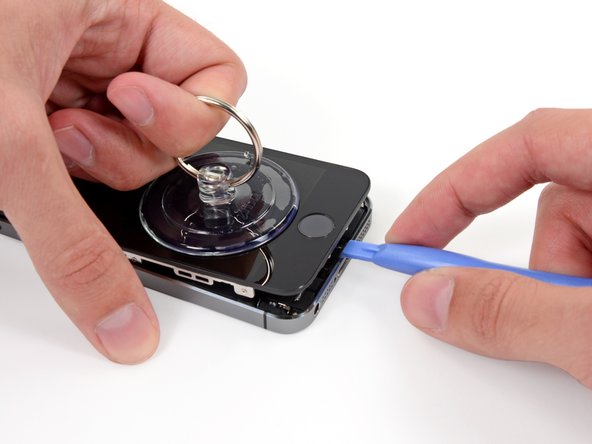
    • If you don't have an Anti-Clamp, use a single suction cup to lift the front panel:

    • Press a suction cup onto the screen, just above the home button.

    • Be sure the cup is completely on the screen to get a tight seal.

  7. iPhone 5s Bluetooth and Wi-Fi Antenna Replacement, Start lifting the front panel assembly: Ă©tape 7, image 1 de 1
    • The front panel is attached with clips, and there are several ribbon cables connecting it to the rest of the phone. Your goal here is to release the clips and open the phone only enough to disconnect the cables. Go slowly and carefully to avoid damage.

    • Make sure the suction cup is firmly attached to the front panel assembly near the home button.

    • While holding the iPhone down with one hand, pull up on the suction cup to slightly separate the home button end of the front panel from the rear case.

    • With a plastic opening tool, gently pry the edges of the rear case down, away from the front panel assembly, while you pull up with the suction cup.

    • Take your time and apply firm, constant force. The front panel assembly is a much tighter fit than on most other devices.

  8. iPhone 5s Bluetooth and Wi-Fi Antenna Replacement: Ă©tape 8, image 1 de 2 iPhone 5s Bluetooth and Wi-Fi Antenna Replacement: Ă©tape 8, image 2 de 2
    • Do not try to completely remove the front panel assembly from the rear case, as there are several delicate ribbon cables connecting them.

    • Pull the plastic nub to release the vacuum seal on the suction cup.

    • Remove the suction cup from the screen.

  9. iPhone 5s Bluetooth and Wi-Fi Antenna Replacement, Removing the Touch ID cable bracket: Ă©tape 9, image 1 de 3 iPhone 5s Bluetooth and Wi-Fi Antenna Replacement, Removing the Touch ID cable bracket: Ă©tape 9, image 2 de 3 iPhone 5s Bluetooth and Wi-Fi Antenna Replacement, Removing the Touch ID cable bracket: Ă©tape 9, image 3 de 3
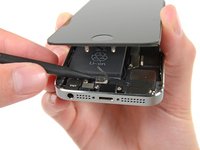
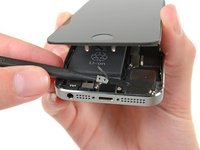
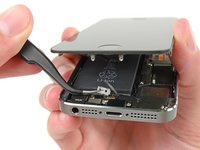
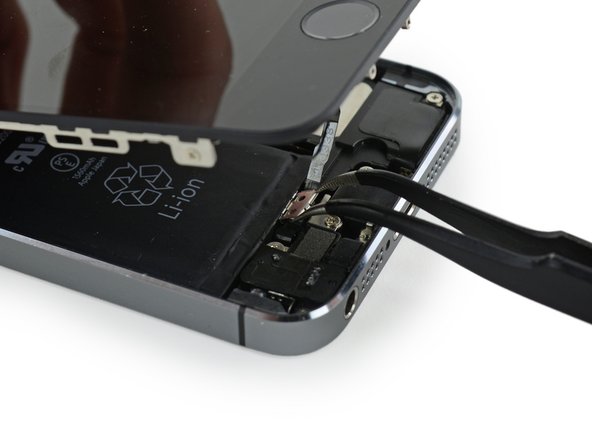
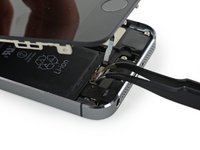
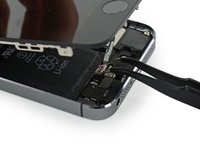
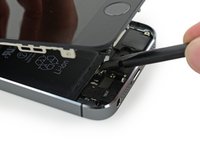
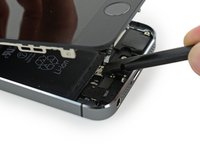
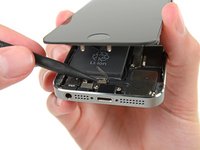
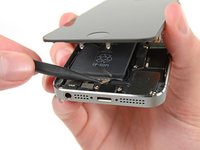
    • Open the phone just enough to reveal the metal bracket covering the home button cable.

    • Do not open the phone too far or you risk damaging the home button cable, or the socket it plugs into. Keep the cable loose—if it is stretched taut, that's too far.

    • Only the phone's original home button assembly will be capable of using the Touch ID functionality. If you rip the cable, installing a new home button will only restore ordinary home button functions, not the Touch ID features.

    • Use the tip of a spudger to push the bracket free and remove it with tweezers.

    • The next two steps apply to reassembly. Skip them and continue to Step 12 until reassembly.

  10. iPhone 5s Bluetooth and Wi-Fi Antenna Replacement: Ă©tape 10, image 1 de 2 iPhone 5s Bluetooth and Wi-Fi Antenna Replacement: Ă©tape 10, image 2 de 2
    • During reassembly, you will need to reinstall the Touch ID cable bracket. The top of the bracket needs to slide between the battery and Touch ID cable connector, in front of the metal tab. The bottom must latch down over the connector.

    • Slide the top of the bracket over the Touch ID cable connector from left to right.

  11. iPhone 5s Bluetooth and Wi-Fi Antenna Replacement: Ă©tape 11, image 1 de 2 iPhone 5s Bluetooth and Wi-Fi Antenna Replacement: Ă©tape 11, image 2 de 2
    • During reassembly, use the flat end of a spudger to snap the front portion of the Touch ID cable bracket down over the cable connector.

    • If the bracket does not snap down flush, you may need to remove the bracket and slide it over the cable connector again for a better fit.

  12. iPhone 5s Bluetooth and Wi-Fi Antenna Replacement, Disconnecting the home button cable connector: Ă©tape 12, image 1 de 2 iPhone 5s Bluetooth and Wi-Fi Antenna Replacement, Disconnecting the home button cable connector: Ă©tape 12, image 2 de 2
    • Use the tip of a spudger to pry the home button cable connector up out of its socket.

    • Be sure you're separating the cable connector from its socket, and not prying the entire socket up. The socket is on its own glued-down cable that can be pried up if you aren't careful.

  13. iPhone 5s Bluetooth and Wi-Fi Antenna Replacement, Opening up the phone: Ă©tape 13, image 1 de 3 iPhone 5s Bluetooth and Wi-Fi Antenna Replacement, Opening up the phone: Ă©tape 13, image 2 de 3 iPhone 5s Bluetooth and Wi-Fi Antenna Replacement, Opening up the phone: Ă©tape 13, image 3 de 3
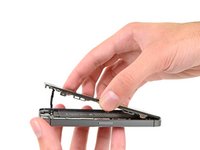
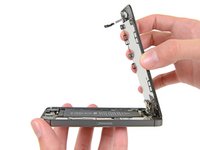
    • Once the connector has been released, pull the home button end of the assembly away from the rear case, using the top of the phone as a hinge.

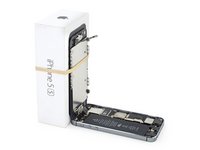
    • Open the display to about a 90º angle, and lean it against something to keep it propped up while you're working on the phone.

    • Add a rubber band to keep the display securely in place while you work. This prevents undue strain on the display cables.

    • In a pinch, you can use an unopened canned beverage to hold the display.

  14. iPhone 5s Bluetooth and Wi-Fi Antenna Replacement: Ă©tape 14, image 1 de 1
    • Remove the two 1.6 mm Phillips #000 screws securing the metal battery connector bracket to the logic board.

  15. iPhone 5s Bluetooth and Wi-Fi Antenna Replacement: Ă©tape 15, image 1 de 1
    • Remove the metal battery connector bracket from the iPhone.

  16. iPhone 5s Bluetooth and Wi-Fi Antenna Replacement: Ă©tape 16, image 1 de 2 iPhone 5s Bluetooth and Wi-Fi Antenna Replacement: Ă©tape 16, image 2 de 2
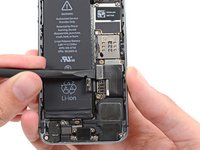
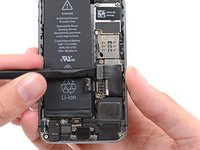
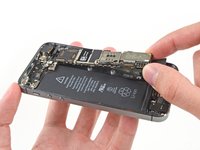
    • Use the flat end of a spudger to gently pry the battery connector up from its socket on the logic board.

    • Be very careful to only pry up on the battery connector itself and not the socket on the logic board. If you pry up on the logic board socket or the board itself, you may destroy the socket or damage nearby components on the board.

  17. iPhone 5s Bluetooth and Wi-Fi Antenna Replacement: Ă©tape 17, image 1 de 1
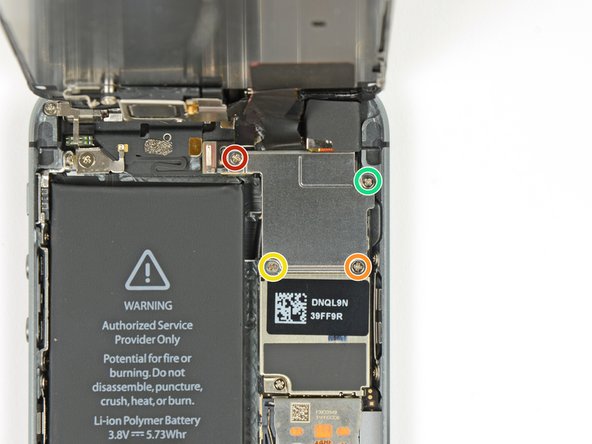
    • Remove the following screws securing the front panel assembly cable bracket to the logic board:

    • One 1.7 mm Phillips #000 screw

    • One 1.2 mm Phillips #000 screw

    • One 1.3 mm Phillips #000 screw

    • One more 1.7 mm Phillips #000 screw

    • This 1.7 mm screw tends to not be attracted to a magnetized screwdriver. Take care not to lose it when removing.

    • It is especially important to keep track of your screws in this step for reassembly. Accidentally using the 1.3 mm screw or one of the 1.7 mm screws in the bottom right hole will result in significant damage to the logic board causing the phone to no longer boot properly.

    • Be careful not to over-tighten the screws, and don't force them. If they don't fit easily when you are securing them, they may be the wrong size.

  18. iPhone 5s Bluetooth and Wi-Fi Antenna Replacement: Ă©tape 18, image 1 de 1
    • Remove the front panel assembly cable bracket from the logic board.

  19. iPhone 5s Bluetooth and Wi-Fi Antenna Replacement: Ă©tape 19, image 1 de 2 iPhone 5s Bluetooth and Wi-Fi Antenna Replacement: Ă©tape 19, image 2 de 2
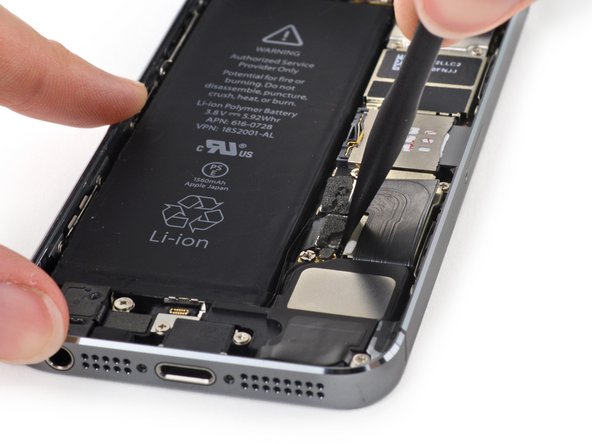
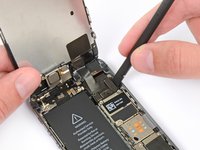
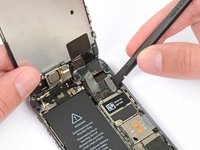
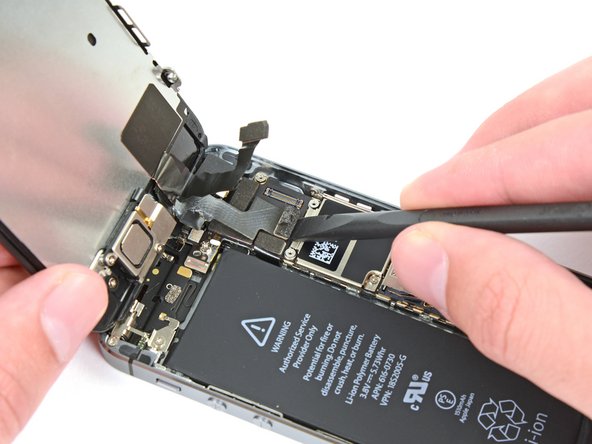
    • Use a spudger or a fingernail to disconnect the front-facing camera and sensor cable.

  20. iPhone 5s Bluetooth and Wi-Fi Antenna Replacement: Ă©tape 20, image 1 de 2 iPhone 5s Bluetooth and Wi-Fi Antenna Replacement: Ă©tape 20, image 2 de 2
    • Make sure the battery is disconnected before you disconnect or reconnect the cable in this step.

    • Disconnect the LCD cable connector.

    • When reassembling your phone, the LCD cable may pop off the connector. This can result in white lines or a blank screen when powering your phone back on. If that happens, simply reconnect the cable and power cycle your phone. The best way to power cycle your phone is to disconnect and reconnect the battery.

  21. iPhone 5s Bluetooth and Wi-Fi Antenna Replacement: Ă©tape 21, image 1 de 2 iPhone 5s Bluetooth and Wi-Fi Antenna Replacement: Ă©tape 21, image 2 de 2
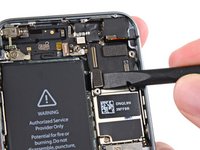
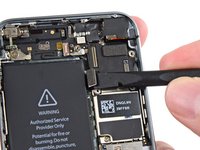
    • Finally, disconnect the digitizer cable connector.

  22. iPhone 5s Bluetooth and Wi-Fi Antenna Replacement: Ă©tape 22, image 1 de 1
    • Remove the front panel assembly from the rear case.

  23. iPhone 5s Bluetooth and Wi-Fi Antenna Replacement, SIM Card: Ă©tape 23, image 1 de 2 iPhone 5s Bluetooth and Wi-Fi Antenna Replacement, SIM Card: Ă©tape 23, image 2 de 2
    • Insert a SIM card eject tool or a paperclip into the small hole in the SIM card tray.

    • Press to eject the tray. This may require a significant amount of force.

  24. iPhone 5s Bluetooth and Wi-Fi Antenna Replacement: Ă©tape 24, image 1 de 1
    • Remove the SIM Card tray assembly from the iPhone.

    • When reinserting the SIM card, ensure that it is in the proper orientation relative to the tray.

  25. iPhone 5s Bluetooth and Wi-Fi Antenna Replacement, Logic Board: Ă©tape 25, image 1 de 2 iPhone 5s Bluetooth and Wi-Fi Antenna Replacement, Logic Board: Ă©tape 25, image 2 de 2
    • Use a spudger to gently pry the button assembly cable up from its socket on the logic board.

    • Be very careful to only pry up on the connector and not the socket on the logic board. If you pry up on the logic board socket, you may break the connector entirely.

  26. iPhone 5s Bluetooth and Wi-Fi Antenna Replacement: Ă©tape 26, image 1 de 3 iPhone 5s Bluetooth and Wi-Fi Antenna Replacement: Ă©tape 26, image 2 de 3 iPhone 5s Bluetooth and Wi-Fi Antenna Replacement: Ă©tape 26, image 3 de 3
    • Use a spudger to pry the Lightning connector cable up from its socket on the logic board.

    • Fold the Lightning connector cable out of the way of the logic board.

  27. iPhone 5s Bluetooth and Wi-Fi Antenna Replacement: Ă©tape 27, image 1 de 2 iPhone 5s Bluetooth and Wi-Fi Antenna Replacement: Ă©tape 27, image 2 de 2
    • Use the tip of a spudger to pry the antenna cable up from its socket on the logic board.

  28. iPhone 5s Bluetooth and Wi-Fi Antenna Replacement: Ă©tape 28, image 1 de 2 iPhone 5s Bluetooth and Wi-Fi Antenna Replacement: Ă©tape 28, image 2 de 2
    • Use the flat end of a spudger to disconnect the rear-facing camera cable from its socket on the logic board.

  29. iPhone 5s Bluetooth and Wi-Fi Antenna Replacement: Ă©tape 29, image 1 de 1
    • Remove any tape covering the camera flash bracket.

  30. iPhone 5s Bluetooth and Wi-Fi Antenna Replacement: Ă©tape 30, image 1 de 1
    Outil utilisé dans cette étape :
    Standoff Screwdriver for iPhones
    $5.49
    J'achète
    • Remove the following screws from the logic board:

    • One 2.4 mm Phillips #000 screw

    • This screw also holds a small metal contact beneath the logic board. It's held in place underneath a plastic bracket, but if you see it slipping out, refer to this step to remove it.

    • Two 2.3 mm Phillips #000 screws

    • Four 2.8 mm standoff screws

    • Standoff screws are best removed using a standoff screwdriver or bit.

    • In a pinch, a small flathead screwdriver will do the job—but use extra caution to ensure it doesn't slip and damage surrounding components.

  31. iPhone 5s Bluetooth and Wi-Fi Antenna Replacement: Ă©tape 31, image 1 de 2 iPhone 5s Bluetooth and Wi-Fi Antenna Replacement: Ă©tape 31, image 2 de 2
    • Use a plastic opening tool to lift the logic board up enough to grab with your fingers.

  32. iPhone 5s Bluetooth and Wi-Fi Antenna Replacement: Ă©tape 32, image 1 de 3 iPhone 5s Bluetooth and Wi-Fi Antenna Replacement: Ă©tape 32, image 2 de 3 iPhone 5s Bluetooth and Wi-Fi Antenna Replacement: Ă©tape 32, image 3 de 3
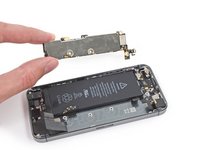
    • Pull the logic board slightly away from the rear facing camera.

    • Do not try to remove the logic board just yet, as it is still connected by an antenna cable on the back.

    • Flip the logic board toward the battery, as if you are turning the page in a book.

  33. iPhone 5s Bluetooth and Wi-Fi Antenna Replacement: Ă©tape 33, image 1 de 2 iPhone 5s Bluetooth and Wi-Fi Antenna Replacement: Ă©tape 33, image 2 de 2
    • Use the flat end of a spudger to disconnect the antenna cable on the back of the logic board.

    • Remove the logic board from the iPhone.

  34. iPhone 5s Bluetooth and Wi-Fi Antenna Replacement: Ă©tape 34, image 1 de 3 iPhone 5s Bluetooth and Wi-Fi Antenna Replacement: Ă©tape 34, image 2 de 3 iPhone 5s Bluetooth and Wi-Fi Antenna Replacement: Ă©tape 34, image 3 de 3
    • At this point, a small metal plate near the rear facing camera is loose and may come free from its recess.

    • Because it is very small and easy to lose, it's best to remove this plate and set it aside while you continue to work on your phone.

    • Use tweezers to remove the plate from beneath the bracket to the left of the rear-facing camera.

    • When reassembling, orient the plate with the small tab to the right and the longest flat edge against the top of the phone.

  35. iPhone 5s Bluetooth and Wi-Fi Antenna Replacement, Rear Facing Camera: Ă©tape 35, image 1 de 3 iPhone 5s Bluetooth and Wi-Fi Antenna Replacement, Rear Facing Camera: Ă©tape 35, image 2 de 3 iPhone 5s Bluetooth and Wi-Fi Antenna Replacement, Rear Facing Camera: Ă©tape 35, image 3 de 3
    • Using a pair of tweezers, flip the rubber camera cover out of its clip and toward the outside of the rear case.

    • Do not attempt to fully remove this cover. It is attached to the rear case and only needs to be flipped open, not removed.

  36. iPhone 5s Bluetooth and Wi-Fi Antenna Replacement: Ă©tape 36, image 1 de 3 iPhone 5s Bluetooth and Wi-Fi Antenna Replacement: Ă©tape 36, image 2 de 3 iPhone 5s Bluetooth and Wi-Fi Antenna Replacement: Ă©tape 36, image 3 de 3
    • Remove the rear-facing camera from the rear case.

    • During reassembly, the camera cable should bend in a 'U' shape to slot in behind the logic board.

    • If the rubber camera bumper has shifted, be sure to replace it before reassembling your iPhone.

  37. iPhone 5s Bluetooth and Wi-Fi Antenna Replacement, Camera Bracket: Ă©tape 37, image 1 de 1
    • Remove the two 1.6 mm Phillips #000 screws securing the rear-facing camera bracket.

  38. iPhone 5s Bluetooth and Wi-Fi Antenna Replacement: Ă©tape 38, image 1 de 1
    • Remove the rear-facing camera bracket from the rear case.

  39. iPhone 5s Bluetooth and Wi-Fi Antenna Replacement: Ă©tape 39, image 1 de 1
    • Remove the rubber camera bumper from the case.

  40. iPhone 5s Bluetooth and Wi-Fi Antenna Replacement, Battery: Ă©tape 40, image 1 de 3 iPhone 5s Bluetooth and Wi-Fi Antenna Replacement, Battery: Ă©tape 40, image 2 de 3 iPhone 5s Bluetooth and Wi-Fi Antenna Replacement, Battery: Ă©tape 40, image 3 de 3
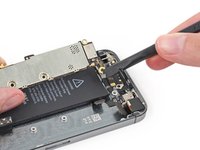
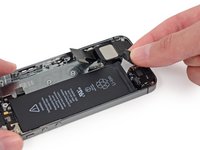
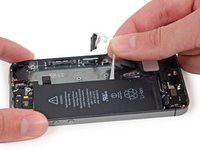
    • Insert the tip of a spudger into the hole in the battery adhesive tab near the headphone jack.

    • Lift the tab up slightly and use the spudger to unfold the tab from its recess.

  41. iPhone 5s Bluetooth and Wi-Fi Antenna Replacement: Ă©tape 41, image 1 de 3 iPhone 5s Bluetooth and Wi-Fi Antenna Replacement: Ă©tape 41, image 2 de 3 iPhone 5s Bluetooth and Wi-Fi Antenna Replacement: Ă©tape 41, image 3 de 3
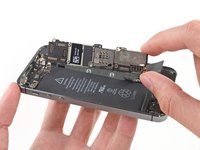
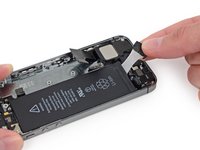
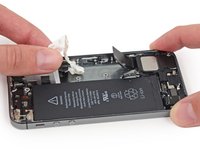
    • Pull the battery adhesive tab straight up from the phone.

    • Cut the black battery adhesive tab between the two white adhesive strips, separating them.

  42. iPhone 5s Bluetooth and Wi-Fi Antenna Replacement: Ă©tape 42, image 1 de 2 iPhone 5s Bluetooth and Wi-Fi Antenna Replacement: Ă©tape 42, image 2 de 2
    • Try to keep the strips flat and unwrinkled during this procedure; wrinkled strips will stick together and break instead of pulling out cleanly.

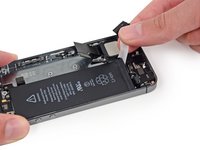
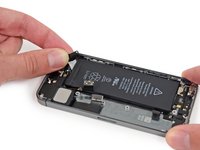
    • Slowly pull one of the battery adhesive strips away from the battery, toward the bottom of the iPhone.

    • Pull steadily, maintaining constant tension on the strip as it slips out from between the battery and the rear case. For best results, pull the strip at a 60º angle or less.

  43. iPhone 5s Bluetooth and Wi-Fi Antenna Replacement: Ă©tape 43, image 1 de 3 iPhone 5s Bluetooth and Wi-Fi Antenna Replacement: Ă©tape 43, image 2 de 3 iPhone 5s Bluetooth and Wi-Fi Antenna Replacement: Ă©tape 43, image 3 de 3
    • Guide the strip carefully around the corner and up the side of the battery.

    • Be careful not to snag it on the corner of the battery or on any of the other internal iPhone components.

    • The strip will stretch to many times its original length. Continue pulling, re-grabbing the strip near the battery if necessary, until the entire strip comes free.

  44. iPhone 5s Bluetooth and Wi-Fi Antenna Replacement: Ă©tape 44, image 1 de 3 iPhone 5s Bluetooth and Wi-Fi Antenna Replacement: Ă©tape 44, image 2 de 3 iPhone 5s Bluetooth and Wi-Fi Antenna Replacement: Ă©tape 44, image 3 de 3
    • Repeat to remove the second adhesive strip.

    • If you removed both strips successfully, skip the next two steps.

    • If either of the adhesive strips break underneath the battery and cannot be retrieved, try to remove the remaining strip, and then proceed to the next step.

  45. iPhone 5s Bluetooth and Wi-Fi Antenna Replacement: Ă©tape 45, image 1 de 1
    • If any of the adhesive strips broke off and the battery remains stuck to the rear case, prepare an iOpener or use a hair dryer to heat the rear case directly behind the battery.

  46. iPhone 5s Bluetooth and Wi-Fi Antenna Replacement: Ă©tape 46, image 1 de 1
    Outil utilisé dans cette étape :
    Plastic Cards
    $2.99
    J'achète
    • Flip the iPhone back over and insert a plastic card between the case side of the battery and the rear case.

    • Be careful to keep the card as flat as possible to avoid bending the battery, which may damage it and cause it to release dangerous chemicals.

    • Press the card in farther to break up the adhesive behind the battery.

  47. iPhone 5s Bluetooth and Wi-Fi Antenna Replacement: Ă©tape 47, image 1 de 2 iPhone 5s Bluetooth and Wi-Fi Antenna Replacement: Ă©tape 47, image 2 de 2
    • Remove the battery from the rear case.

    • When installing the battery, refer to this guide to replace your battery's adhesive strips.

  48. iPhone 5s Bluetooth and Wi-Fi Antenna Replacement, Vibrator: Ă©tape 48, image 1 de 1
    • Remove the following Phillips #000 screws from the vibrator bracket:

    • One 1.7 mm screw

    • One 2.5 mm screw

  49. iPhone 5s Bluetooth and Wi-Fi Antenna Replacement: Ă©tape 49, image 1 de 1
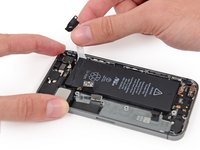
    • With a set of tweezers, remove the vibrator bracket.

  50. iPhone 5s Bluetooth and Wi-Fi Antenna Replacement: Ă©tape 50, image 1 de 1
    • Remove the 1.7 mm Phillips #000 screw securing the vibrator to the rear case.

  51. iPhone 5s Bluetooth and Wi-Fi Antenna Replacement: Ă©tape 51, image 1 de 1
    • Use a set of tweezers to remove the vibrator from the rear case.

  52. iPhone 5s Bluetooth and Wi-Fi Antenna Replacement, Bluetooth and Wi-Fi Antenna: Ă©tape 52, image 1 de 2 iPhone 5s Bluetooth and Wi-Fi Antenna Replacement, Bluetooth and Wi-Fi Antenna: Ă©tape 52, image 2 de 2
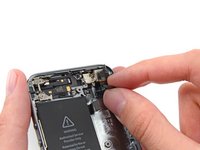
    • Gently peel the vibrator contact pad portion of the upper cable assembly off of the bluetooth and wi-fi antenna.

    • Take care not to damage this cable, or you may lose vibrator, or other upper component cable functionality.

  53. iPhone 5s Bluetooth and Wi-Fi Antenna Replacement: Ă©tape 53, image 1 de 2 iPhone 5s Bluetooth and Wi-Fi Antenna Replacement: Ă©tape 53, image 2 de 2
    • Carefully pry the bluetooth and wi-fi antenna up off of the adhesive holding it to the rear case.

  54. iPhone 5s Bluetooth and Wi-Fi Antenna Replacement: Ă©tape 54, image 1 de 1
    • Remove the bluetooth and wi-fi antenna.

    • Be careful not to touch any metal to metal contact points with your bare fingers—use tweezers or gloves. Finger oils may disrupt conductivity. If you do touch any of these components, clean them with a degreaser like windex or isopropyl alcohol before reassembly.

Conclusion

Compare your new replacement part to the original part—you may need to transfer remaining components or remove adhesive backings from the new part before installing.

To reassemble your device, follow the above steps in reverse order.

Take your e-waste to an R2 or e-Stewards certified recycler.

Repair didn’t go as planned? Try some basic troubleshooting, or search our Answers forum for help.

46 autres ont terminé cette réparation.

Sam Goldheart

Membre depuis le 10/18/12

465 243 RĂ©putation

538 tutoriels rédigés

Équipe

iFixit Membre de l'équipe iFixit

Staff

136 membres

16 560 tutoriels rĂ©digĂ©s

6 commentaires

Hi

i want to add this bluetooth part to my ipod 30gb 5gen.

What do you think ? Will it will work??

If you have other ideas please let me know?

working on a mod to add BT to my ipod video

thank you

peter

Peter - RĂ©ponse

Followed this guide, after reassembly

my flash, front and rear camera have stopped working. Anyone got any ideas why?

cheers

gary

Gary Freeman - RĂ©ponse

If they worked before changing the antenna may be that they are barely seated, try reconnecting the cameras and see if the FPC connector is well embedded

Yuri Henrique -

Why is the battery removed in replacing the wi-fi? It doesnt interfere

Elijah - RĂ©ponse

Thanks for this guide.

I just replaced the battery using a different guide but broke the bluetooth and wi-fi antenna. The new battery works but I am reluctant to remove it because it was that process that caused the damage. Albeit more difficult, but is it still possible to replace the bluetooth and wi-fi antenna without removing the battery?

Regards.

Adam H - RĂ©ponse

Ajouter un commentaire

Nombre de vues :

Dernières 24 heures : 8

7 derniers jours : 52

30 derniers jours : 186

Total : 68,341