Info : Vous modifiez un tutoriel prérequis. Toutes les modifications apportées affecteront les 12 tutoriels qui comprennent cette étape.
Traduction de l’étape 11
Étape 11

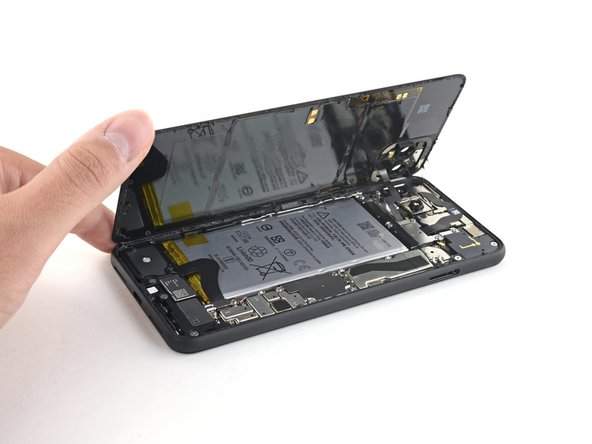
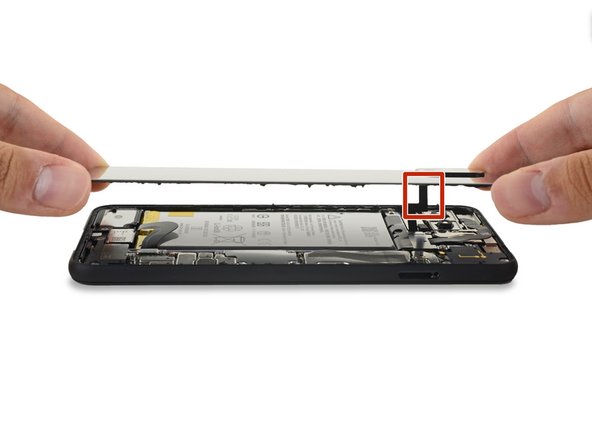


Lift up the back panel
-
Once you have sliced around the perimeter of the phone, carefully lift the right edge of the back cover, opening it like a book.
-
Do not try to pull the panel all the way off yet, as it is still connected to the phone.
Vos contributions sont faites dans le cadre de la licence open source Creative Commons.