Traduction de l’étape 10
Étape 10


-
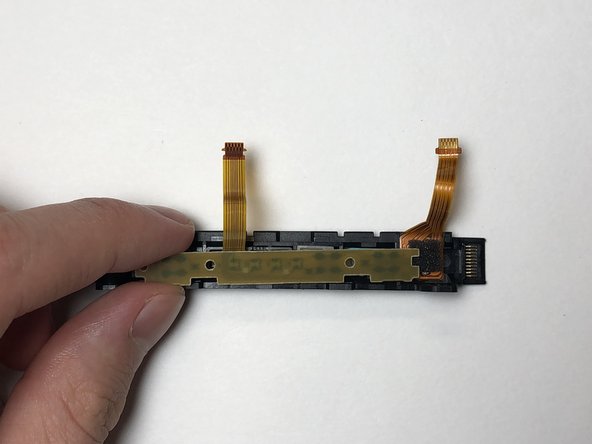
Place the SL, SR and sync buttons into the new charging rail and make sure the tabs on the SL and SR buttons fit into their respective socket grooves.
-
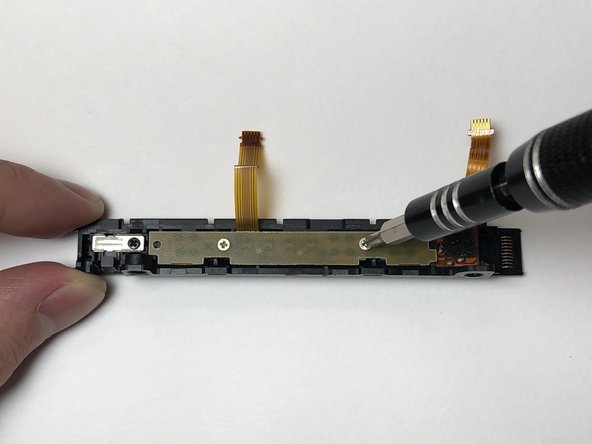
Place the PCB over the buttons and secure it in place using the two golden 3 mm Phillips #000 screws.
Vos contributions sont faites dans le cadre de la licence open source Creative Commons.