Info : Vous modifiez actuellement une condition préalable du tutoriel que vous venez de consulter. Toutes les modifications affecteront les 2 tutoriels qui comprennent cette étape.
Traduction de l’étape 5
Étape 5

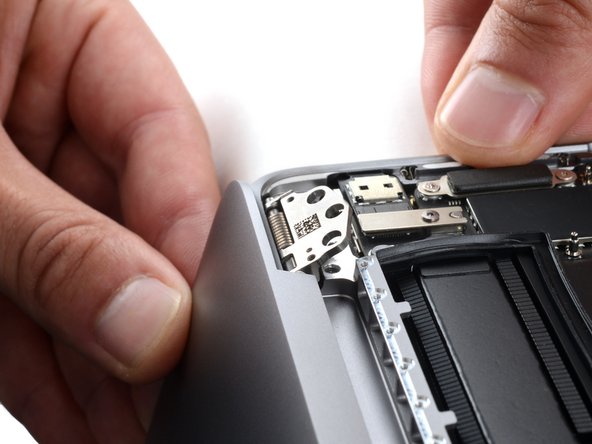
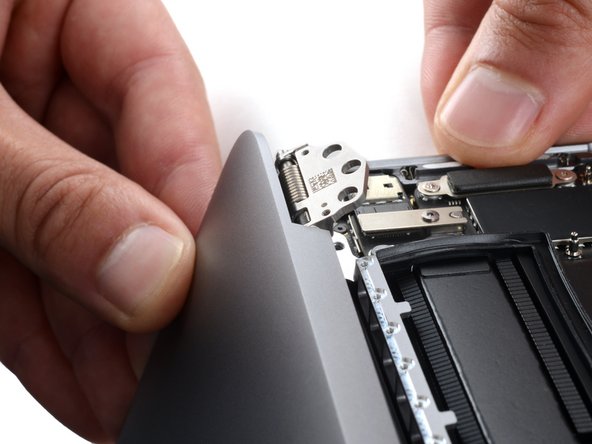


Free the left hinge
-
Firmly secure the main body of your MacBook with one hand.
-
With your free hand, push the left side of the screen up and towards the bottom of your laptop to free the left hinge.
Vos contributions sont faites dans le cadre de la licence open source Creative Commons.