Aller au contenu principal

Remplacement du joystick de la Joy-Con gauche

Anglais
Français

Traduction de l’étape 13

Étape 13
Left Joy-Con Joystick Replacement, Install the Gulikit joystick ring sticker: étape 0, image 1 de 2 Left Joy-Con Joystick Replacement, Install the Gulikit joystick ring sticker: étape 0, image 2 de 2
Install the Gulikit joystick ring sticker
  • If you've replaced the joystick with a Gulikit module, follow the next two steps to install the included joystick ring sticker.

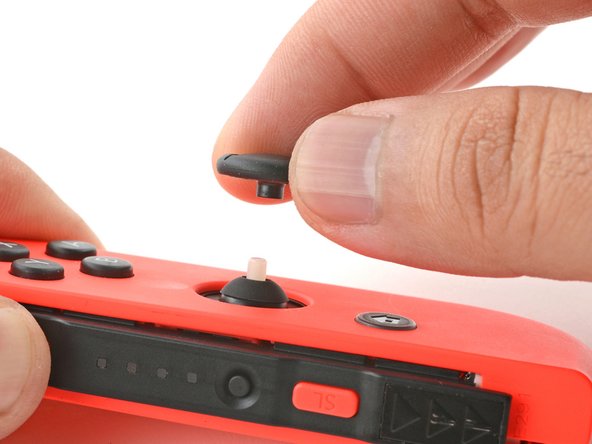
  • Use your fingers to pull the thumbstick off of the Gulikit joystick module.

Si vous avez remplacé le joystick par un module Gulikit, suivez les deux étapes suivantes pour poser l'anneau autocollant inclus avec le joystick.

Utilisez vos doigts pour retirer le capuchon du module de joystick Gulikit.

Vos contributions sont faites dans le cadre de la licence open source Creative Commons.