Traduction de l’étape 10
Étape 10


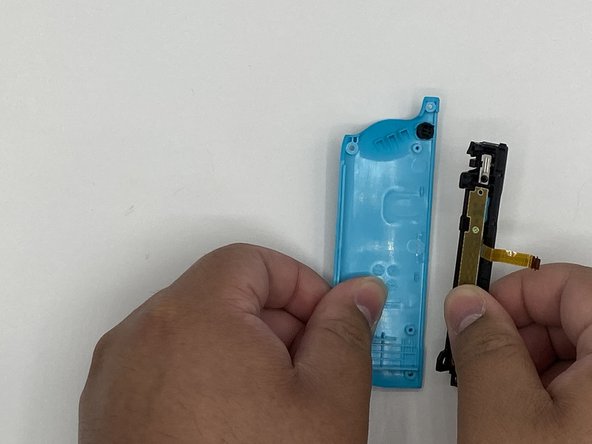


Removing the rail
-
Remove the screw holding the rail in place. Remove the rail from the back frame and set it off to the side.
Vos contributions sont faites dans le cadre de la licence open source Creative Commons.