Traduction de l’étape 12
Étape 12

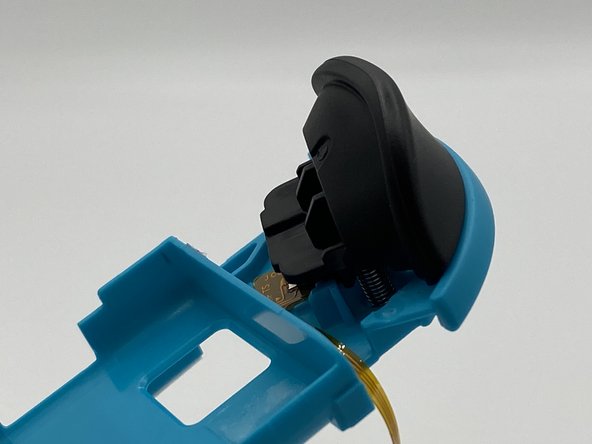


Removing the triggers 1/2
-
Depress the latch underneath the trigger using tweezers. Gently pry the trigger off.
Vos contributions sont faites dans le cadre de la licence open source Creative Commons.