Traduction de l’étape 16
Étape 16

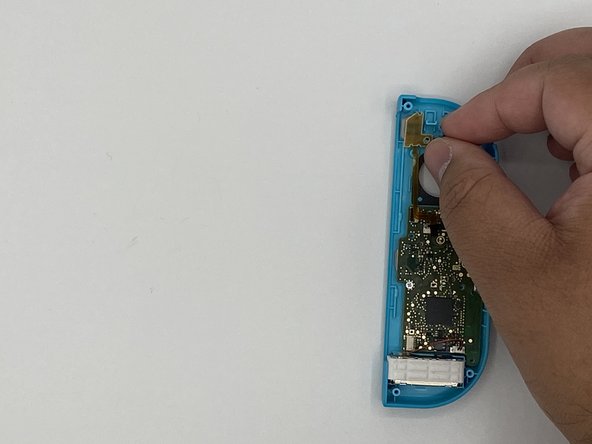


Removing the top flex circuit
-
Remove the screws holding the flex circuit (marked by a red circle) for the minus and L buttons.
-
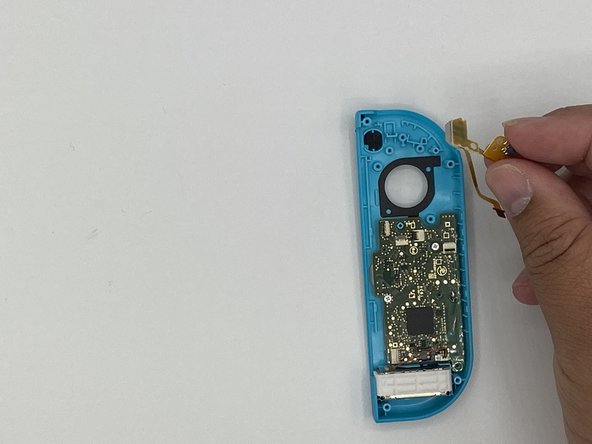
Remove the flex circuit.
Vos contributions sont faites dans le cadre de la licence open source Creative Commons.