Traduction de l’étape 5
Étape 5


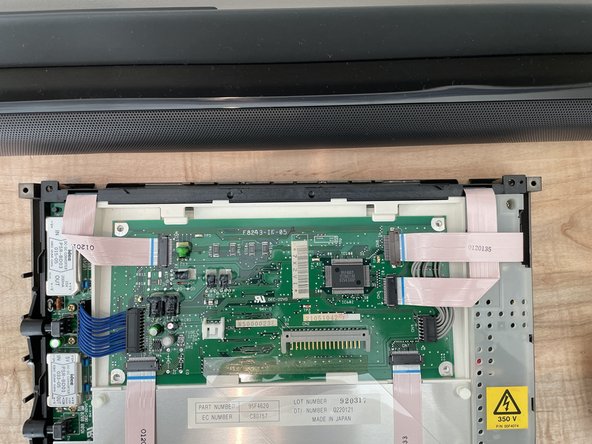


Remove the display
-
Unclip the three (3) clips at the top of the display.
-
With the back of the display off, remove the two connectors to the display's PCB.
-
You can now remove the display from the base of the computer.
Vos contributions sont faites dans le cadre de la licence open source Creative Commons.