Aller au contenu principal

Roccat Vulcan II Mini Air Backplate Replacement

Info : Vous modifiez actuellement une condition préalable du tutoriel que vous venez de consulter. Toutes les modifications affecteront les 2 tutoriels qui comprennent cette étape.

Anglais
Français

Traduction de l’étape 2

Étape 2
Roccat Vulcan II Mini Air Backplate Replacement: étape 0, image 1 de 3 Roccat Vulcan II Mini Air Backplate Replacement: étape 0, image 2 de 3 Roccat Vulcan II Mini Air Backplate Replacement: étape 0, image 3 de 3
  • With the screws removed the backplate will be loose and can be removed. Be careful, as it is still attached to the switch plate with ribbon cables so don't pull it.

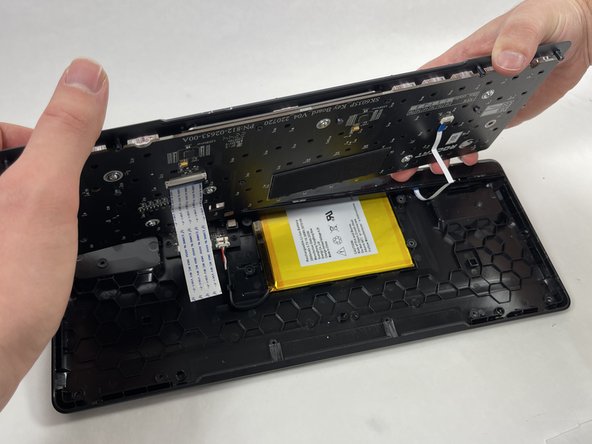
  • Gently lift the switch plate from the backplate, setting them next to each other with the ribbon cables facing upwards.

  • Use a spudger or a clean fingernail to flip up the locking flaps of the two ZIF connectors using the widest tool possible to avoid damaging the delicate hinge pins.

  • This is the unlocked position.

  • Use tweezers or your fingers to gently pull the cable out of its socket by the pull tab.

  • You could damage the cable by gripping it directly.

Insérez ici votre traduction

Insérez ici votre traduction

Insérez ici votre traduction

Insérez ici votre traduction

Insérez ici votre traduction

Insérez ici votre traduction

Vos contributions sont faites dans le cadre de la licence open source Creative Commons.