Aller au contenu principal
Pour réparer ensemble - Je crée un compte
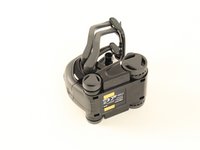
Anki Vector Battery Replacement

Ce dont vous avez besoin

  1. Anki Vector  Battery Replacement, LCD Facial Display: étape 1, image 1 de 3 Anki Vector  Battery Replacement, LCD Facial Display: étape 1, image 2 de 3 Anki Vector  Battery Replacement, LCD Facial Display: étape 1, image 3 de 3
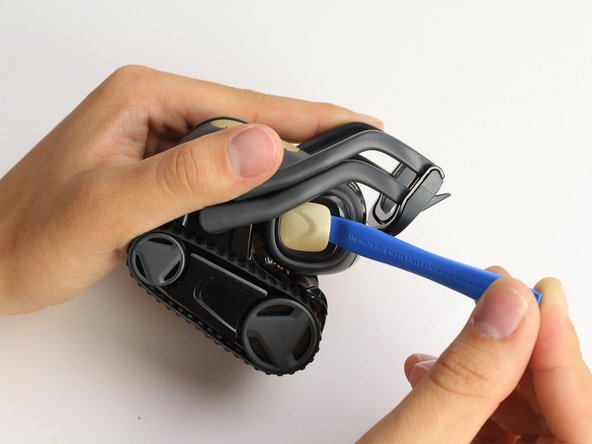
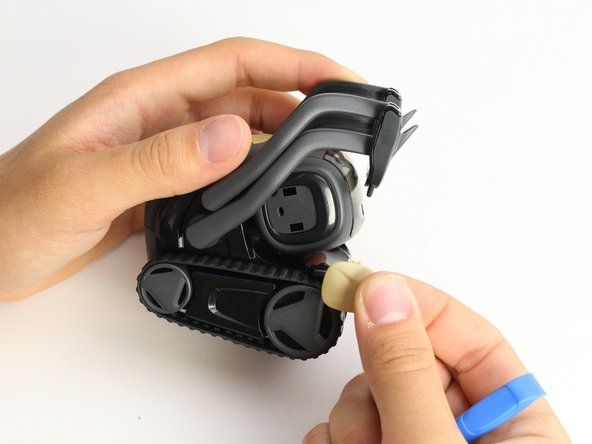
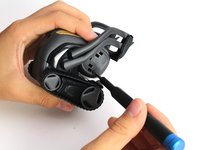
    • Using the iFixit opening tool, insert the corner under Vector's golden side panel and lightly twist.

    • Repeat this step on the other side.

    • The panel should pop off without much force.

    Demander à FixBot
  2. Anki Vector  Battery Replacement: étape 2, image 1 de 3 Anki Vector  Battery Replacement: étape 2, image 2 de 3 Anki Vector  Battery Replacement: étape 2, image 3 de 3
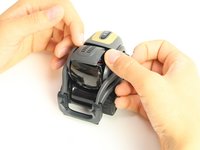
    • Insert the corner of the square end of the spudger under the side plate above the partially visible screw.

    • Lightly turn the spudger to separate the plate from Vector's head.

    • Work the spudger around the plate until it comes off.

    • Repeat this step on the the other side.

    Demander à FixBot
  3. Anki Vector  Battery Replacement: étape 3, image 1 de 2 Anki Vector  Battery Replacement: étape 3, image 2 de 2
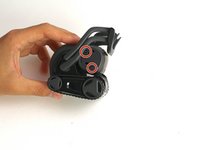
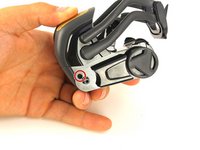
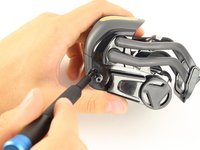
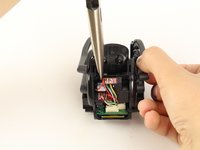
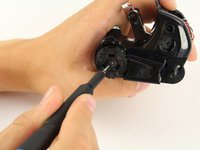
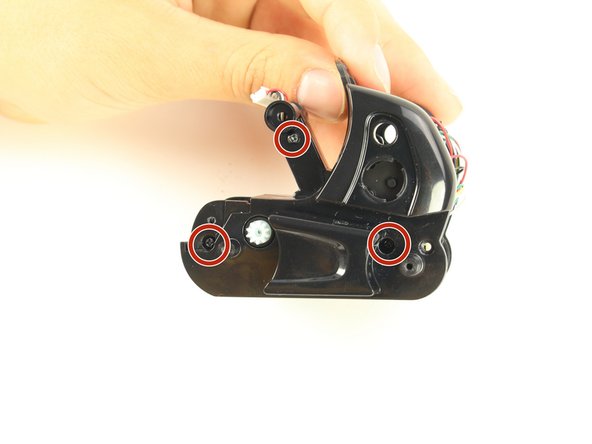
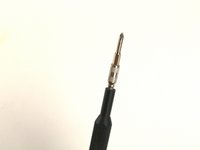
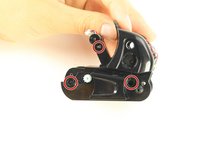
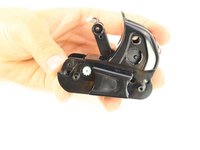
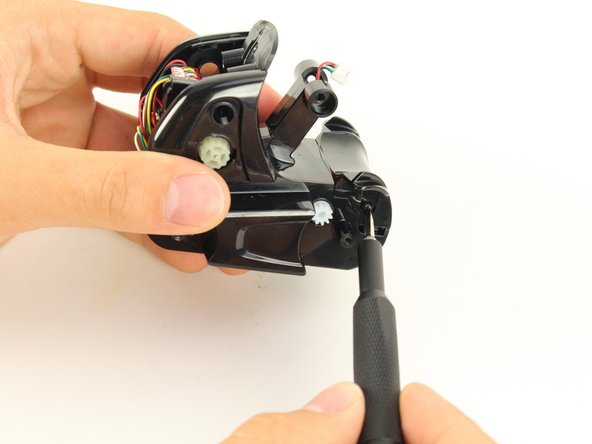
    • Using a Phillips #0 screwdriver, unscrew the two 2 mm screws on the side of Vector's head.

    • Repeat this step on the opposite side.

    Demander à FixBot
  4. Anki Vector  Battery Replacement: étape 4, image 1 de 2 Anki Vector  Battery Replacement: étape 4, image 2 de 2
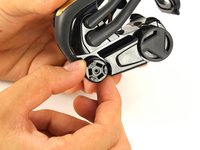
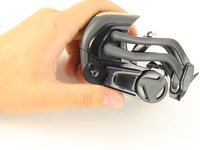
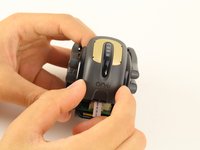
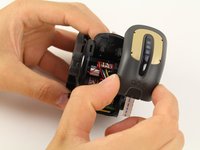
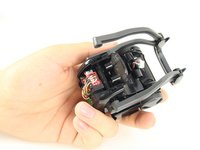
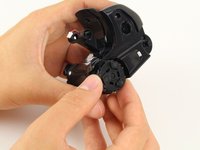
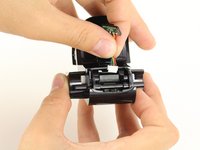
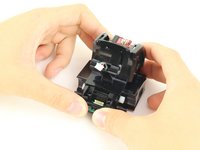
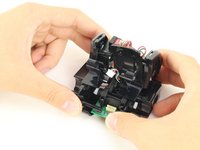
    • Pull apart Vector's head. It should separate down the middle.

    • Remove the screen protector by gently pulling it free from the two face halves.

    Demander à FixBot
  5. Anki Vector  Battery Replacement: étape 5, image 1 de 3 Anki Vector  Battery Replacement: étape 5, image 2 de 3 Anki Vector  Battery Replacement: étape 5, image 3 de 3
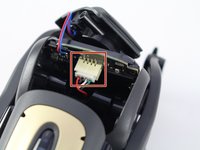
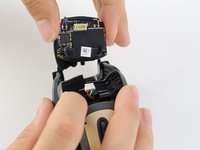
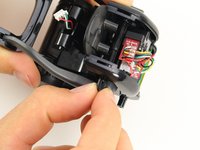
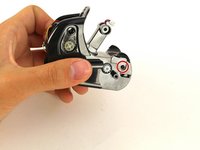
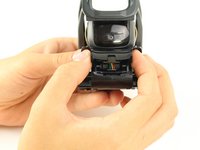
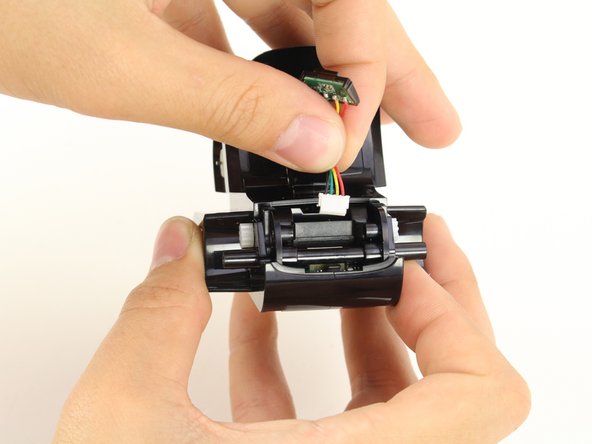
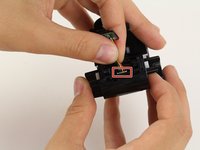
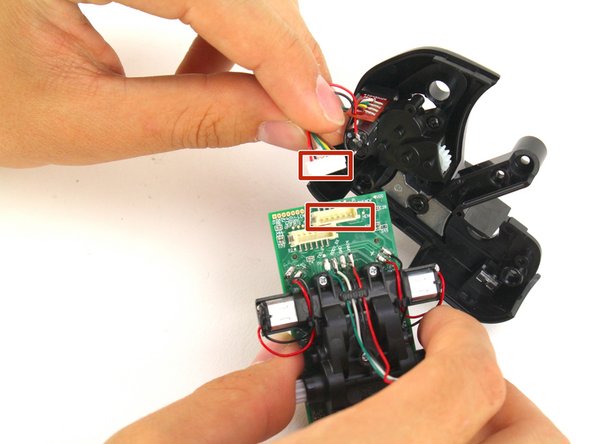
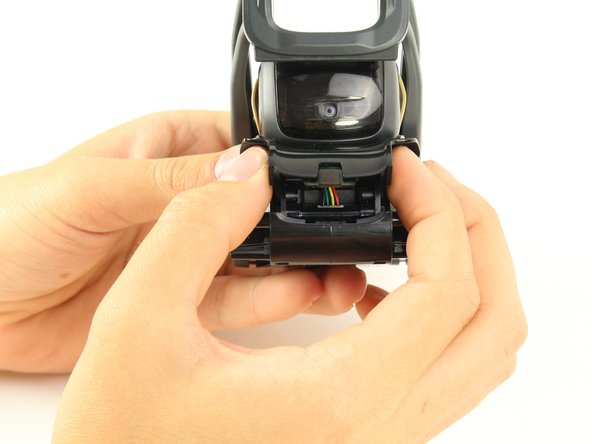
    • Using your thumb and index finger, unplug the display from the plug in Vector's neck.

    • Pull the LCD and speaker assembly from Vector's head.

    • There is a very thin insulating rubber sheet located at the base of the screen. Be careful not to tear it when removing the display.

    Demander à FixBot
  6. Anki Vector  Battery Replacement, Battery: étape 6, image 1 de 3 Anki Vector  Battery Replacement, Battery: étape 6, image 2 de 3 Anki Vector  Battery Replacement, Battery: étape 6, image 3 de 3
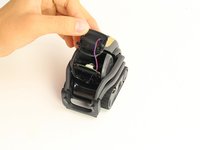
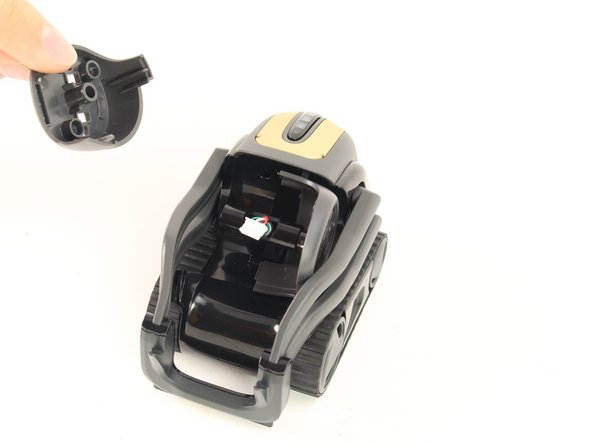
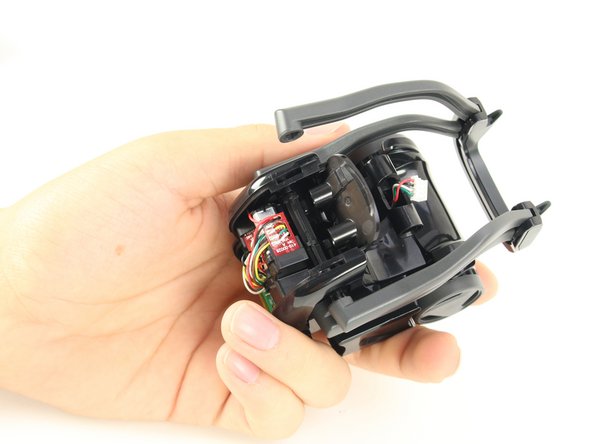
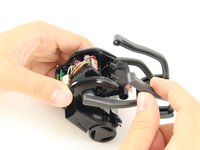
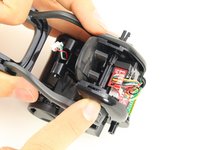
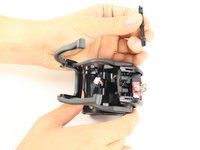
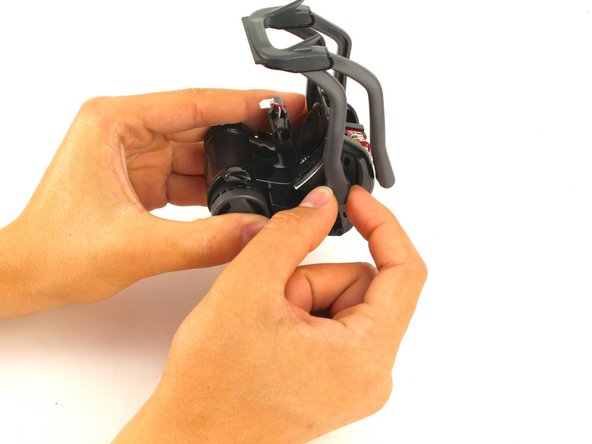
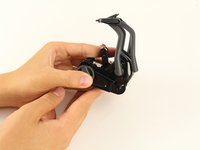
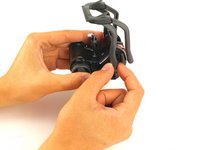
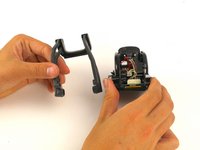
    • Gently pull out the two halves of Vector's head from between his arms.

    Demander à FixBot
  7. Anki Vector  Battery Replacement: étape 7, image 1 de 3 Anki Vector  Battery Replacement: étape 7, image 2 de 3 Anki Vector  Battery Replacement: étape 7, image 3 de 3
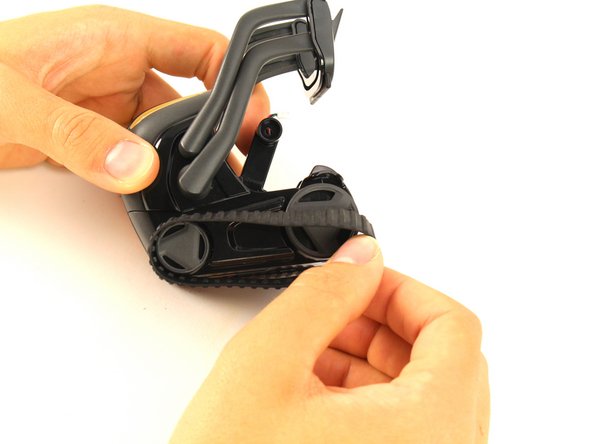
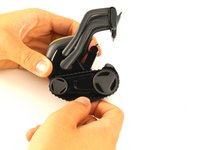
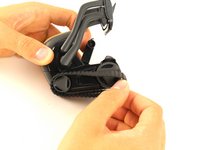
    • Remove the Anki Vector's belts on both sides of its body by gently sliding them off.

    • You should be able to pull them off without much effort.

    Demander à FixBot
  8. Anki Vector  Battery Replacement: étape 8, image 1 de 2 Anki Vector  Battery Replacement: étape 8, image 2 de 2
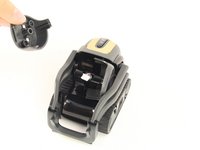
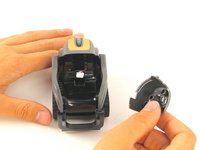
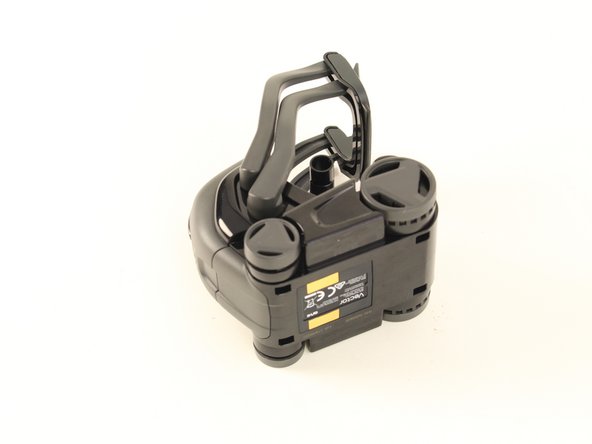
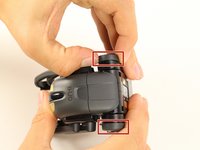
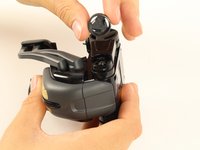
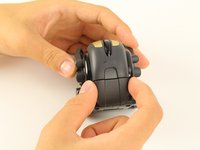
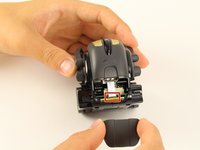
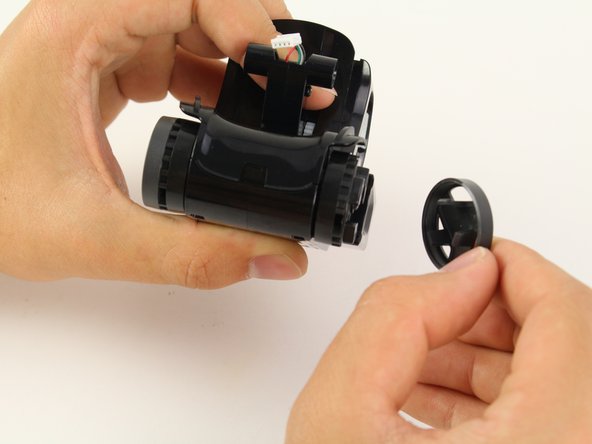
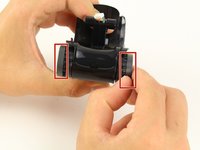
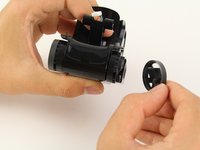
    • Pull off the covers attached to Vector's rear wheels.

    Demander à FixBot
  9. Anki Vector  Battery Replacement: étape 9, image 1 de 3 Anki Vector  Battery Replacement: étape 9, image 2 de 3 Anki Vector  Battery Replacement: étape 9, image 3 de 3
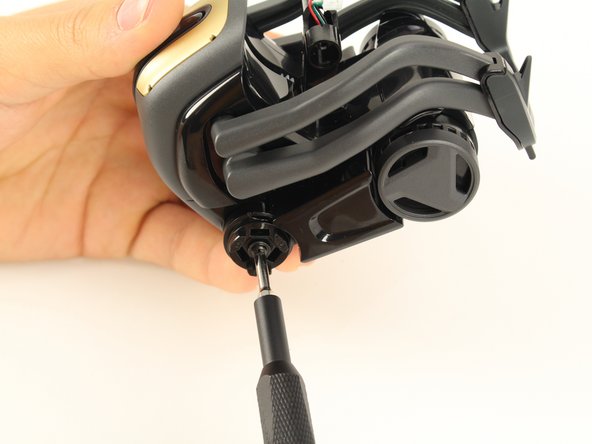
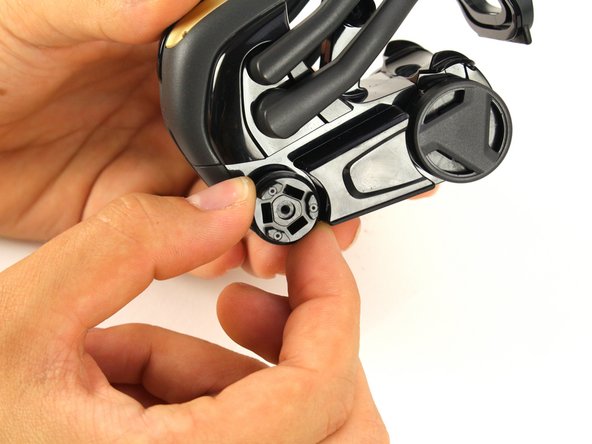
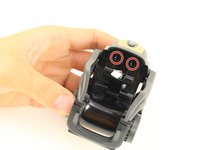
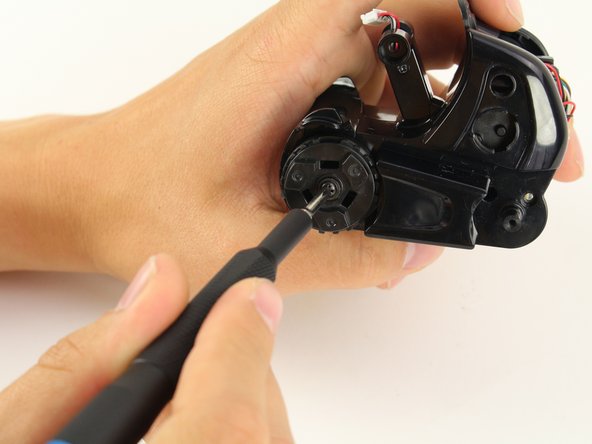
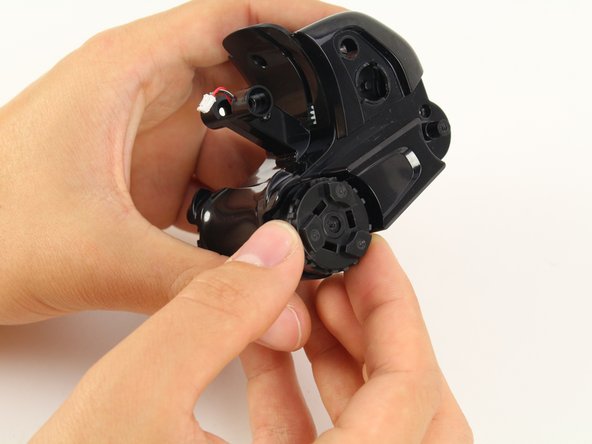
    • Unscrew the 2 mm screws located under the wheel covers using a Phillips #0 screwdriver.

    • Remove the rear wheel.

    Demander à FixBot
  10. Anki Vector  Battery Replacement: étape 10, image 1 de 3 Anki Vector  Battery Replacement: étape 10, image 2 de 3 Anki Vector  Battery Replacement: étape 10, image 3 de 3
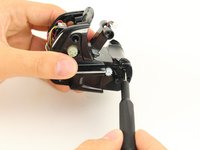
    • Unscrew the two 2 mm body screws using a Phillips #0 screwdriver.

    Demander à FixBot
  11. Anki Vector  Battery Replacement: étape 11, image 1 de 3 Anki Vector  Battery Replacement: étape 11, image 2 de 3 Anki Vector  Battery Replacement: étape 11, image 3 de 3
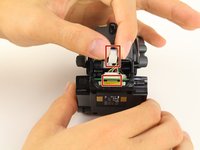
    • Using two fingers gently pull off the lower rear panel.

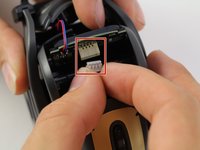
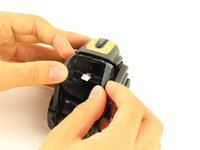
    • Using your fingers, unplug the ribbon connector.

    Demander à FixBot
  12. Anki Vector  Battery Replacement: étape 12, image 1 de 3 Anki Vector  Battery Replacement: étape 12, image 2 de 3 Anki Vector  Battery Replacement: étape 12, image 3 de 3
    • Unscrew the two screws behind vector's neck.

    • Remove the capacitive touch assembly.

    Demander à FixBot
  13. Anki Vector  Battery Replacement: étape 13, image 1 de 2 Anki Vector  Battery Replacement: étape 13, image 2 de 2
    • With a moderate amount of force pull one of vector's top arms away from his body until it disconnects from the shaft.

    Demander à FixBot
  14. Anki Vector  Battery Replacement: étape 14, image 1 de 2 Anki Vector  Battery Replacement: étape 14, image 2 de 2
    • Gripping the shaft with needle nosed pliers, pull the opposite top arm off the main shaft.

    Demander à FixBot
  15. Anki Vector  Battery Replacement: étape 15, image 1 de 3 Anki Vector  Battery Replacement: étape 15, image 2 de 3 Anki Vector  Battery Replacement: étape 15, image 3 de 3
    • Pinch one end of the arm shaft and push it into the body.

    • Grab the other end and pull the shaft out of the body.

    Demander à FixBot
  16. Anki Vector  Battery Replacement: étape 16, image 1 de 3 Anki Vector  Battery Replacement: étape 16, image 2 de 3 Anki Vector  Battery Replacement: étape 16, image 3 de 3
    • Raise vectors arms all the way up and gently pull each arm out of its socket.

    Demander à FixBot
  17. Anki Vector  Battery Replacement: étape 17, image 1 de 2 Anki Vector  Battery Replacement: étape 17, image 2 de 2
    • Pull the wheel covers off of Vectors forward wheels.

    Demander à FixBot
  18. Anki Vector  Battery Replacement: étape 18, image 1 de 3 Anki Vector  Battery Replacement: étape 18, image 2 de 3 Anki Vector  Battery Replacement: étape 18, image 3 de 3
    • Using the same Phillips #0 screwdriver, unscrew the 2 mm screw under the wheel cover.

    • Gently pull the wheel off.

    Demander à FixBot
  19. Anki Vector  Battery Replacement: étape 19, image 1 de 3 Anki Vector  Battery Replacement: étape 19, image 2 de 3 Anki Vector  Battery Replacement: étape 19, image 3 de 3
    • Unscrew the two body screws located behind the front wheels.

    • Gently pull the cover from Vector's body

    • Be careful when removing the cover. The infrared sensor connects the cover to the body by wires.

    Demander à FixBot
  20. Anki Vector  Battery Replacement: étape 20, image 1 de 3 Anki Vector  Battery Replacement: étape 20, image 2 de 3 Anki Vector  Battery Replacement: étape 20, image 3 de 3
    • Gently unplug and remove the infrared sensor.

    Demander à FixBot
  21. Anki Vector  Battery Replacement: étape 21, image 1 de 3 Anki Vector  Battery Replacement: étape 21, image 2 de 3 Anki Vector  Battery Replacement: étape 21, image 3 de 3
    • Insert your Phillips #0 bit into a 4 mm nut driver and insert both into your bit driver.

    • Unscrew the three body screws.

    Demander à FixBot
  22. Anki Vector  Battery Replacement: étape 22, image 1 de 2 Anki Vector  Battery Replacement: étape 22, image 2 de 2
    • Gradually increasing applied force, pull the body apart.

    Demander à FixBot
  23. Anki Vector  Battery Replacement: étape 23, image 1 de 3 Anki Vector  Battery Replacement: étape 23, image 2 de 3 Anki Vector  Battery Replacement: étape 23, image 3 de 3
    • Remove the shoulder panel.

    • Remove the weight.

    Demander à FixBot
  24. Anki Vector  Battery Replacement: étape 24, image 1 de 3 Anki Vector  Battery Replacement: étape 24, image 2 de 3 Anki Vector  Battery Replacement: étape 24, image 3 de 3
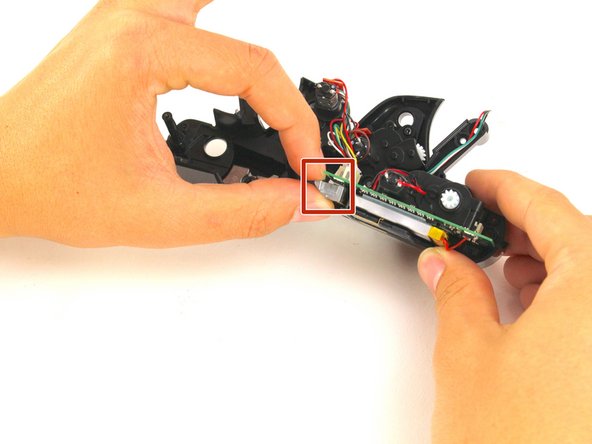
    • Unplug the two motor connectors from the motherboard.

    Demander à FixBot
  25. Anki Vector  Battery Replacement: étape 25, image 1 de 3 Anki Vector  Battery Replacement: étape 25, image 2 de 3 Anki Vector  Battery Replacement: étape 25, image 3 de 3
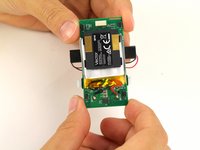
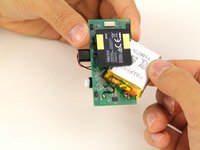
    • Wriggle the battery free from the motherboard.

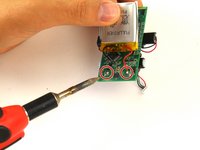
    • Using a soldering iron, desolder the connections from the battery to the motherboard.

    Demander à FixBot
Conclusion

To reassemble your device, follow these instructions in reverse order.

46 autres ont terminé cette réparation.

Shay Takei

Membre depuis le 04/16/19

1 795 Réputation

5 tutoriels rédigés

Équipe

Cal Poly, Team S2-G6, Maness Spring 2019 Membre de l'équipe Cal Poly, Team S2-G6, Maness Spring 2019

CPSU-MANESS-S19S2G6

4 membres

10 tutoriels rédigés

25 commentaires de tutoriel

Ok nice step by step guide but what are the specs for the battery as they’re not visable in any of the pictures…

John Fitzgerald - Réponse Partager

Part Number: Li-Ion Poly 500mAh #1578B

3.7V 500mAh

Brian - Réponse Partager
Who manages to do all of this in 7 minutes ? Apparently it is a 3.7V battery, question is what is the max size that fits ? 3.5 x 2.5 x 0.4 cm is reported to fit, 4x3x0.5 might as well.

Holger Brueckner - Réponse Partager
Any idea where to get one ?

Gordon Hamilton - Réponse Partager

Who manages to do all of this is 7 minutes?

me

Kerigan Creighton - Réponse Partager

Ajouter un commentaire

Nombre de vues :

Dernières 24 heures : 8

7 derniers jours : 96

30 derniers jours : 375

Total : 33,674