Aller au contenu principal
Pour réparer ensemble - Je crée un compte

Dell XPS M1530 CPU Replacement

Ce dont vous avez besoin

  1. Dell XPS M1530 CPU Replacement, Battery: étape 1, image 1 de 1
    • Turn the computer upside down with the battery facing you.

    • Turn the computer off and disconnect the charging cable from the computer.

    • Failure to unplug the charging cable may result in electric shock.

    Demander à FixBot

    Ajouter un commentaire

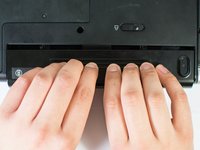
  2. Dell XPS M1530 CPU Replacement: étape 2, image 1 de 1
    • Push the switch as far to the right as possible to unlock the battery.

    Demander à FixBot

    Ajouter un commentaire

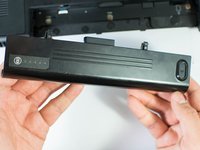
  3. Dell XPS M1530 CPU Replacement: étape 3, image 1 de 2 Dell XPS M1530 CPU Replacement: étape 3, image 2 de 2
    • Remove the battery using two hands and pull it away from the computer.

    Demander à FixBot

    Ajouter un commentaire

  4. Dell XPS M1530 CPU Replacement, Heat Sink: étape 4, image 1 de 1
    • Unscrew the four Phillips #1 screws holding down the back panel. Then remove one 5.8mm Phillips #1 screw labeled "M" in the middle of the back panel.

    • Four 3.9mm Phillips #1 screws

    • One 5.8mm Phillips #1 screw

    Demander à FixBot

    Ajouter un commentaire

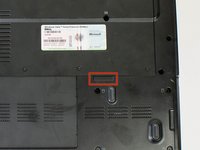
  5. Dell XPS M1530 CPU Replacement: étape 5, image 1 de 2 Dell XPS M1530 CPU Replacement: étape 5, image 2 de 2
    • Using the highlighted indent, pull up and out to remove the back panel.

    • The indent should provide enough grip to remove the panel with ease.

    Demander à FixBot

    Ajouter un commentaire

  6. Dell XPS M1530 CPU Replacement: étape 6, image 1 de 2 Dell XPS M1530 CPU Replacement: étape 6, image 2 de 2
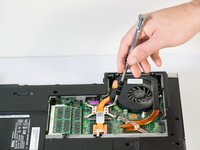
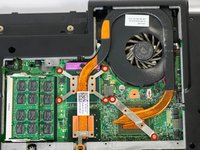
    • First, unscrew the six screws that are holding down the fan and heat sink with a Philips #1 screwdriver. Then use a Phillips #1 to remove the single screw near the bottom of the heat sink.

    • Six Silver Chrome 5.8mm Phillips #1 screws

    • One 5.8mm Phillips #1 screw

    • Remove the four screws that are holding down the CPU (the four to the top left that form a rectangle in this image) first. Unscrew them in an X pattern (eg. top left screw, bottom right screw, top right screw, bottom left screw) to minimize risk of harming CPU.

    Demander à FixBot

    Ajouter un commentaire

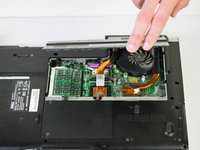
  7. Dell XPS M1530 CPU Replacement: étape 7, image 1 de 2 Dell XPS M1530 CPU Replacement: étape 7, image 2 de 2
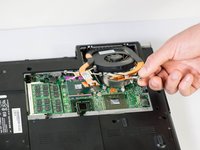
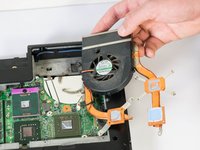
    • Carefully lift the fan and heat sink from the laptop.

    • Be careful not to pull up too hard, because the power pin is still connecting the fan to the laptop.

    Demander à FixBot

    Ajouter un commentaire

  8. Dell XPS M1530 CPU Replacement: étape 8, image 1 de 1
    • Use your fingers or a spudger to remove the power pin connecting the fan to the laptop by pulling it straight up off the motherboard.

    Demander à FixBot

    Ajouter un commentaire

  9. Dell XPS M1530 CPU Replacement: étape 9, image 1 de 1
    • Remove the fan and heat sink from the laptop.

    • When installing the new heat sink, do not forget to replace the thermal paste underneath the heat sink. See iFixit's Applying Thermal Paste guide for further instructions.

    Demander à FixBot

    Ajouter un commentaire

  10. Dell XPS M1530 CPU Replacement, CPU: étape 10, image 1 de 1
    • Use a Metal Spudger to turn the black plastic screw to the unlock position from the secure position of the CPU on the motherboard.

    Demander à FixBot

    Ajouter un commentaire

  11. Dell XPS M1530 CPU Replacement: étape 11, image 1 de 3 Dell XPS M1530 CPU Replacement: étape 11, image 2 de 3 Dell XPS M1530 CPU Replacement: étape 11, image 3 de 3
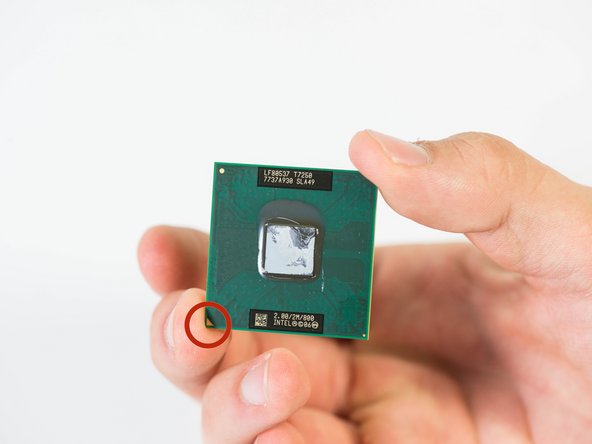
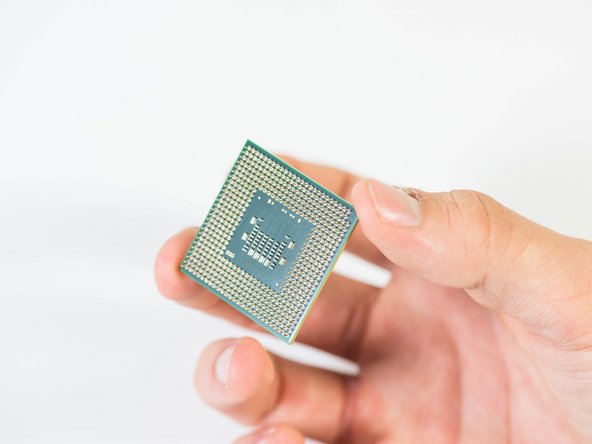
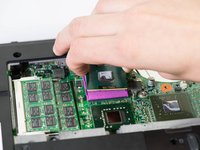
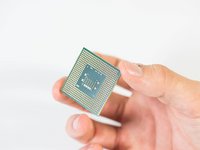
    • Carefully remove the CPU by pulling it straight up.

    • CPU Orientation triangle

    • Make sure you pull straight up on the CPU when removing it. Also be careful not to touch the pins on the CPU as they are thin and will bend very easily.

    • The orientation of the CPU is important, locate the corners that has a small triangle. Make sure to match that triangle corner to the upper right corner of the mount that also has a picture of a triangle.

    Demander à FixBot

    Ajouter un commentaire

Conclusion

To reassemble your device, follow these instructions in reverse order.

Annulation : je n'ai pas terminé ce tutoriel.

2 autres ont terminé cette réparation.

Jase Sasaki

Membre depuis le 01/22/15

721 Réputation

5 tutoriels rédigés

Équipe

Cal Poly, Team 18-4, Maness Winter 2015 Membre de l'équipe Cal Poly, Team 18-4, Maness Winter 2015

CPSU-MANESS-W15S18G4

4 membres

8 tutoriels rédigés

0 commentaires de tutoriel

Ajouter un commentaire

Nombre de vues :

Dernières 24 heures : 3

7 derniers jours : 10

30 derniers jours : 32

Total : 2,003