Introduction
Lorsque des jeux ont été stockés ou utilisés pendant des années, ils ont besoin d'une bonne dose de soins. Dans les cas extrêmes, il faut les ouvrir pour réparer. Il peut être difficile d'ouvrir un jeu que l'on aime, de peur de le casser.
En revanche, vous pouvez ouvrir un jeu que personne n'aimait et en faire une protection efficace pour un autre.
Ce dont vous avez besoin
-
-
Retournez d'abord votre jeu et vous verrez deux vis que vous pouvez retirer à l'aide d'un embout de tournevis « Gamebit » de 3,8 mm. Une clé à molette de 3,0U peut également les extraire.
-
Retirez les vis et séparez le boîtier en commençant par le haut, en veillant à ne pas forcer en raison des languettes situées au bas de la cartouche. Entouré en rouge.
-
Les deux moitiés de la cartouche doivent se séparer facilement.
 Demander à FixBot
-
-
-
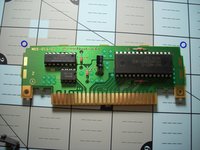
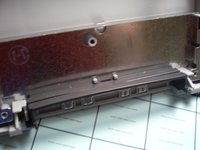
À l'intérieur de la coque avant en plastique, le circuit imprimé du jeu et le blindage métallique sont fixés par deux vis cruciforme. Dévissez-les pour retirer le blindage et accéder au circuit imprimé.
-
La partie supérieure du blindage métallique est maintenue par des languettes de pression. Veillez à appuyer fermement sur ces languettes lors du remontage.
-
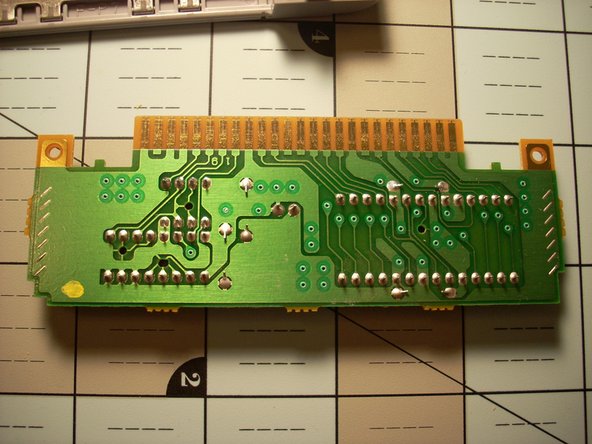
Lorsque le blindage est enlevé, le circuit imprimé principal et les broches sont visibles.
-
-
-
-
La seule chose qui maintient le circuit imprimé est le plastique au fond de la cartouche. Il n'y a pas de vis qui le maintiennent et il est facile à enlever.
-
Vous pouvez maintenant retirer complètement le circuit imprimé de la coque.
-
Vous pouvez ainsi nettoyer entièrement les contacts et vérifier que le circuit imprimé n'est pas endommagé.
-
-
-
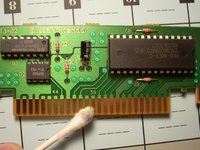
Le nettoyage des contacts est la partie la plus facile ; utilisez un coton-tige et un mélange riche d'alcool isopropylique. D'autres personnes ne jurent que par une gomme blanche.
-
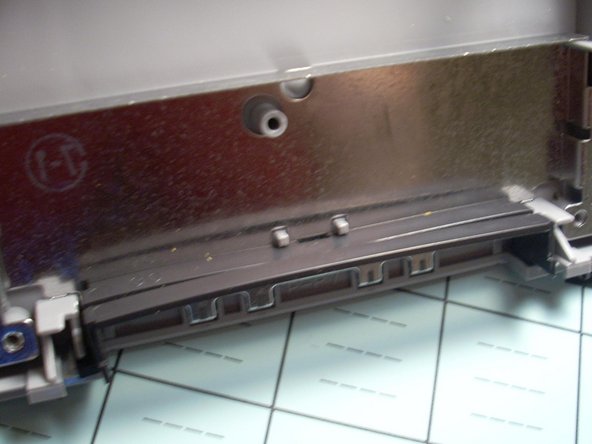
Lors du remontage de la cartouche, n'oubliez pas de placer la protection inférieure en plastique sous les deux broches du boîtier extérieur. Il y en a deux de ce type de chaque côtés.
-


Pour remonter votre cartouche, suivez ce guide en sens inverse.
Annulation : je n'ai pas terminé ce tutoriel.
29 autres ont terminé cette réparation.
Merci à ces traducteurs :
100%

Guillaume Malecha nous aide à réparer le monde ! Vous voulez contribuer ?
Commencez à traduire ›

