Aller au contenu principal
Pour réparer ensemble - Je crée un compte

Levoit Core 300-RAC Power Cord Replacement

Ce dont vous avez besoin

    1. Levoit Core 300-RAC Power Cord Replacement, Air Filter: étape 1, image 1 de 2 Levoit Core 300-RAC Power Cord Replacement, Air Filter: étape 1, image 2 de 2
      • Make sure your device is turned off and unplugged for safety.

      • Turn the Levoit Core 300-RAC over so the bottom is facing up.

      Demander à FixBot

      Ajouter un commentaire

    2. Levoit Core 300-RAC Power Cord Replacement: étape 2, image 1 de 3 Levoit Core 300-RAC Power Cord Replacement: étape 2, image 2 de 3 Levoit Core 300-RAC Power Cord Replacement: étape 2, image 3 de 3
      • Turn the bottom cover counterclockwise and lift it off to remove it.

      • The cover does not "snap" on or off when turned.

      Demander à FixBot

      Ajouter un commentaire

    3. Levoit Core 300-RAC Power Cord Replacement: étape 3, image 1 de 3 Levoit Core 300-RAC Power Cord Replacement: étape 3, image 2 de 3 Levoit Core 300-RAC Power Cord Replacement: étape 3, image 3 de 3
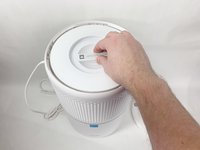
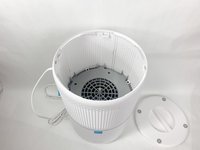
      • Lift the filter straight up and out of the device.

      Demander à FixBot

      Ajouter un commentaire

    1. Levoit Core 300-RAC Power Cord Replacement, Power Cord: étape 4, image 1 de 3 Levoit Core 300-RAC Power Cord Replacement, Power Cord: étape 4, image 2 de 3 Levoit Core 300-RAC Power Cord Replacement, Power Cord: étape 4, image 3 de 3
      • Use a Phillips #2 screwdriver to remove the four screws that go through the four white tabs inside the device

      • Set the screws aside in a safe place.

      Demander à FixBot

      Ajouter un commentaire

    2. Levoit Core 300-RAC Power Cord Replacement: étape 5, image 1 de 3 Levoit Core 300-RAC Power Cord Replacement: étape 5, image 2 de 3 Levoit Core 300-RAC Power Cord Replacement: étape 5, image 3 de 3
      • Use a metal spudger to gently pry between the four white tabs and the white housing and release the outer housing.

      • Gently pull up on the outer housing to prevent the clips from resetting.

      Demander à FixBot

      Ajouter un commentaire

    3. Levoit Core 300-RAC Power Cord Replacement: étape 6, image 1 de 2 Levoit Core 300-RAC Power Cord Replacement: étape 6, image 2 de 2
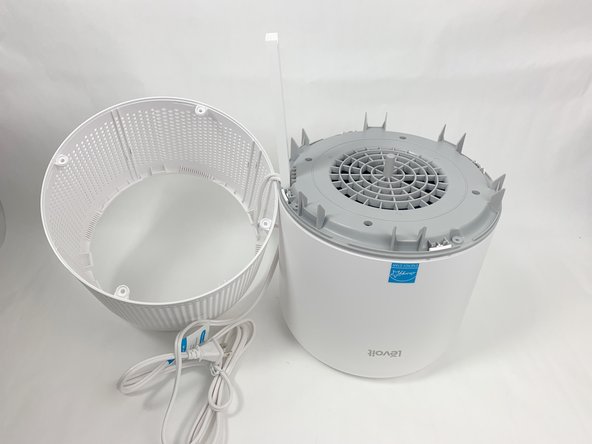
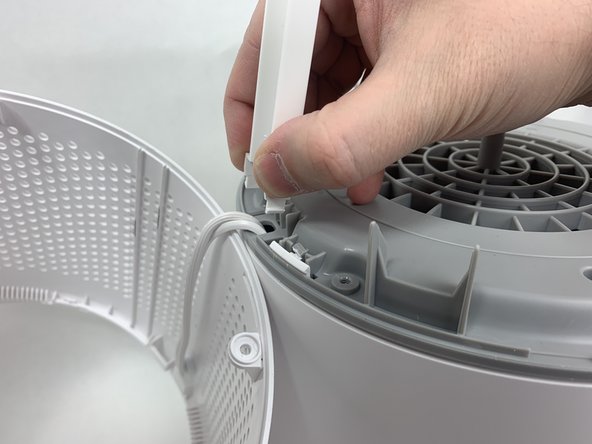
      • Remove the white outer housing and set it to the side.

      • The power cord is fed through a hole in the side of this housing, so it will need to be right next to the rest of the device.

      Demander à FixBot

      Ajouter un commentaire

    4. Levoit Core 300-RAC Power Cord Replacement: étape 7, image 1 de 3 Levoit Core 300-RAC Power Cord Replacement: étape 7, image 2 de 3 Levoit Core 300-RAC Power Cord Replacement: étape 7, image 3 de 3
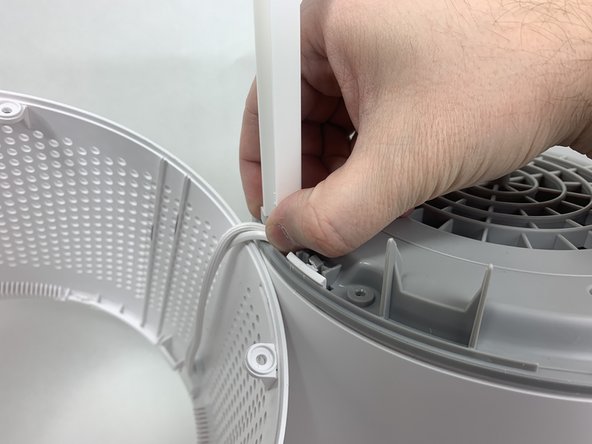
      • Grab the cable channel by its base, squeeze, and pull up at the same time to remove it.

      Demander à FixBot

      Ajouter un commentaire

    5. Levoit Core 300-RAC Power Cord Replacement: étape 8, image 1 de 2 Levoit Core 300-RAC Power Cord Replacement: étape 8, image 2 de 2
      • Remove the four Phillips #2 screws securing the gray face plate.

      • Set the screws aside in a safe place.

      Demander à FixBot

      Ajouter un commentaire

    6. Levoit Core 300-RAC Power Cord Replacement: étape 9, image 1 de 3 Levoit Core 300-RAC Power Cord Replacement: étape 9, image 2 de 3 Levoit Core 300-RAC Power Cord Replacement: étape 9, image 3 de 3
      • Insert a Jimmy or spudger between the white tab and the gray faceplate body to release the faceplate.

      • Lift it out.

      Demander à FixBot

      Ajouter un commentaire

    7. Levoit Core 300-RAC Power Cord Replacement: étape 10, image 1 de 1
      • Use wire cutters to carefully cut off the crimped power cord connections and remove the white power cord.

      • Cut as close to the connection as possible to leave as much of the internal wires as possible.

      • Cut your new power cable to length and replace the old one. You can splice the new cable on using a soldering iron, heat shrink tubing, and a heat gun. Alternatively, you can use twist-on wire nuts to make a secure connection. For more information on soldering, take a look at How to Solder and Desolder Connectors, and How to Use Heat Shrink Tubing.

      Demander à FixBot

      Ajouter un commentaire

Conclusion

To reassemble your device, follow these instructions in reverse order.

Annulation : je n'ai pas terminé ce tutoriel.

2 autres ont terminé cette réparation.

David Kamp

Membre depuis le 11/02/23

589 Réputation

3 tutoriels rédigés

Équipe

UMass Dartmouth, Team 1-6, Petersen Fall 2023 Membre de l'équipe UMass Dartmouth, Team 1-6, Petersen Fall 2023

UMASSD-PETERSEN-F23S1G6

5 membres

14 tutoriels rédigés

2 commentaires de tutoriel

You're a lifesaver, thank you! My rabbit managed to reach the cable for mine and chewed it up, my allergies have been going crazy

Grace - Réponse Partager

What type of cable did you use to replace the older one?

Mauricio Diaz - Réponse Partager

Ajouter un commentaire

Nombre de vues :

Dernières 24 heures : 0

7 derniers jours : 17

30 derniers jours : 106

Total : 3,323